You can give easy crochet projects a professional finish with textured stitches, coordinated colors, and carefully joined seams. When you’re saving ideas for 15+ easy crochet projects that look deceptively professional, choose designs with simple construction and one standout detail. You’ll get that cozy, handmade charm while keeping your next make approachable.
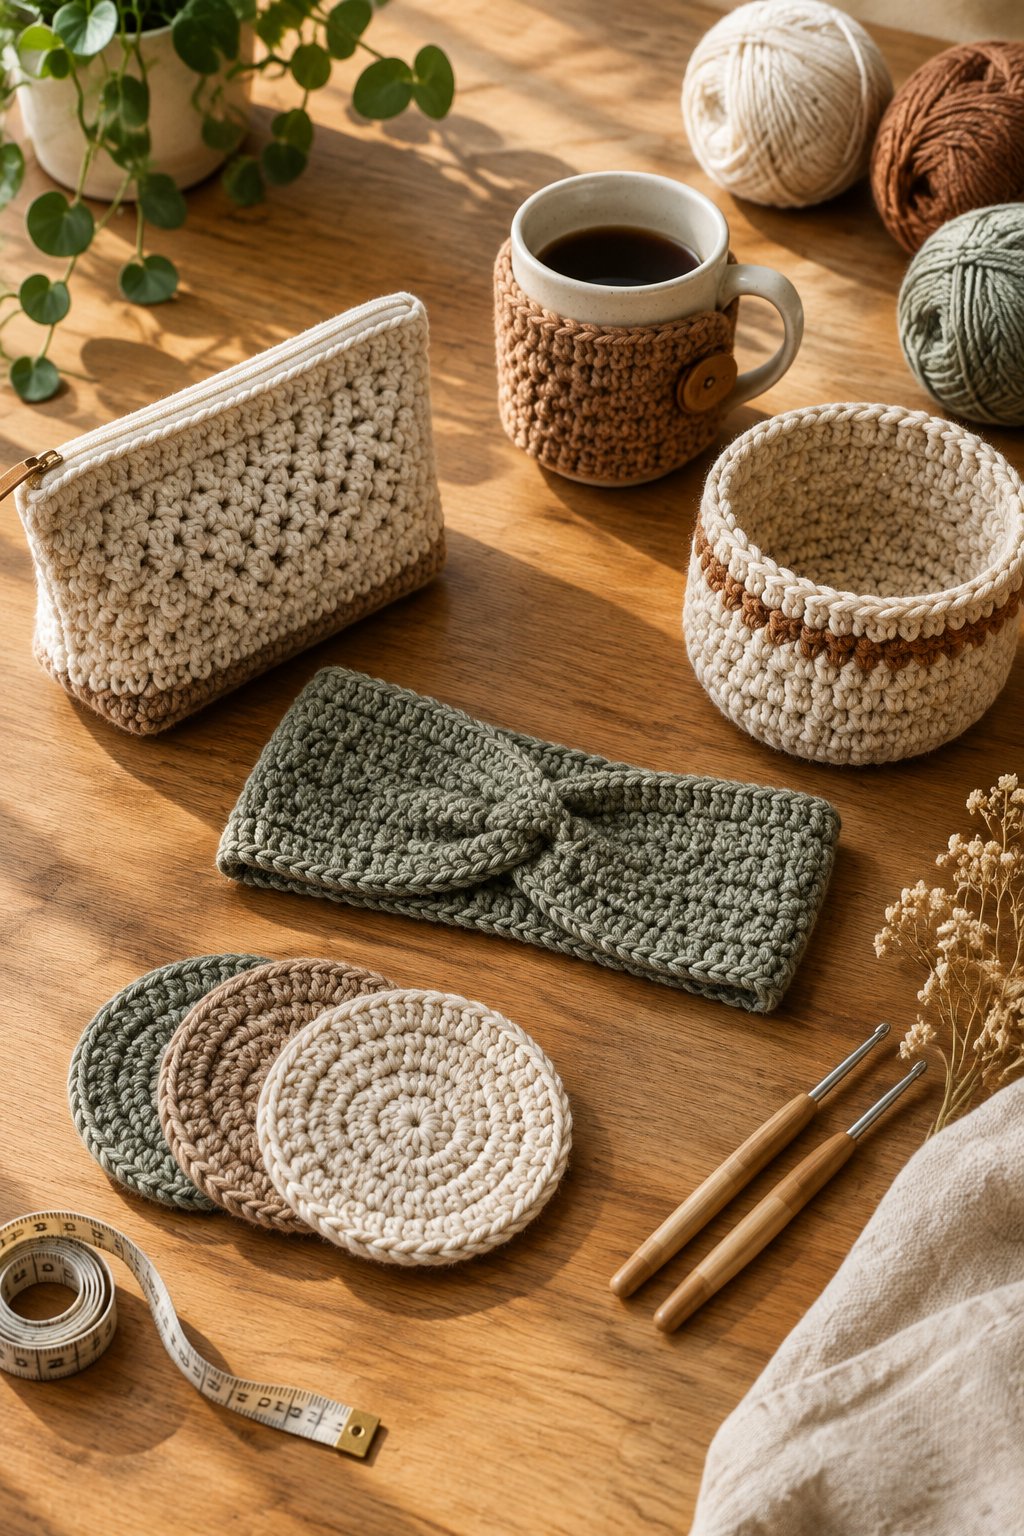
You don’t need a large stitch collection to create something worth displaying or gifting. Start with a shape you recognize, choose yarn that suits its purpose, and leave time for finishing. A smooth border or neatly sewn button gives your work a thoughtful touch, even when you’re working with beginner stitches.
1) Moss Stitch Cotton Coasters With Contrast Borders
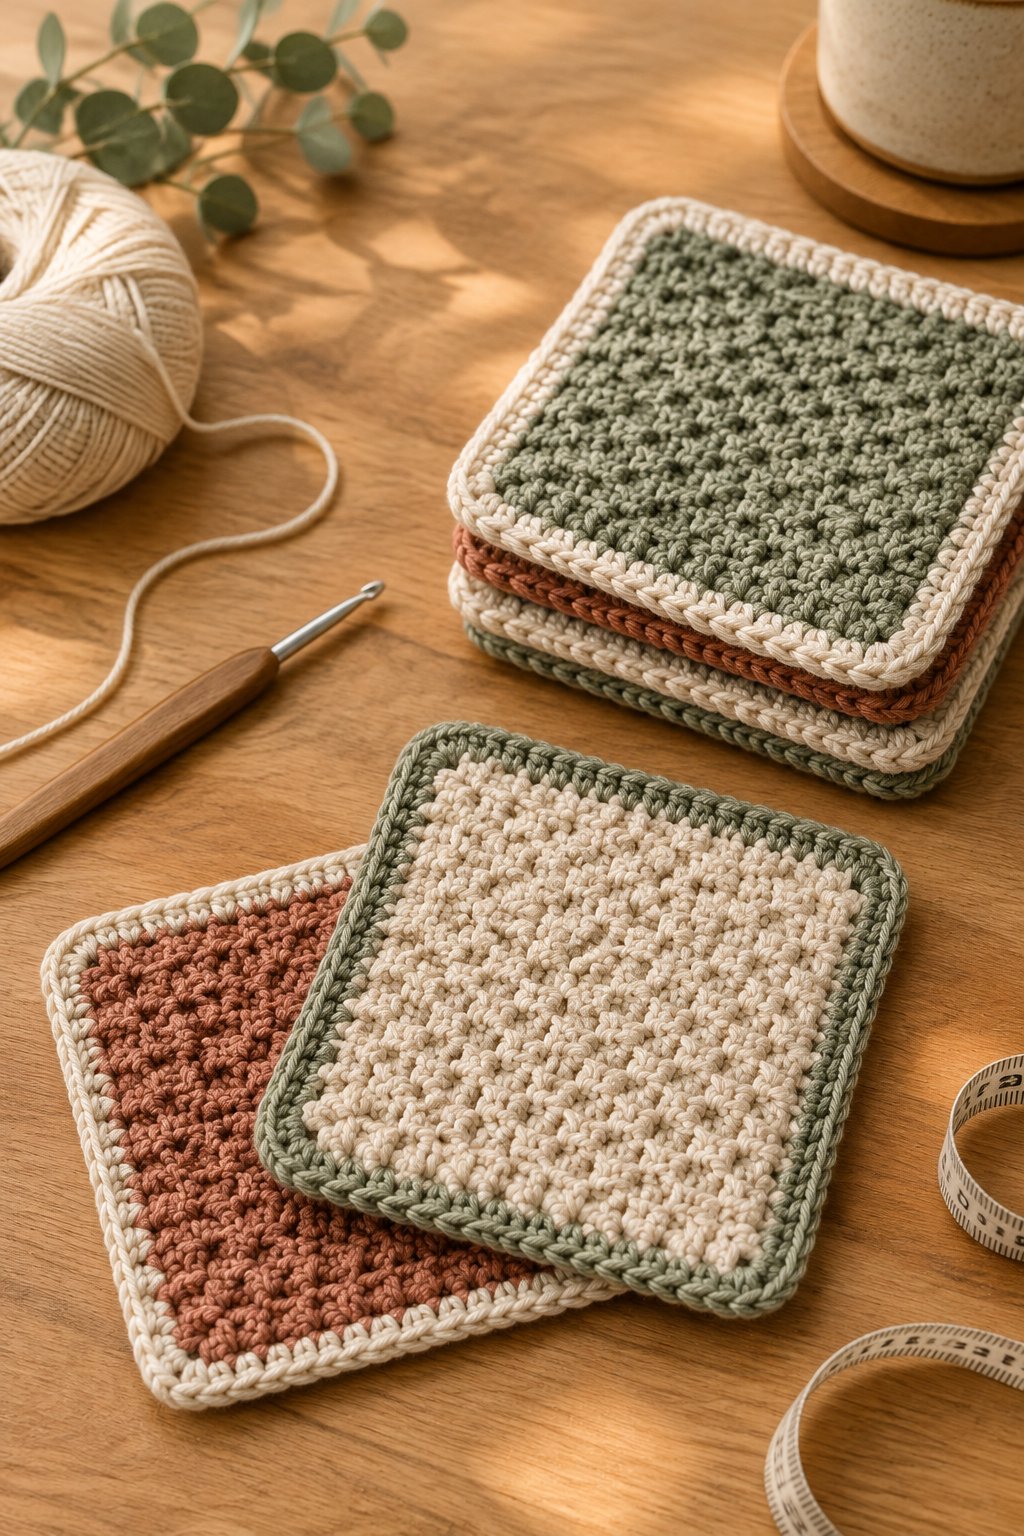
You’ll get a crisp, woven-looking coaster by pairing moss stitch with a narrow contrast border. Try an oatmeal center with an olive edge, or soften your table setting with blush and cream. A finished square around 4–5 inches wide gives you room for most mugs.
Choose worsted-weight cotton and start with a 4–4.5 mm hook. You’ll alternate single crochet and chain stitches, placing each new single crochet into a chain space from the previous row. This beginner-friendly repeat gives you an easy way to practice even tension.
Finish with a single crochet border, adding enough stitches at each corner to keep your square flat. Make one sample before completing a matching set, and check it beneath your widest mug. For gifting, stack four dry coasters and tie them with a cotton ribbon.
|
Detail |
Specification |
|---|---|
|
Yarn Weight |
Worsted, #4 cotton |
|
Skill Level |
Beginner |
|
Estimated Time |
45–90 minutes each |
2) Twist-Front Ribbed Ear Warmer
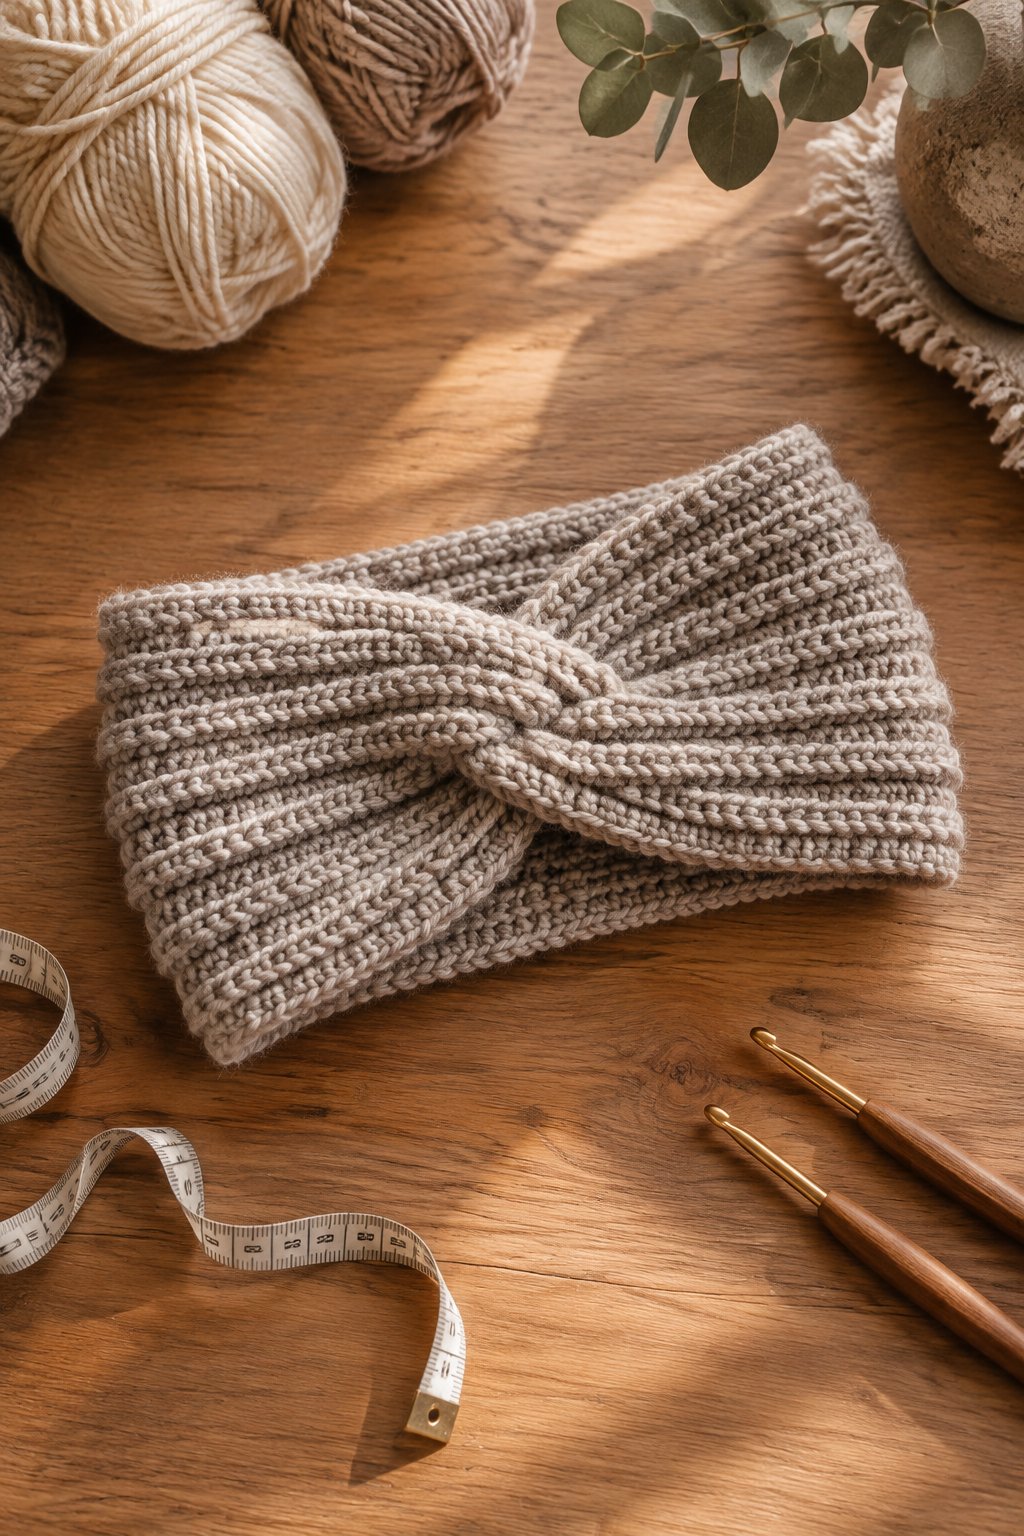
Your twist-front ear warmer gets its boutique-style shape from a ribbed rectangle and a carefully folded seam. Choose camel or deep burgundy for a versatile winter accessory. A band about 4 inches wide gives you useful ear coverage without too much bulk.
Use soft worsted-weight acrylic or a washable wool blend with a 5 mm hook. Work half double crochet through the back loop to build stretchy ribs. You’ll crochet the rectangle across its width, then add rows until its length fits comfortably around your head with gentle stretch.
For the twist, fold both short ends into U shapes, interlock them, and sew through all four layers. Turn the seam inward and spread the front folds evenly. Keep your stitches relaxed enough that the finished band stretches comfortably when you pull it over your ears.
|
Detail |
Specification |
|---|---|
|
Yarn Weight |
Worsted, #4 |
|
Skill Level |
Easy |
|
Estimated Time |
2–3 hours |
3) Chunky Crochet Basket With Fold-Over Sides

You’ll create a sturdy-looking storage basket with dense single crochet and a generous folded rim. Warm gray or natural cotton keeps the rounded shape understated. Use your finished basket for yarn scraps, folded washcloths, or small desk supplies.
Choose firm super bulky yarn or thick cotton cord, starting with a 6–8 mm hook suited to the material. Your fabric should feel dense enough to hold its shape while still allowing the hook to move easily. Crochet a flat circular base, then stop increasing to build the sides.
Mark your first stitch in every round so you keep the stitch count steady. Add extra wall height for a 1–2-inch fold, then roll the edge outward evenly. If the base ripples, review your increase count before continuing; an even foundation supports straighter sides.
|
Detail |
Specification |
|---|---|
|
Yarn Weight |
Super bulky, #6 |
|
Skill Level |
Easy |
|
Estimated Time |
3–5 hours |
4) Granny Square Tote With Solid-Color Handles

Your granny square tote looks coordinated when you repeat one background color and carry it into the handles. Combine cream with rust and muted blue for a cheerful patchwork effect. Square panels give you a clear layout to plan before joining.
Use worsted-weight cotton with a 4–5 mm hook for defined double crochet clusters. You’ll need chains, slip stitches, and basic joining skills, making this an easy project after a few practice squares. Keep every square the same size so your seams meet cleanly.
Arrange the pieces flat before assembly, then join them with a consistent seam. Build the handles in firm single crochet and reinforce their attachment points with extra stitching. For carrying small belongings, add a fabric lining that closes the gaps between clusters and helps support your bag’s shape.
|
Detail |
Specification |
|---|---|
|
Yarn Weight |
Worsted, #4 cotton |
|
Skill Level |
Easy |
|
Estimated Time |
8–14 hours |
5) Linen Stitch Pillow Cover With an Envelope Back

You’ll give your sofa a tailored accent with a linen stitch pillow cover and overlapping back panels. Choose a solid shade such as sage or warm ivory to highlight the small, woven-looking stitches. A square shape keeps your measuring and assembly manageable.
Use worsted-weight acrylic or a washable cotton blend with a 4.5–5.5 mm hook. Linen stitch uses the same single crochet-and-chain-space structure as moss stitch. Your main challenge is maintaining consistent dimensions across the front and both back pieces.
Measure your pillow insert and follow a cover pattern with a snug finished fit. Aim for roughly 4–6 inches of back-panel overlap on a standard throw pillow, adjusting for stretch. Align all outer edges before seaming, and test the opening with your insert so you have enough room to remove it for washing.
|
Detail |
Specification |
|---|---|
|
Yarn Weight |
Worsted, #4 |
|
Skill Level |
Easy |
|
Estimated Time |
8–12 hours |
6) Back-Loop Ribbed Beanie With a Folded Brim

Your ribbed beanie gets its clean vertical texture from a rectangle worked through the back loops. Pick charcoal for a classic look or mustard for a bright cold-weather accessory. A folded brim adds a substantial edge and extra warmth around your ears.
Start with soft worsted-weight yarn and a 5 mm hook. Back-loop half double crochet gives you a stretchy fabric, while slip-stitch ribbing creates a denser version that takes longer. Choose a beginner rectangle-beanie pattern with a size chart and clear crown-finishing instructions.
Work the starting edge long enough to include your planned brim depth. Check the rectangle around your head before joining its short sides, allowing for comfortable stretch. Gather the top firmly and secure the remaining opening with several small stitches so your crown stays closed during wear.
|
Detail |
Specification |
|---|---|
|
Yarn Weight |
Worsted, #4 |
|
Skill Level |
Easy |
|
Estimated Time |
3–5 hours |
7) Waffle Stitch Cotton Dishcloth
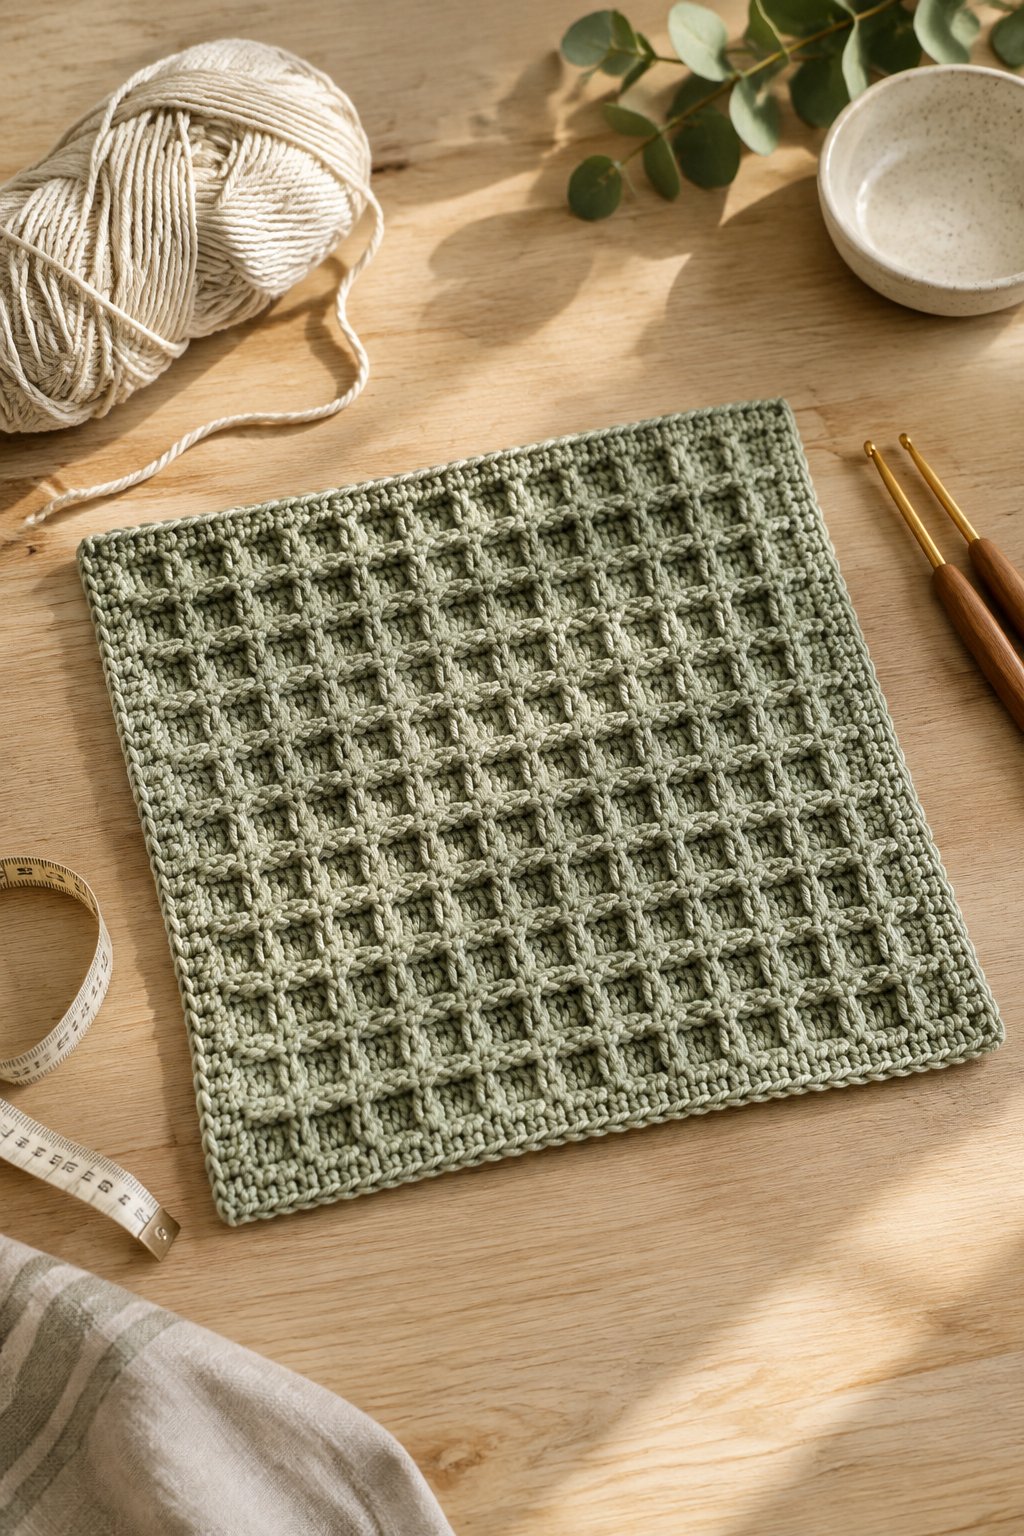
You’ll get bold texture from a waffle stitch dishcloth, especially in a solid shade that shows each recessed square. Try denim blue or soft green for a useful kitchen gift. An 8-inch square gives you a comfortable size for washing dishes.
Choose worsted-weight cotton and a 4.5–5 mm hook. You’ll combine double crochet with front post double crochet, wrapping your hook around the stitch post where the pattern directs. This easy-level project suits you once you’re comfortable identifying stitch tops and posts.
Keep your turning chains consistent so both side edges grow at the same rate. Work a small practice swatch before starting the full cloth, since post stitches draw the fabric inward. Finish with a restrained single crochet border, then wash and dry according to your yarn label before gifting.
|
Detail |
Specification |
|---|---|
|
Yarn Weight |
Worsted, #4 cotton |
|
Skill Level |
Easy |
|
Estimated Time |
2–3 hours |
8) Velvet Scrunchie With a Ruffled Edge

Your velvet scrunchie gets a plush, gathered finish from densely packed stitches around a sturdy hair elastic. Choose rose or chocolate for a soft accessory with a little sheen. A fuller outer round creates the ruffled edge that makes this small project feel dressy.
Use bulky velvet yarn with a hook around 5–6 mm, checking the yarn label first. Cover the elastic with single crochet, sliding stitches together as you work. Add a second round with increases according to your chosen scrunchie pattern to build the ruffle.
You’ll find this beginner-friendly once you’re comfortable feeling for stitches in fuzzy yarn. Work in bright light and use a stitch marker to track your round. Leave a generous finishing tail and secure it through several stitch paths, since smooth velvet yarn needs careful end weaving.
|
Detail |
Specification |
|---|---|
|
Yarn Weight |
Bulky, #5 velvet |
|
Skill Level |
Easy |
|
Estimated Time |
30–60 minutes |
9) Color-Block Infinity Scarf in Half Double Crochet

You’ll get a modern, wearable scarf from broad color blocks and the soft texture of half double crochet. Pair cream with espresso for strong contrast, or choose neighboring shades for a quieter look. Your long rectangle becomes a continuous loop after one short seam.
Select worsted-weight acrylic or a soft wool blend with a 5.5–6 mm hook. This beginner project gives you plenty of practice with a single stitch. For a double-wrap style, use roughly 55–65 inches in circumference as a starting point, then check your preferred drape.
Change colors on the final yarn-over of the last stitch before each new block. Keep both short ends equal in width so the seam sits smoothly. Before joining, loop the fabric around your neck and confirm that your finished length feels comfortable with your usual coat.
|
Detail |
Specification |
|---|---|
|
Yarn Weight |
Worsted, #4 |
|
Skill Level |
Beginner |
|
Estimated Time |
5–8 hours |
10) Crochet Glasses Sleeve With a Button Flap
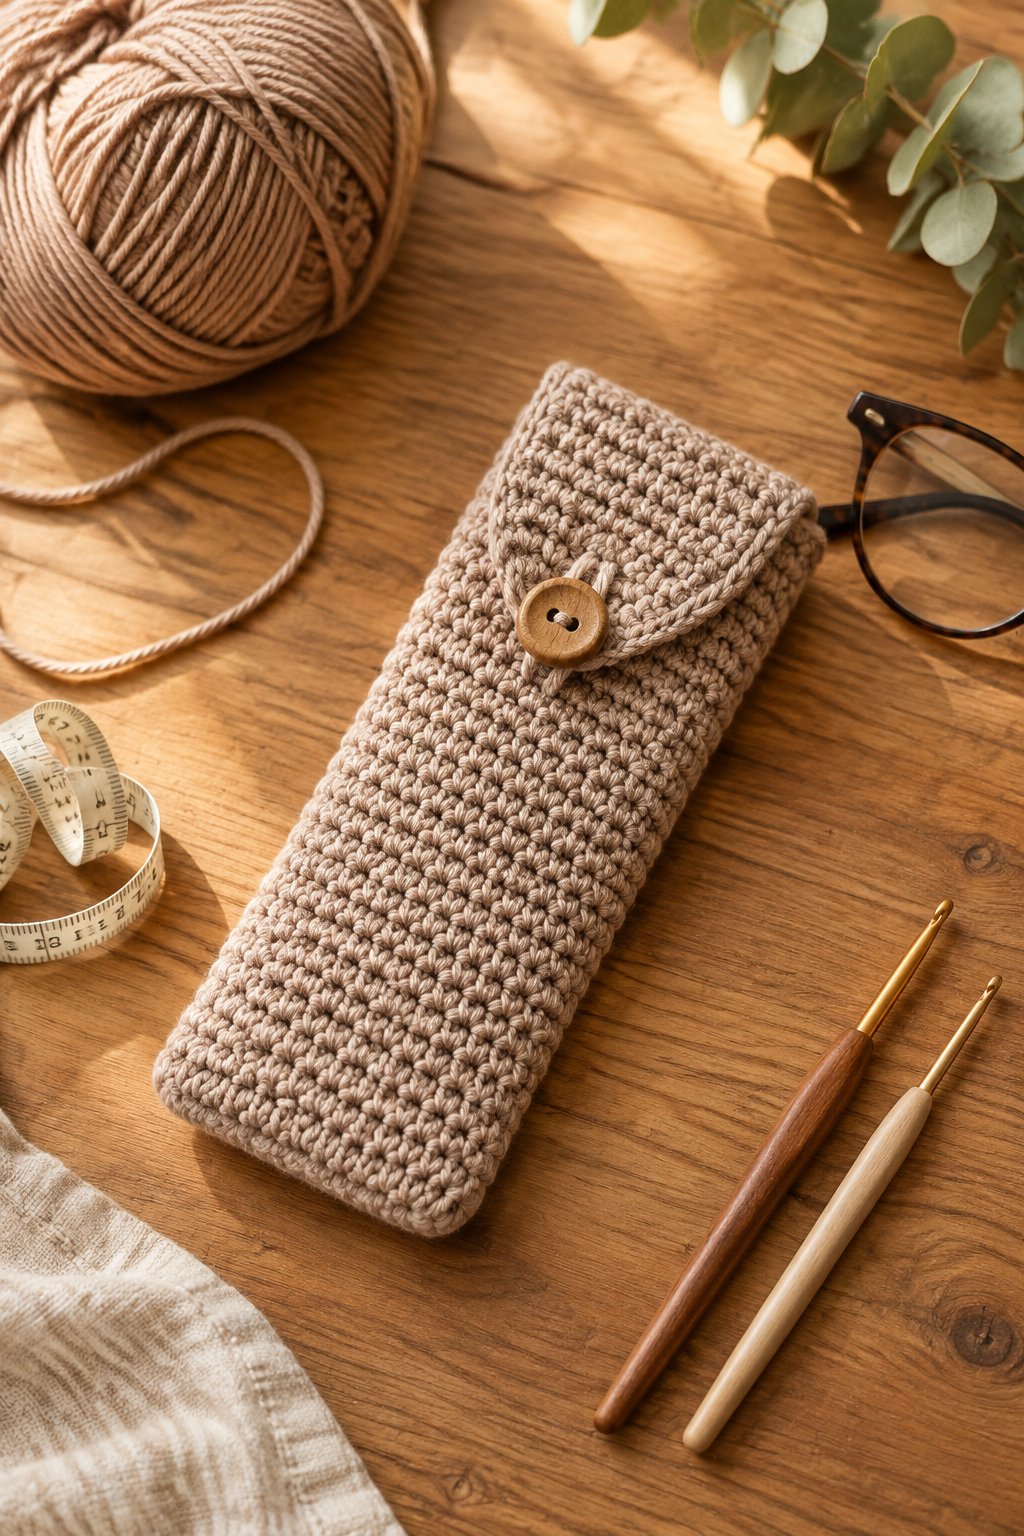
Your glasses sleeve looks neatly finished with dense stitches and a small button closure. Choose navy with a tan button for a simple accessory, or use a bright shade that’s easy to spot inside your bag. A narrow rectangular shape keeps the construction beginner-friendly.
Use smooth worsted-weight cotton with a 3.5–4 mm hook for a close fabric. Work single crochet in a rectangle, fold it around your glasses, and seam the sides. Leave extra length at one end to form the flap.
Check the fit with your folded frames before sewing, allowing room for thick arms or curved lenses. Add a chain-loop closure sized to your button, then stitch the button securely. Sew in a soft lining to reduce rubbing against the lenses; use your sleeve for light scratch protection and keep a rigid case for crush protection.
|
Detail |
Specification |
|---|---|
|
Yarn Weight |
Worsted, #4 cotton |
|
Skill Level |
Beginner |
|
Estimated Time |
2–3 hours |
11) Granny Stitch Bandana With Tie Straps
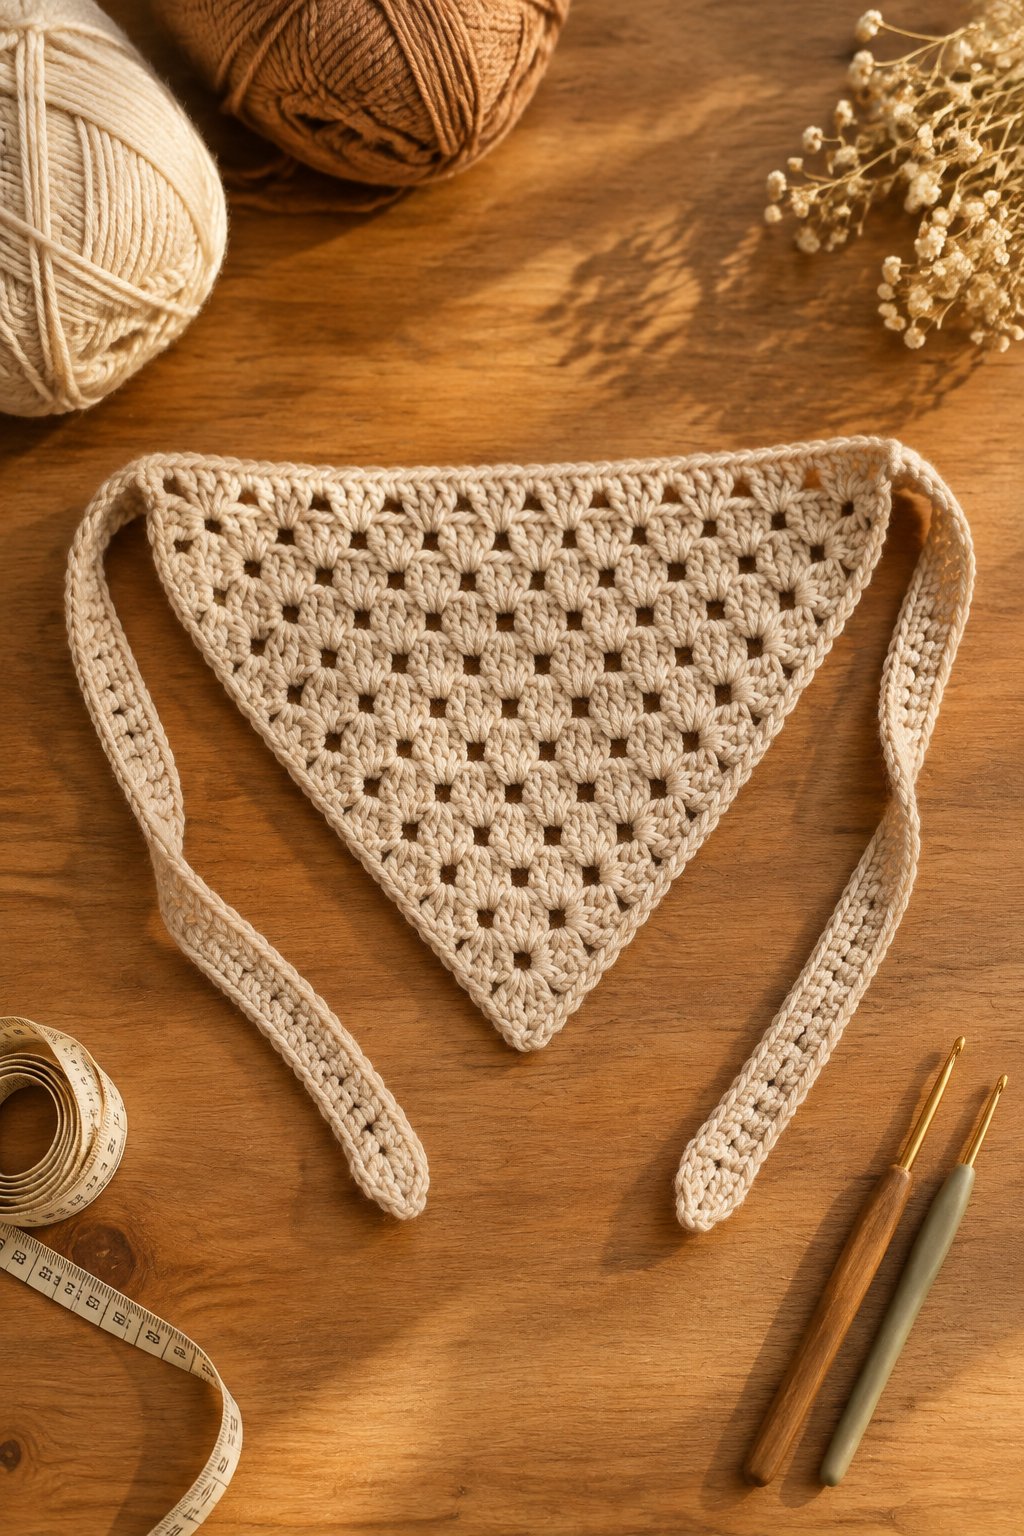
You’ll create a light, vintage-inspired accessory with a granny stitch triangle and slim ties. Try butter yellow for a sunny look or cream with one contrasting border. Your finished triangle sits neatly over the crown while the straps let you adjust the fit.
Choose sport- or DK-weight cotton with a 3.5–4 mm hook. You’ll use double crochet clusters and chain spaces, following a triangular pattern that increases evenly at the edges. This easy project works well after you’ve practiced a basic granny square.
Check the width across your head as the triangle grows, stopping before it extends beyond your preferred coverage. Add matching chain ties at both upper corners and work slip stitches back along them for strength. Keep the ties long enough for a comfortable bow, then trim and secure every color-change tail.
|
Detail |
Specification |
|---|---|
|
Yarn Weight |
Sport #2 or DK #3 |
|
Skill Level |
Easy |
|
Estimated Time |
2–4 hours |
12) Cotton Plant Hanger With an Open Mesh Cradle
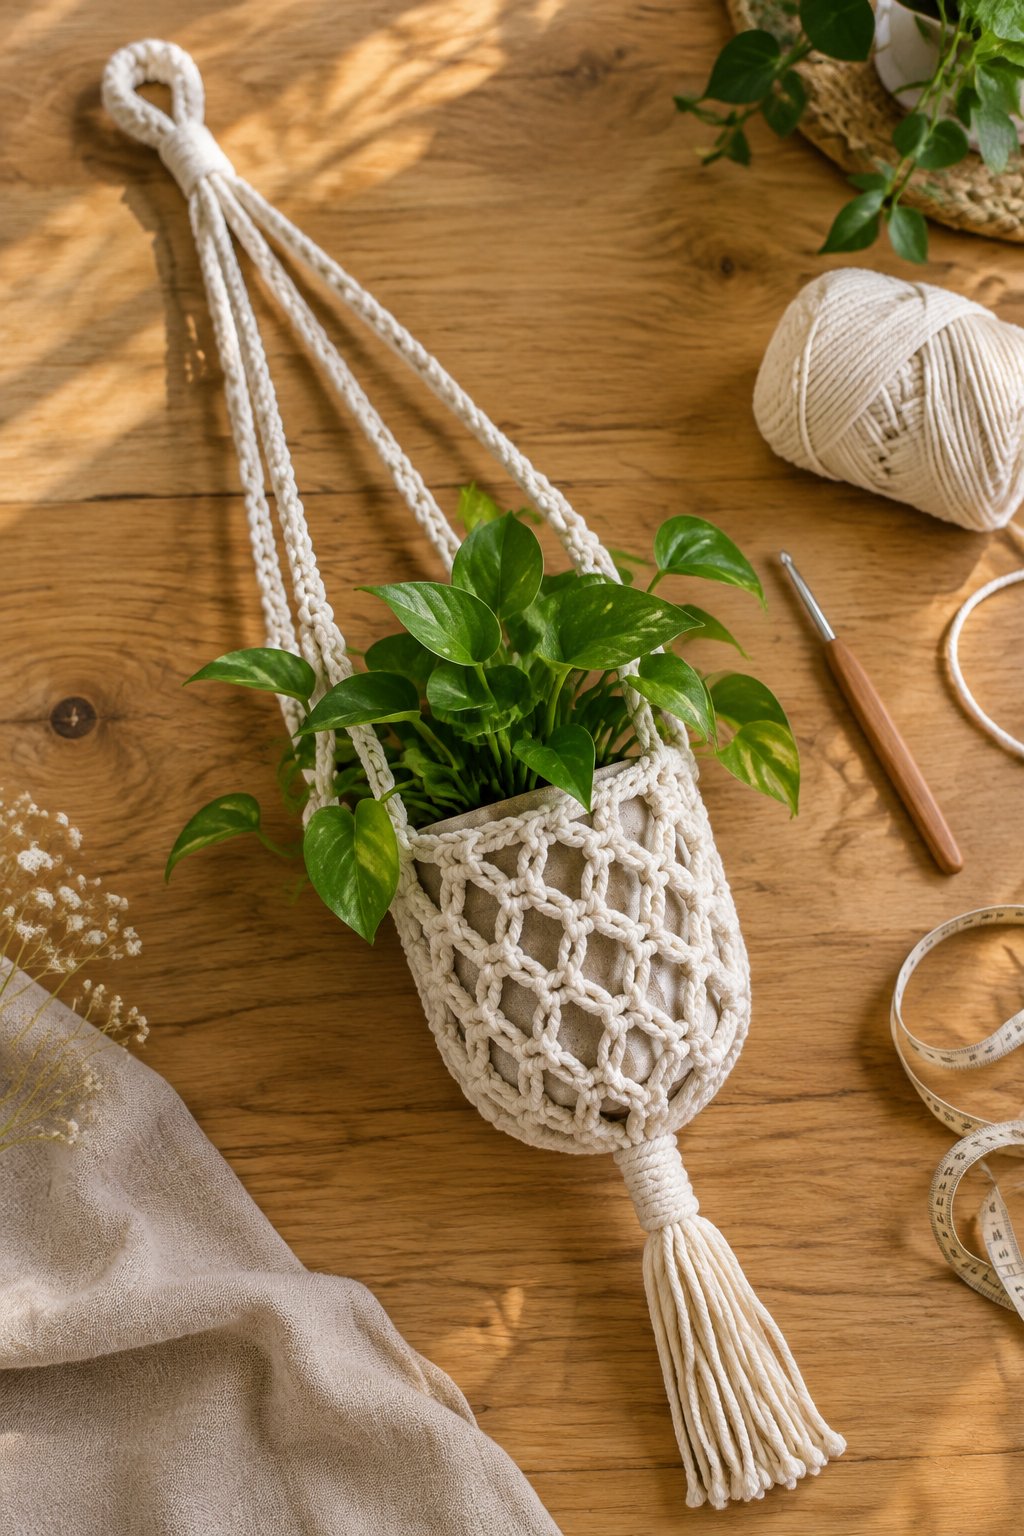
Your crochet plant hanger gets an airy look from an open mesh cradle balanced by firm suspension straps. Natural cotton pairs easily with terracotta, while black gives a pale pot a stronger outline. Choose a small, lightweight planter for your first version.
Use sturdy worsted-weight cotton with a 4–5 mm hook, following a plant-hanger pattern sized for your pot. You’ll build a supportive base before adding chain-space mesh around the sides. Keep openings small enough that the pot’s base stays fully supported.
Make every hanging strap equal in length and reinforce each joining point. Test the completed hanger close to the floor with the fully watered pot, checking for stretching or slipping. Use mounting hardware rated for the total wet weight, and remove the pot for watering so your cotton hanger stays dry.
|
Detail |
Specification |
|---|---|
|
Yarn Weight |
Worsted, #4 cotton |
|
Skill Level |
Easy |
|
Estimated Time |
3–5 hours |
13) Ribbed Fingerless Mitts With Simple Thumb Openings

You’ll get a close-fitting pair of mitts from two ribbed rectangles with gaps left in the side seams. Heather gray or forest green shows the texture without distracting from the shape. Your fingers stay free for typing while the longer cuffs cover your wrists.
Choose soft DK-weight yarn and a 4 mm hook for a flexible fabric. Back-loop half double crochet creates easy ribs with useful stretch. Work each rectangle to your preferred wrist-to-knuckle length, then add rows until it wraps comfortably around your hand.
Pin the seam before sewing and mark the thumb opening while wearing the piece. Leave enough space to move your thumb freely without pulling the palm fabric tight. Record your row count after the first mitt so the second matches, and keep both thumb openings at the same height.
|
Detail |
Specification |
|---|---|
|
Yarn Weight |
DK, #3 |
|
Skill Level |
Easy |
|
Estimated Time |
3–5 hours per pair |
14) Button-Fastened Mug Cozy With a Contrast Edge
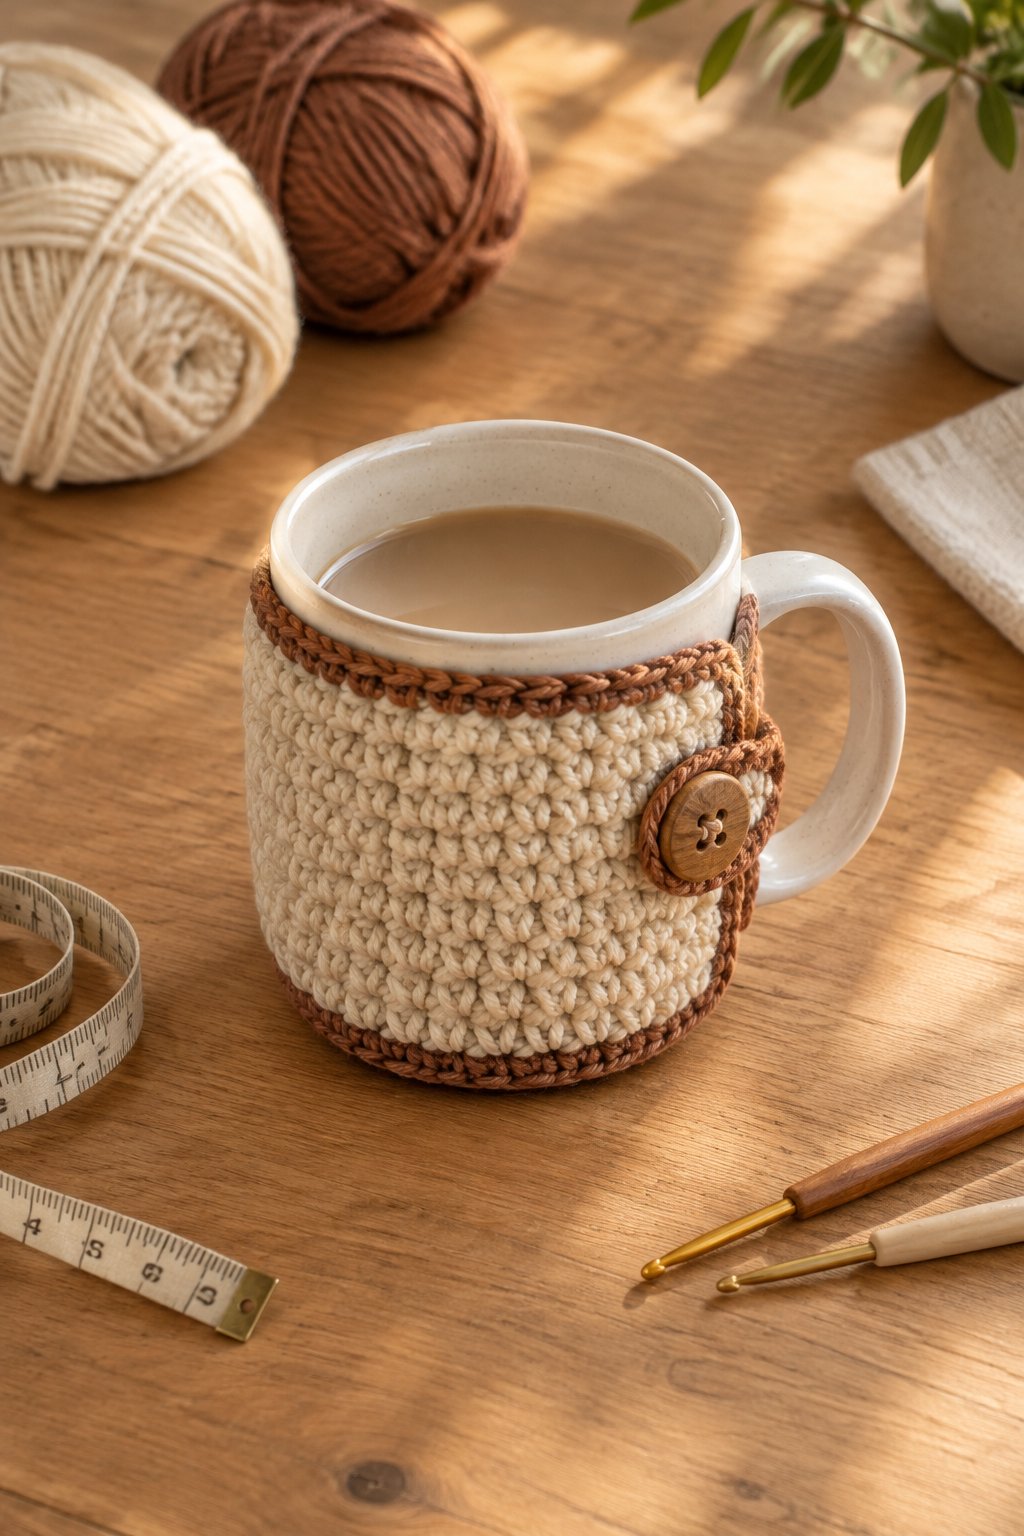
Your mug cozy looks gift-ready when you frame a simple rectangle with a contrasting edge and a well-sized button. Try a cream body with a cranberry border for a seasonal touch. A shaped closure leaves space around the handle and helps hold the wrap in place.
Use worsted-weight cotton and a 4–4.5 mm hook. Single crochet gives you a dense beginner-friendly fabric, while half double crochet works up faster. Measure your mug’s body and keep the cozy comfortably below the drinking rim.
Work the rectangle to fit snugly, then add a button loop at one end. Test the loop before fastening off so it slips over your button with light tension. Sew the button through several stitches for support. Remove your cozy before washing the mug, and use the handle when carrying hot drinks.
|
Detail |
Specification |
|---|---|
|
Yarn Weight |
Worsted, #4 cotton |
|
Skill Level |
Beginner |
|
Estimated Time |
1–2 hours |
15) Wide-Stripe Baby Blanket With a Single Crochet Border

You’ll create a calm, coordinated baby blanket with wide stripes and a narrow single crochet border. Choose cream with dusty blue, or pair warm beige with muted peach. A simple rectangle lets the color changes become your main design detail.
Use soft, machine-washable worsted-weight yarn with a 5–5.5 mm hook. Half double crochet gives you a straightforward beginner repeat and a fabric with modest drape. A stroller-size blanket around 30 by 36 inches keeps the project manageable, with final dimensions checked after washing.
Count your stitches at every color change to keep the sides straight. Add a single crochet border with extra corner stitches so the edges lie flat. Secure all tails thoroughly and skip loose decorative attachments. Give the blanket for supervised outings or floor time; keep blankets out of an infant’s sleep space.
|
Detail |
Specification |
|---|---|
|
Yarn Weight |
Worsted, #4 |
|
Skill Level |
Beginner |
|
Estimated Time |
15–25 hours |
How to Choose a Project You Can Finish Confidently
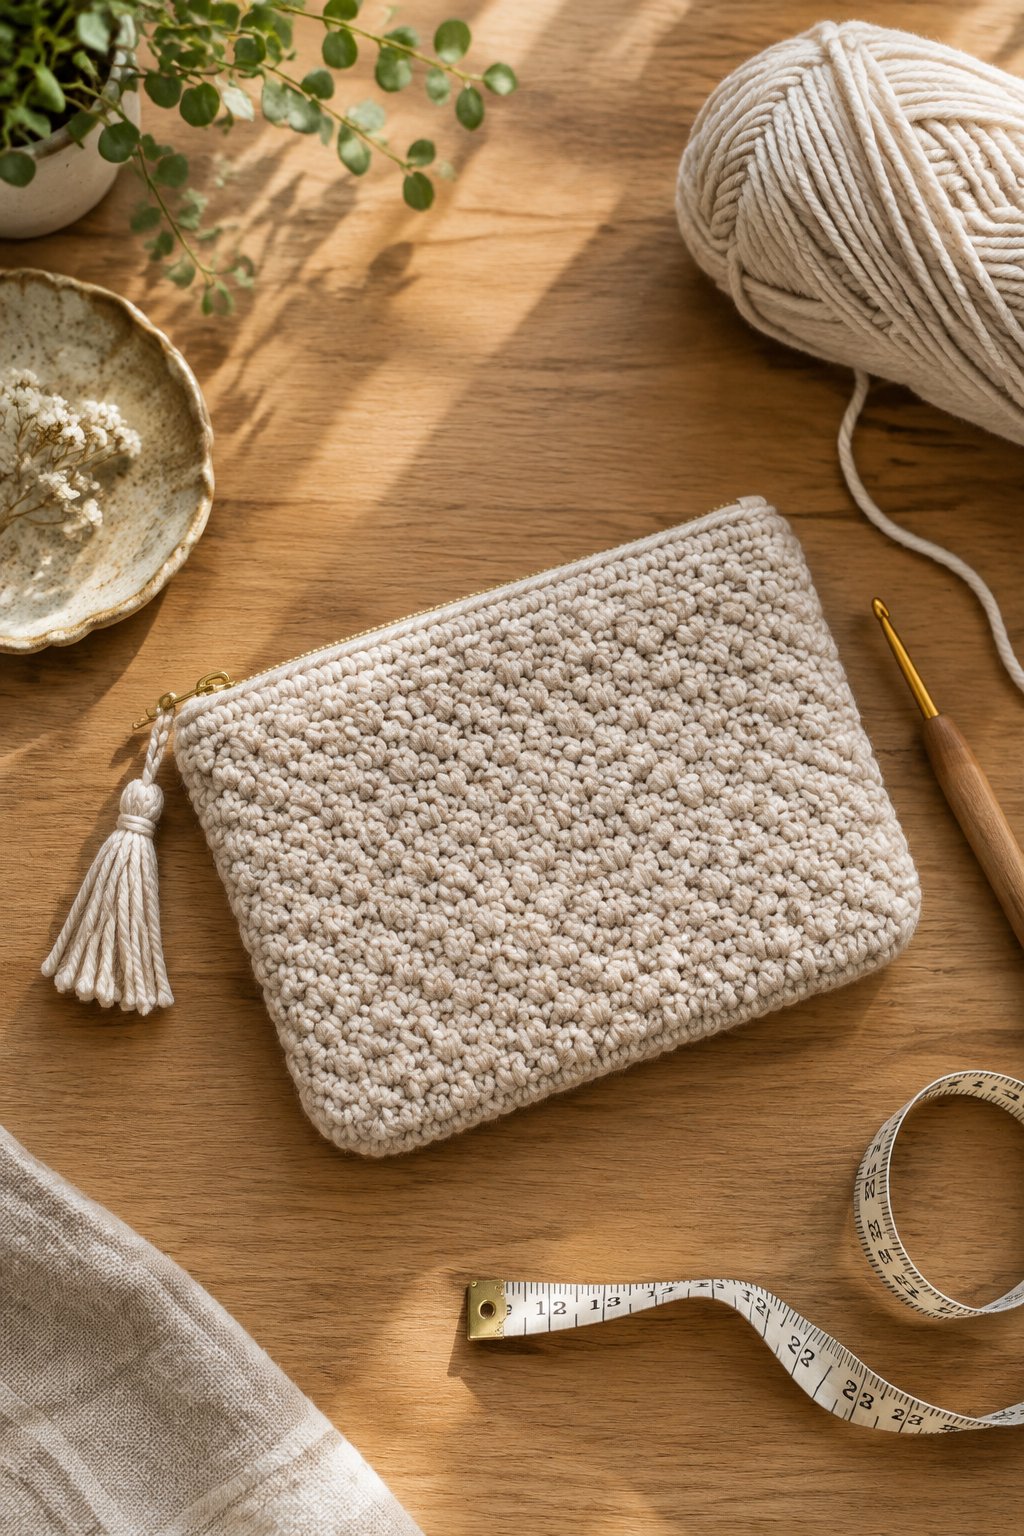
You’ll have an easier finish when you choose a project with familiar construction and one new skill to practice. Start small if you’re still learning to recognize stitches, and save larger pieces for a repeat you enjoy working.
Which Stitches Should You Know Before Starting?
You’re ready for several beginner projects once you can chain, single crochet, and turn your work. Practice counting the stitches in each completed row, including how your chosen pattern treats turning chains. Learn to fasten off and thread a yarn needle before beginning a gift.
Add half double crochet for soft accessories and double crochet for granny designs. Before trying waffle stitch, practice placing a stitch around a post. Follow US stitch terminology throughout, since UK stitch names describe different stitches.
How Much Time and Yarn Should You Allow?
Use the project times above as planning estimates for someone familiar with the required stitches. Give yourself extra sessions when you’re learning a technique, changing several colors, or adding a lining. Include washing and drying time before your gift deadline.
Check a complete pattern for yardage in your chosen size before buying yarn. Compare yards per skein, since skein sizes vary, and purchase matching dye lots together. For larger projects, keep a little extra yarn available for your swatch and finishing adjustments.
When Should You Choose Cotton, Worsted, or Chunky Yarn?
Choose cotton when your project needs absorbency or clear stitch definition, such as a dishcloth or coaster. Remember that cotton describes the fiber, while worsted and chunky describe thickness. You’ll find cotton sold in several yarn weights.
Use worsted-weight yarn when you want easy-to-see stitches and a broad choice of patterns. Choose chunky yarn for a thicker fabric or a faster-growing project, checking that its bulk suits the item. For wearables, hold a swatch against your skin before committing to the full piece.
Finishing Details That Make Simple Crochet Look Polished

You’ll get a more polished result by matching your fabric to its purpose and giving the finishing work its own time. Check the shape before attaching closures or sewing permanent seams.
How Do You Match Your Hook to the Fabric You Want?
Start with your pattern’s recommended hook, then make a swatch using the same stitch. For fitted items, compare your gauge with the pattern and adjust hook size as needed. Recheck after washing if the finished item will be washable.
Use a smaller hook when your stitches need to sit closer together, as with a storage basket. Try a larger hook when your scarf swatch feels stiff. Keep the hook comfortable to move through the yarn; forcing every stitch makes consistent tension harder to maintain.
How Can You Keep Tension, Edges, and Seams Consistent?
Count each row while you’re learning a repeat, and place markers in the first and last stitches when the edges are hard to see. Keep your yarn feeding freely from the skein. Pause if your grip tightens, then compare the newest rows with the earlier fabric.
Before seaming, line up matching corners and secure them with removable markers. Use the same seam method along the full join, catching an equal amount of fabric on both sides. Check the outside every few inches so you catch puckering early.
When Should You Block Your Project and Secure Yarn Ends?
Block your pieces before assembly when you need matching measurements, especially for granny squares or pillow panels. Follow the yarn’s care label, gently shape the damp fabric, and let it dry fully. Keep direct heat away from acrylic and heat-sensitive specialty yarns.
Leave tails around 6 inches long for weaving, with extra length for bulky or slippery yarn. Thread each tail through the backs of several stitches and change direction to help secure it. After the first wash, inspect your joins and trim any small ends that have worked free without cutting into the stitches.