You can turn leftover yarn into useful gifts and cozy accents with these 16+ small crochet projects, perfect for satisfying weekend stashing. Compact shapes and playful details give you plenty of reasons to save a design for your next free afternoon.
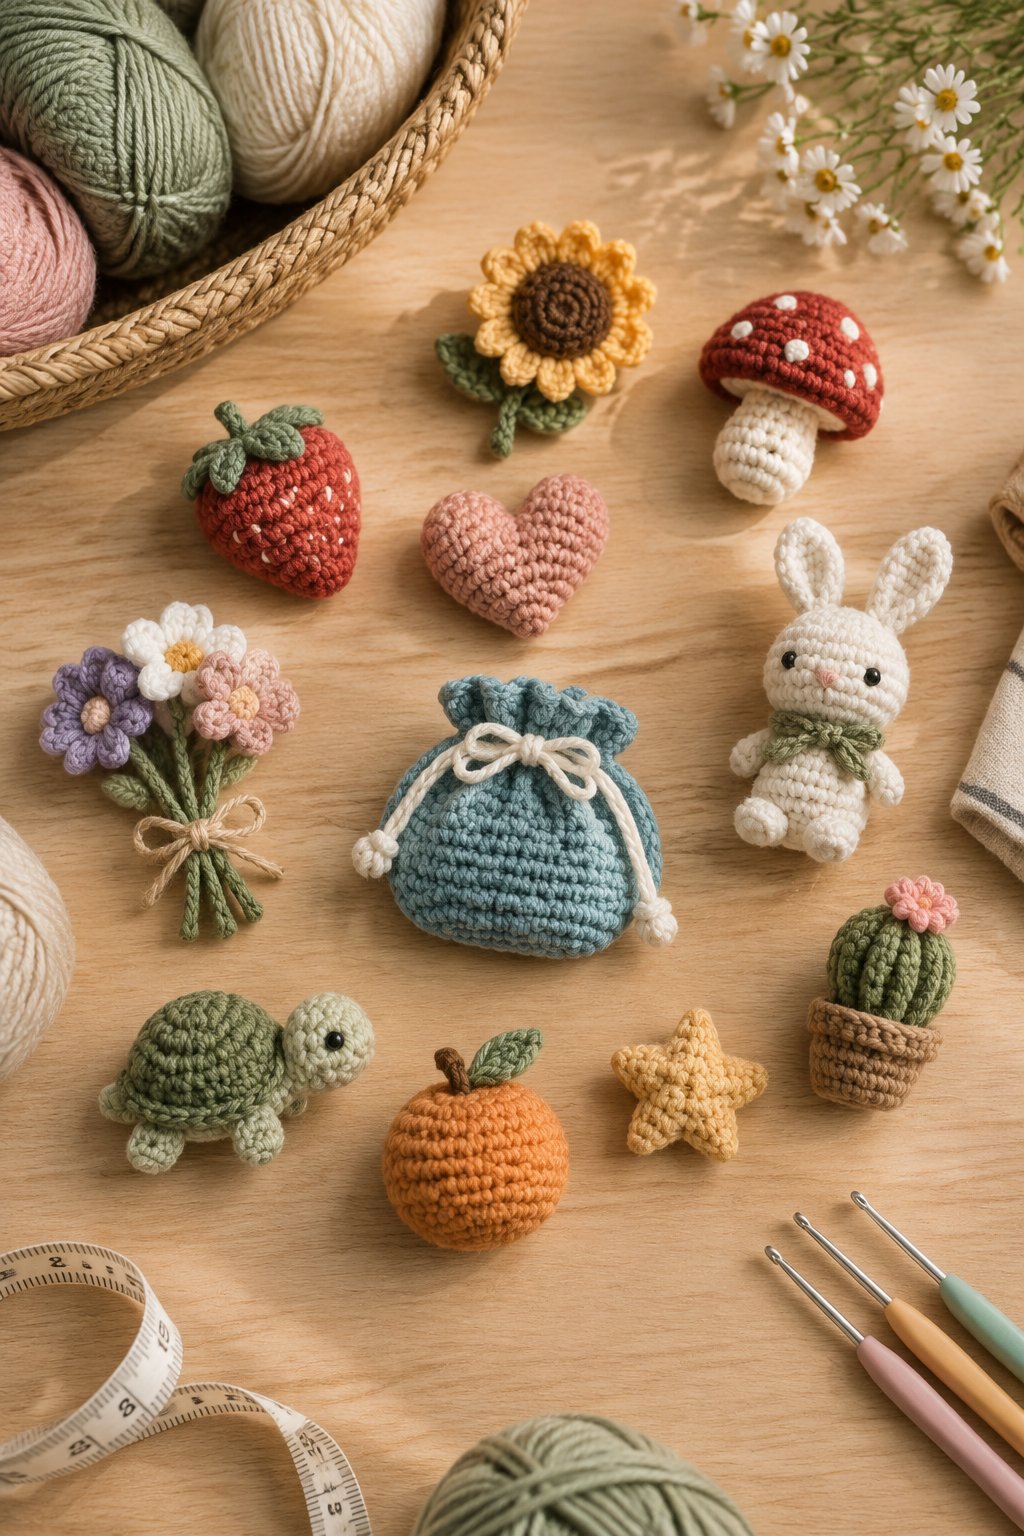
Start with a yarn you enjoy handling and a project you’ll use. You’ll find room for extra variations through matching sets and scrap-color combinations. Treat the times below as planning estimates: your pace, chosen pattern, and finishing steps will shape your weekend schedule.
1) Textured Cotton Dishcloth With a Hanging Loop

You’ll get a useful beginner finish from a cotton dishcloth with a sturdy hanging loop. Choose sage, cream, or a cheerful yellow for a kitchen accent with visible texture. An approximately 8-inch square gives you enough fabric for everyday wiping without creating a bulky cloth.
Use worsted-weight cotton and a 4.5–5 mm hook as your starting point. Alternate single and double crochet for a pebbled surface, following a pattern that keeps your edges straight. Add a single-crochet border to give your square a neat outline.
For your loop, chain a short length at one corner and secure it firmly into the border. Check that it fits your kitchen hook. Wash your finished cloth before gifting, and include the yarn’s care instructions.
|
Detail |
Specification |
|---|---|
|
Yarn Weight |
Worsted, #4 cotton |
|
Skill Level |
Beginner |
|
Estimated Time |
2–3 hours |
2) Scalloped Flower Coasters
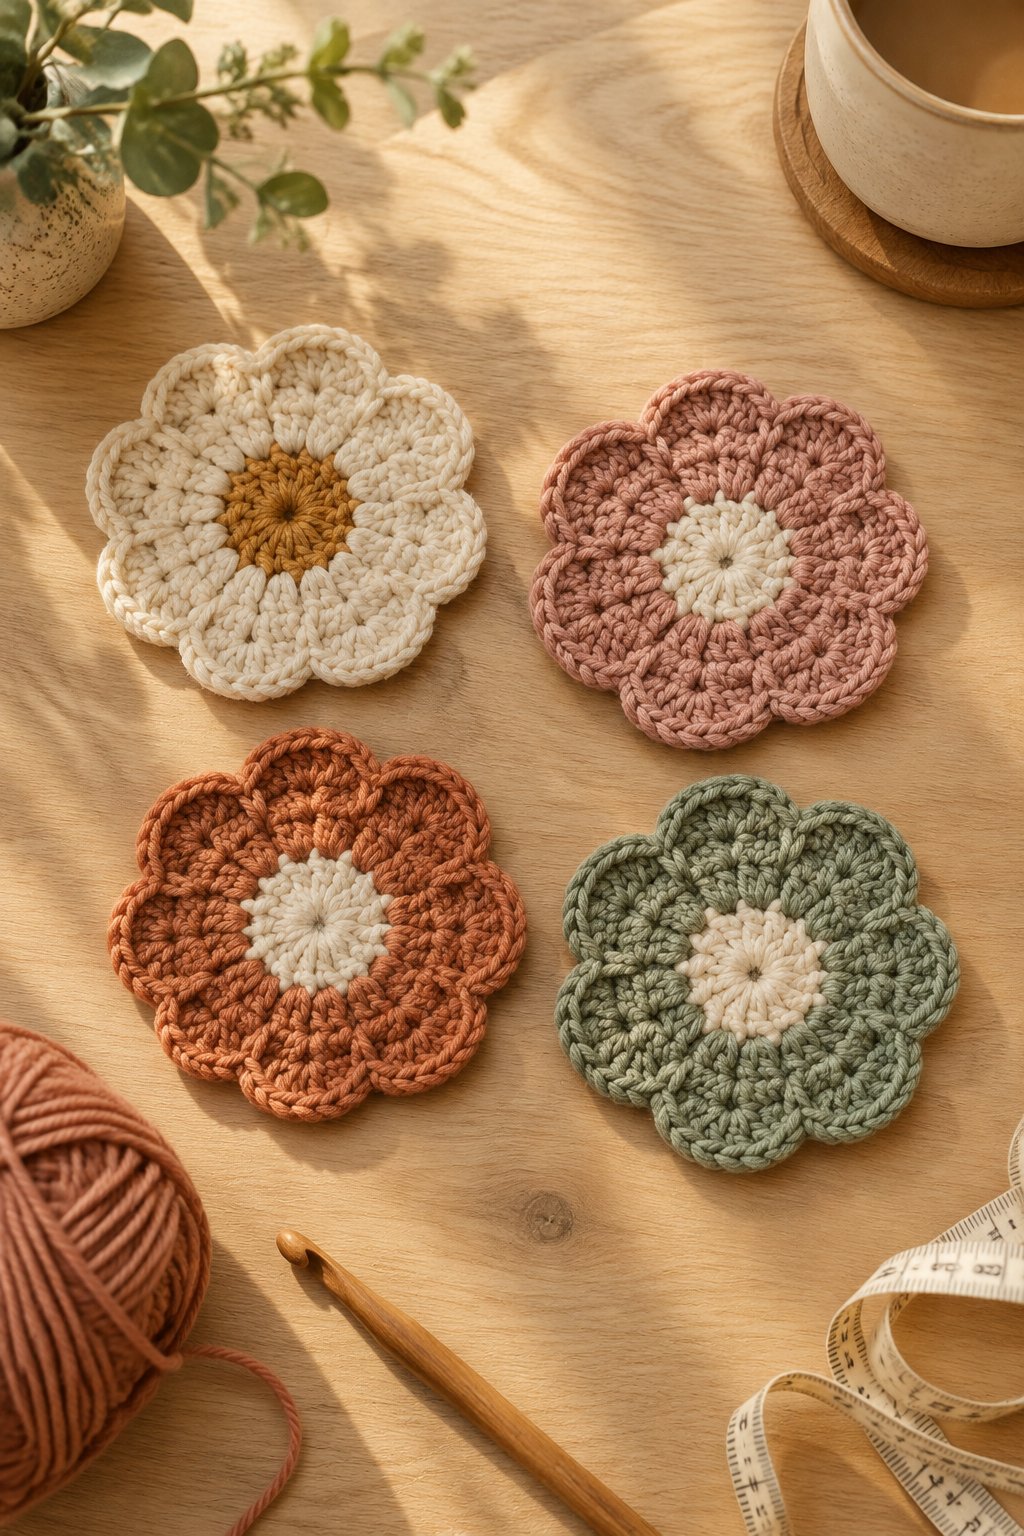
Your smallest cotton leftovers suit flower coasters with rounded, scalloped petals. Pair a golden center with dusty pink petals, or use one color for a quieter look. Aim for roughly 4–5 inches across so your finished coaster comfortably supports a mug.
Choose worsted-weight cotton with a 4–4.5 mm hook. You’ll practice working in rounds, joining neatly, and placing several double crochets into one stitch to form each scallop. Count carefully around the center so your petals land at even intervals.
Keep your center flat and dense enough to support a cup. If your edges ripple, check your stitch count and tension before continuing. Make a coordinated pair for a small gift, then use another scrap for a hanging tie around your stack.
|
Detail |
Specification |
|---|---|
|
Yarn Weight |
Worsted, #4 cotton |
|
Skill Level |
Easy |
|
Estimated Time |
45–90 minutes each |
3) Chunky Catchall Basket With Folded Sides
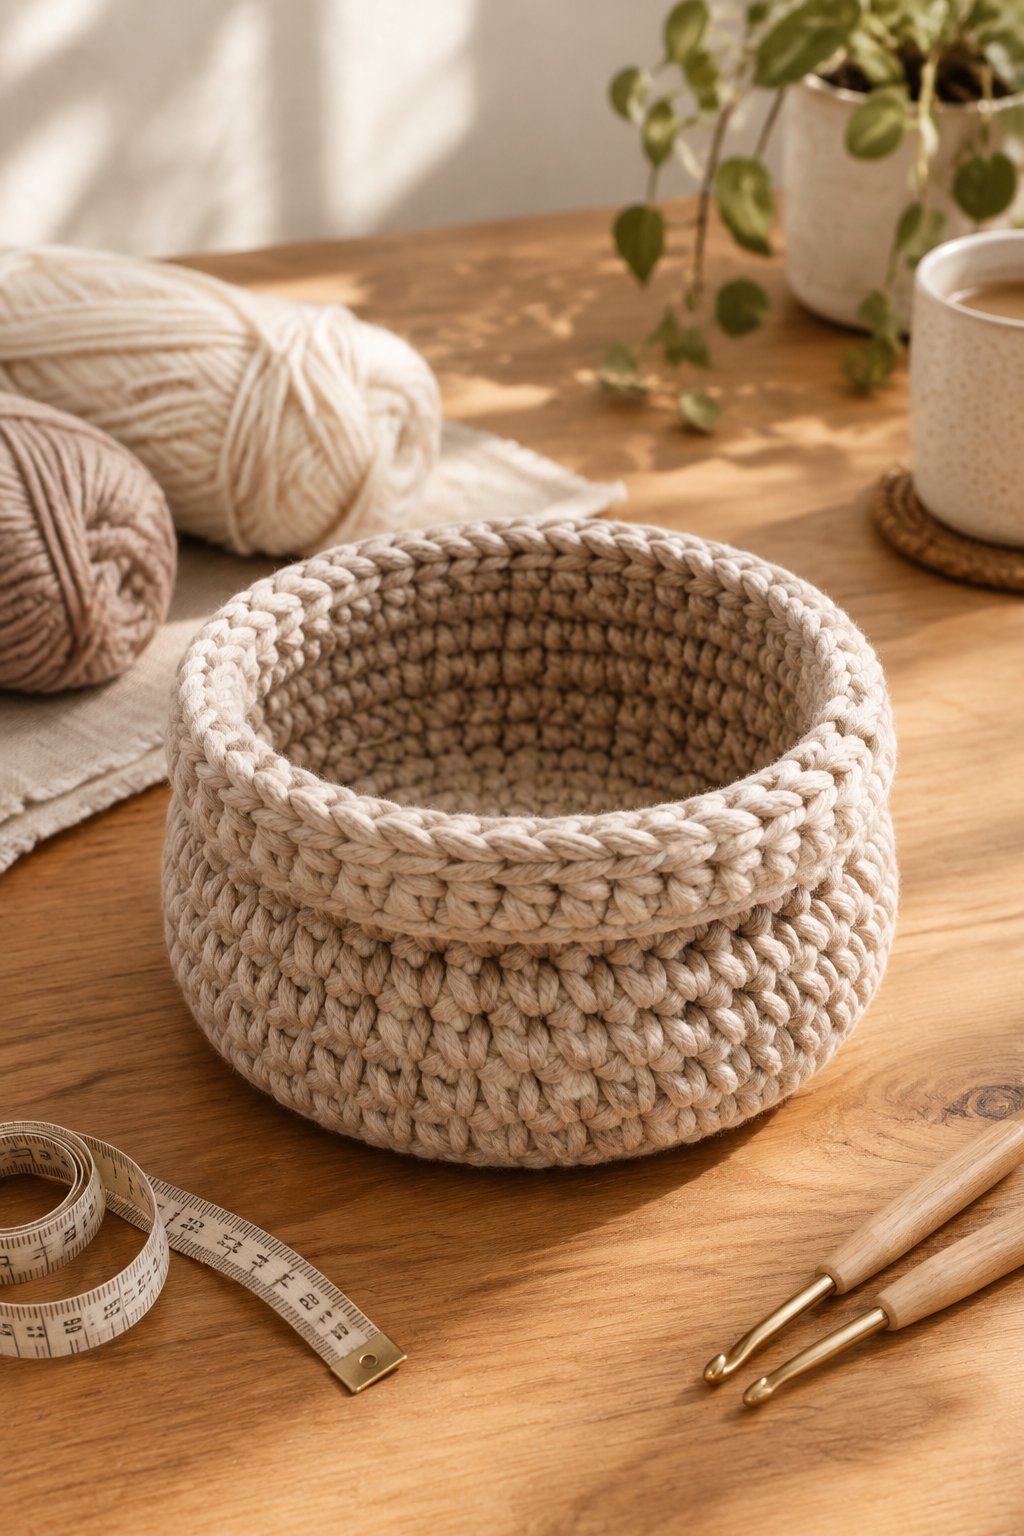
You’ll give small desk supplies a home with a chunky basket finished with folded side edges. Warm oatmeal or charcoal highlights the thick stitches, while a contrasting upper band uses up a shorter leftover length. Keep your first basket around 5–6 inches wide.
Start with bulky cotton cord or firm bulky yarn and a 6–8 mm hook, adjusting for a dense fabric. Work a flat base in single crochet, then follow your pattern’s transition into upright walls. A back-loop round creates a defined turn at the base.
Extend your walls enough to fold the upper edge outward. You’ll get a firmer rim and a softer-looking silhouette. Save this easy project for lightweight contents such as stitch markers or hair accessories; check that your basket stands before weaving in every end.
|
Detail |
Specification |
|---|---|
|
Yarn Weight |
Bulky, #5 |
|
Skill Level |
Easy |
|
Estimated Time |
2–4 hours |
4) Granny Square Coin Purse With a Button Flap

You can turn two small granny squares into a colorful coin purse with a practical button flap. Try a berry center, blush middle, and cream border for a coordinated finish. Matching outer rounds help your squares look connected even when you use different center scraps.
Work with DK cotton and a 3.5–4 mm hook. You’ll use double-crochet clusters and chain spaces, then join matching squares along three sides. Add a short flap to the back panel and size its button loop to your chosen button.
For loose change, sew in a lightweight fabric lining so coins stay inside the open stitchwork. Treat this as an intermediate project when lining is included. Secure your button through reinforced fabric or several sturdy stitches, then check that your flap closes without pulling.
|
Detail |
Specification |
|---|---|
|
Yarn Weight |
DK, #3 cotton |
|
Skill Level |
Intermediate |
|
Estimated Time |
3–5 hours |
5) Ruffled Crochet Scrunchie

For a quick accessory, wrap a sturdy hair elastic in soft crochet ruffles. Choose lavender or peach for a gentle look, or combine bright scraps for a playful edge. Your finished shape should look full while still allowing the elastic to stretch freely.
Use smooth DK yarn with a 3.5–4 mm hook. Start by working single crochet around the elastic, sliding stitches together as you go. Follow with a round of double crochet that adds enough stitches to create your preferred ruffle.
You’ll find this beginner-friendly if you already know how to join rounds. Stretch the elastic several times before fastening off, checking for tight spots. Keep your join smooth and weave ends deeply into the crochet covering. Make a second scrunchie with a contrasting border for a coordinated gift pair.
|
Detail |
Specification |
|---|---|
|
Yarn Weight |
DK, #3 |
|
Skill Level |
Beginner |
|
Estimated Time |
1–2 hours |
6) Ribbed Twist-Front Ear Warmer
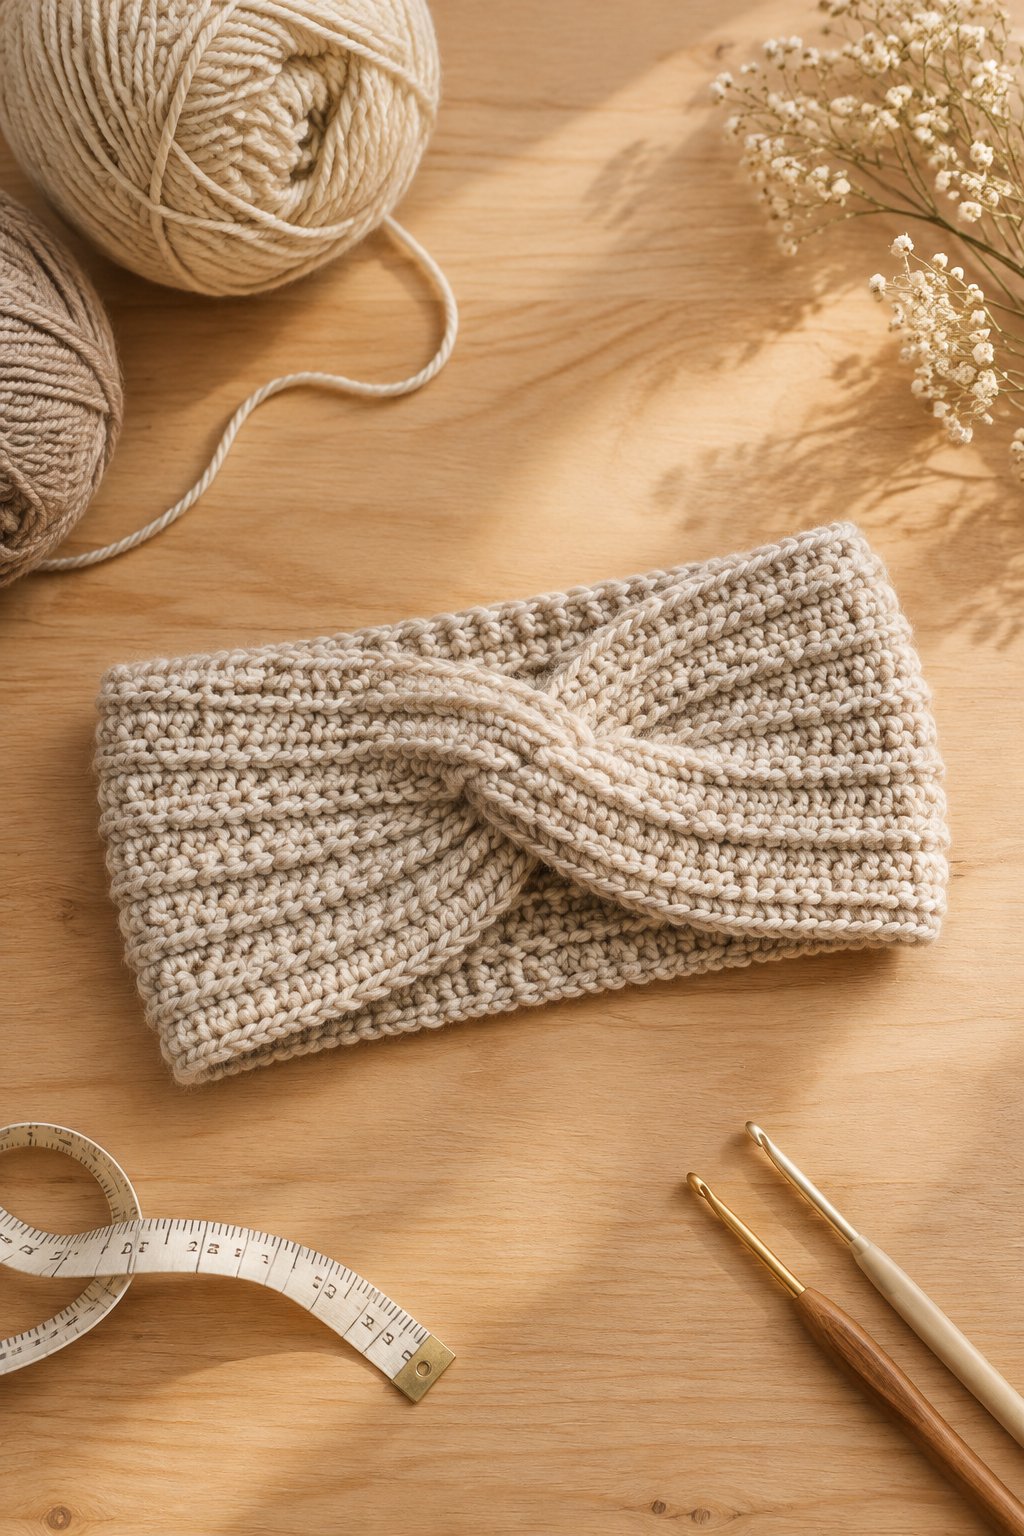
Your leftover soft worsted yarn suits a ribbed ear warmer with a tidy twist at the forehead. Try rust, forest green, or heather gray to bring out the ridges. A band around 4 inches wide gives you useful ear coverage without much bulk.
Choose a 5–5.5 mm hook and work a rectangle using back-loop half-double crochet. Measure your head where the band will sit, then follow your pattern’s allowance for stretch. Test the fabric around your head before committing to the final length.
For the twist, fold and interlock the short ends as your pattern directs, then seam through every required layer. Turn the seam inward and spread the front folds evenly. You’ll get a beginner-friendly accessory with a polished finish; reserve a little yarn for a secure seam.
|
Detail |
Specification |
|---|---|
|
Yarn Weight |
Worsted, #4 |
|
Skill Level |
Easy |
|
Estimated Time |
2–4 hours |
7) Striped Button-Closure Mug Cozy
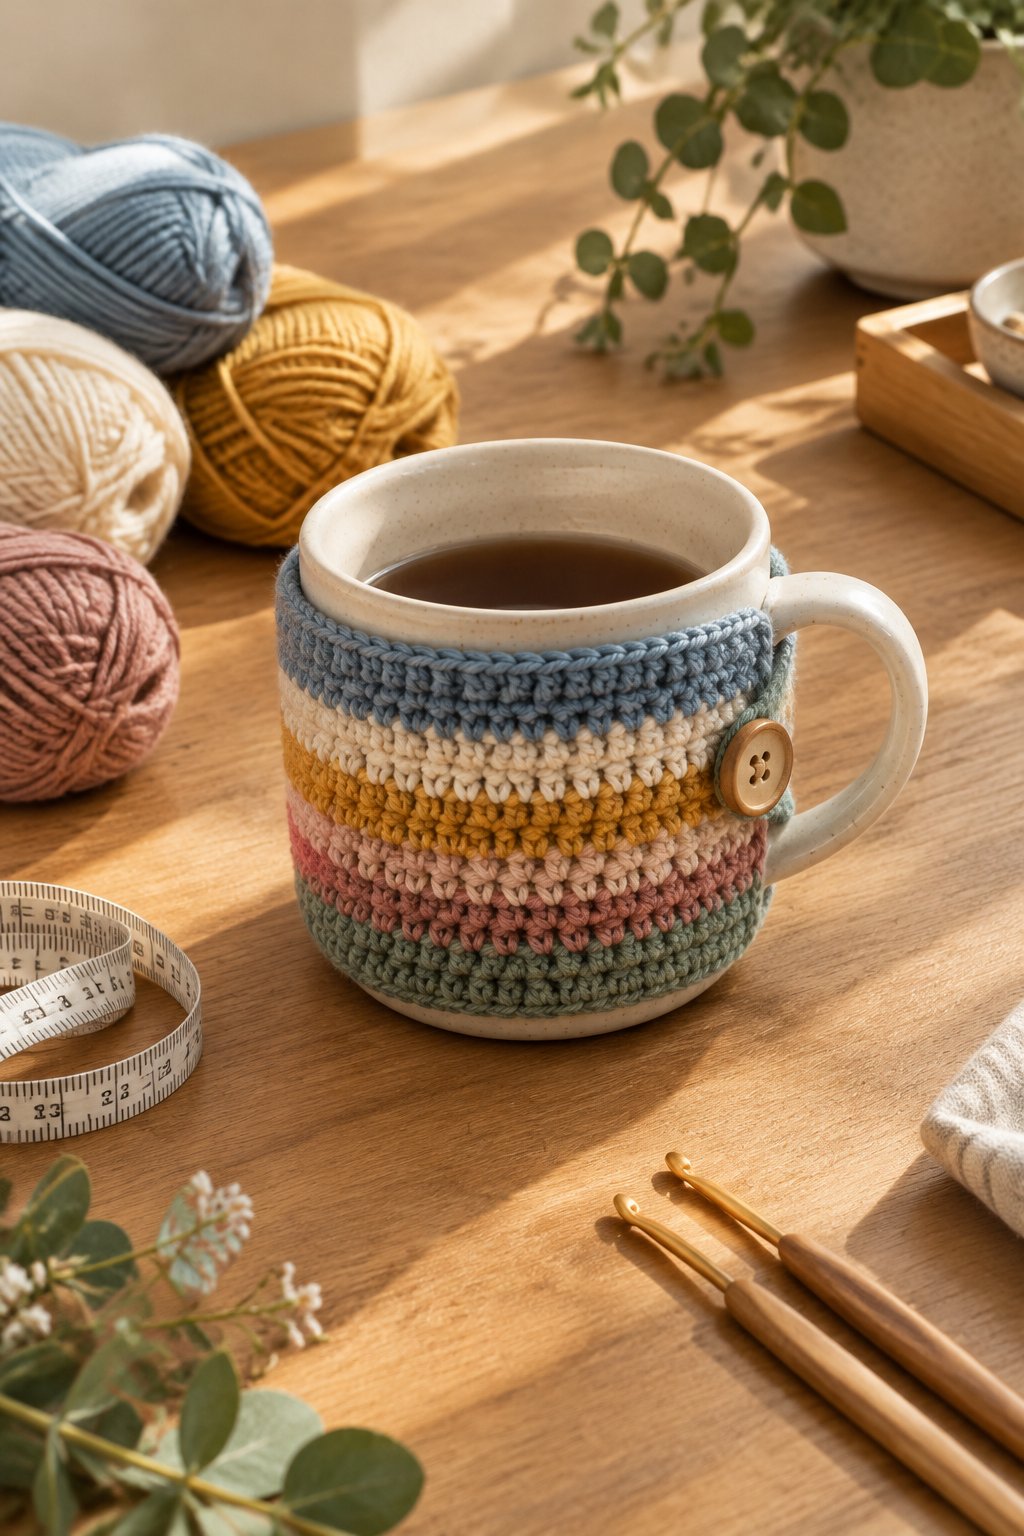
You’ll use narrow yarn leftovers efficiently with a striped cozy fitted to your favorite mug. Choose two coordinated shades for clean bands, then add a contrasting button. Leave your mug’s rim and handle clear so your cozy stays out of the way while drinking.
Use worsted-weight cotton and a 4–4.5 mm hook for a washable, fairly dense fabric. Work a rectangle in single or half-double crochet, changing colors at row ends. Measure around the mug body and check the fit as your rectangle grows.
Add a button loop at one end and sew your button securely to the other. This beginner project makes a thoughtful gift when you size it to the included mug. Remove your cozy before microwaving, and follow the yarn label when washing or drying it.
|
Detail |
Specification |
|---|---|
|
Yarn Weight |
Worsted, #4 cotton |
|
Skill Level |
Beginner |
|
Estimated Time |
1–2 hours |
8) Daisy Bookmark With a Leaf Tail
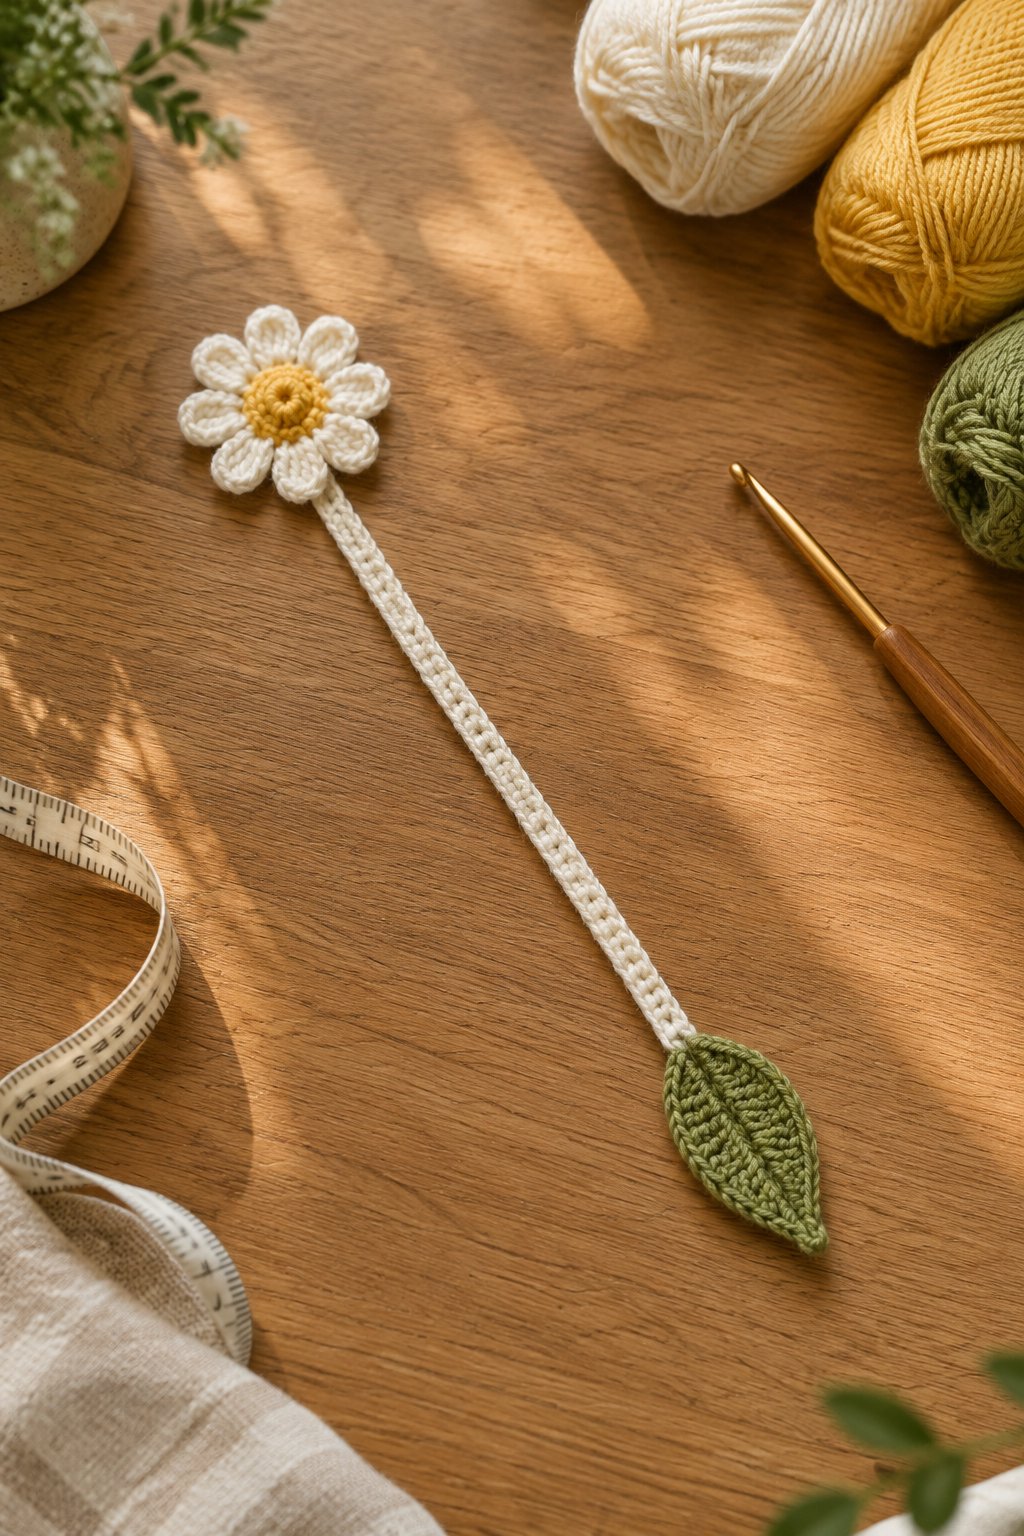
You can give tiny yellow, white, and green scraps a fresh purpose with a daisy bookmark. Keep your flower above the book’s top edge, with a slim stem resting between the pages. A small leaf near the tail adds detail without much extra yarn.
Choose fingering-weight cotton with a 2.5–3 mm hook for a flatter finish. Work a small round center, then form petals with chains and grouped stitches. Your stem starts as a chain, while your leaf uses stitches of increasing and decreasing height.
Treat this as an easy project with careful counting around the flower. Weave your ends through matching colors so they stay discreet. Lightly block your bookmark according to the yarn label, then let it dry fully before placing it inside a book or gift card.
|
Detail |
Specification |
|---|---|
|
Yarn Weight |
Fingering, #1 cotton |
|
Skill Level |
Easy |
|
Estimated Time |
1–2 hours |
9) Drawstring Lavender Sachet With a Fabric Insert
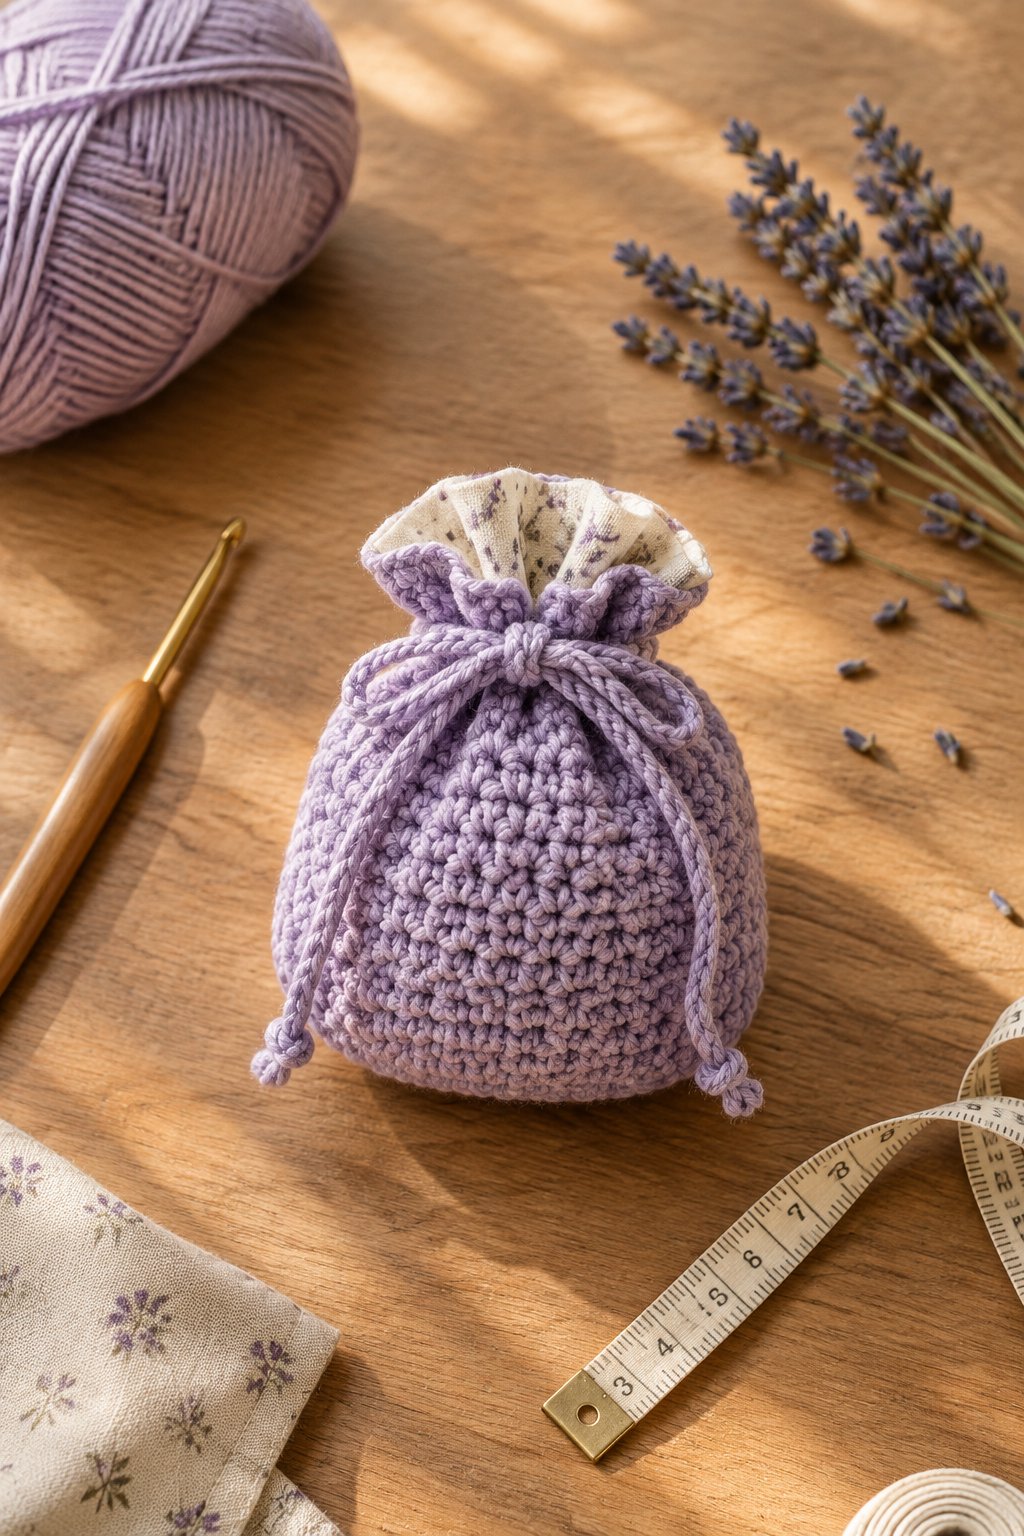
Your lavender sachet will keep its filling contained when you pair a crochet pouch with a sewn fabric insert. Choose lilac cotton with a cream drawstring for a soft, vintage look. A pouch around 3 by 4 inches fits neatly into a drawer or gift box.
Use DK cotton and a 3.5–4 mm hook. Work a small base and continue upward in single crochet, adding a row of chain spaces near the top for your cord. You’ll practice simple shaping and even tension on this easy project.
Sew dried lavender into a tightly woven cotton insert sized to slide inside your pouch. Leave enough room to gather the crochet opening comfortably. Keep your insert removable so you can wash the outer cover separately, and gift it with a note identifying the scented filling.
|
Detail |
Specification |
|---|---|
|
Yarn Weight |
DK, #3 cotton |
|
Skill Level |
Easy |
|
Estimated Time |
2–3 hours |
10) Color-Block Fingerless Mitts
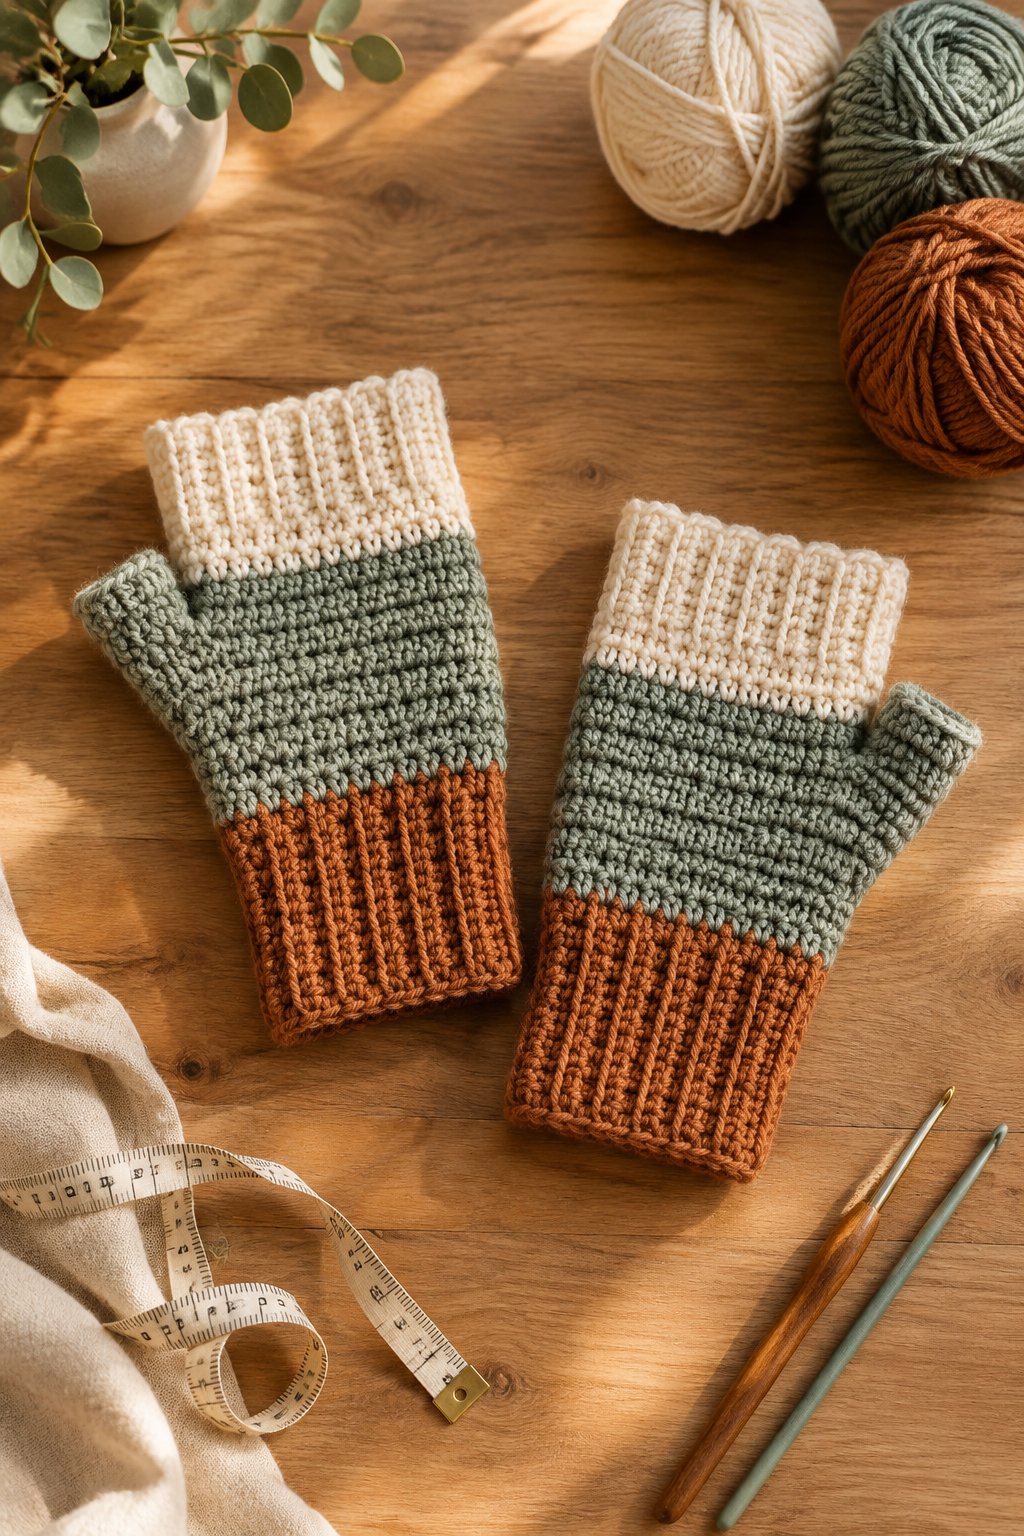
You’ll stretch a few coordinating leftovers into a wearable pair with color-block fingerless mitts. Try a dark cuff with a lighter hand section, keeping the same color order on both sides. Your open fingertips leave room for typing or turning book pages.
Choose soft worsted yarn and a 4.5–5 mm hook. A beginner-friendly construction uses two rectangles worked in half-double crochet, with a side seam that leaves a thumb opening. Add back-loop ribbing at the wrist if you want a snugger cuff.
Divide your yarn into matching portions before starting so your second mitt gets the same color balance. Check the rectangle around your hand before seaming. Keep your thumb opening comfortable when you spread your fingers, and reinforce both ends of the opening with a few extra sewing stitches.
|
Detail |
Specification |
|---|---|
|
Yarn Weight |
Worsted, #4 |
|
Skill Level |
Easy |
|
Estimated Time |
3–5 hours per pair |
11) Mini Mushroom Amigurumi

You’ll get a cheerful shelf decoration from a tiny mushroom with a rounded cap and short stem. Pair a red cap with cream spots for a woodland look, or choose muted pink and oatmeal. Aim for a compact shape around 3–4 inches tall.
Use smooth worsted yarn and a 3–3.5 mm hook to keep your single-crochet fabric dense. You’ll need increases, decreases, and a stitch marker to track continuous rounds. Follow a small amigurumi pattern for the cap and stem shaping, adding stuffing gradually.
This intermediate choice rewards careful assembly, especially where your stem meets the underside of the cap. Embroider spots before closing the cap if your pattern allows. If you’re making a toy for a child, choose embroidered details and age-appropriate construction, then inspect every seam carefully.
|
Detail |
Specification |
|---|---|
|
Yarn Weight |
Worsted, #4 |
|
Skill Level |
Intermediate |
|
Estimated Time |
2–4 hours |
12) Granny Square Phone Sling Bag
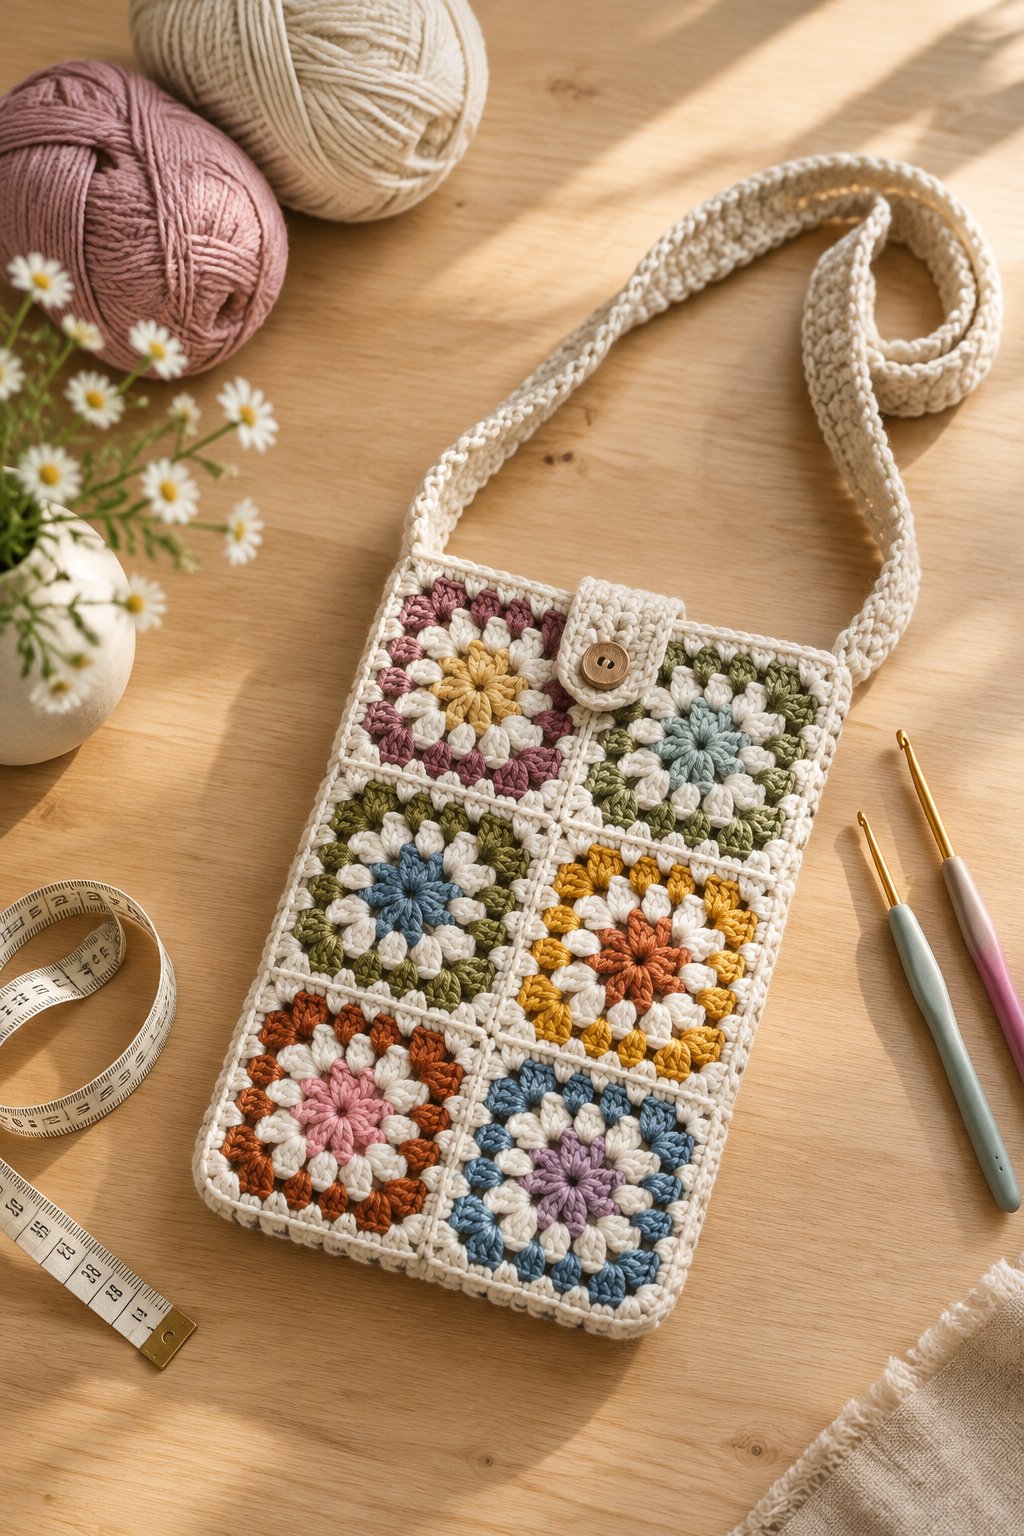
You can carry your phone in a compact granny square sling that puts colorful scraps front and center. Choose a consistent border shade to tie your motifs together. Measure your phone with its case on, allowing extra space for seams and a fabric lining.
Use worsted cotton with a 4–4.5 mm hook. Build your panels from granny clusters, then join them along the sides and bottom. For your strap, work several rows of single crochet to create a wider band with less stretch than a plain chain.
Treat this as an intermediate weekend make because sizing and assembly need attention. Add a lining to protect your phone from open stitchwork, then reinforce the strap attachments. Check your finished strap length with the phone inside before securing the last ends and adding a closure.
|
Detail |
Specification |
|---|---|
|
Yarn Weight |
Worsted, #4 cotton |
|
Skill Level |
Intermediate |
|
Estimated Time |
4–6 hours |
13) Chunky Ribbed Beanie With a Folded Brim

Your chunky leftovers suit a ribbed beanie when you have enough yarn for a full rectangle and crown closure. Choose a solid shade to emphasize the ribs, or use your shorter contrasting length for the folded brim. A soft wool blend gives you a cozy finish.
Start with bulky yarn and a 6–8 mm hook, checking your chosen pattern’s gauge. Work back-loop slip stitches or half-double crochet for ribbing. Include the brim depth in your rectangle’s height, then check the stretched width against your head measurement.
This easy design needs a tidy side seam and a firmly gathered crown. Leave a generous sewing tail before cutting your yarn. Distribute your gathering stitches evenly, close the remaining center opening, and try on your hat with the brim folded to its intended depth.
|
Detail |
Specification |
|---|---|
|
Yarn Weight |
Bulky, #5 |
|
Skill Level |
Easy |
|
Estimated Time |
3–5 hours |
14) Cotton Plant Hanger With an Open Mesh Cradle

You’ll give a small plant a handmade display with a cotton hanger built around its pot. Natural cream highlights the open mesh, while a colored upper band adds a small accent. Choose a lightweight pot with a secure fit inside your finished cradle.
Use sturdy worsted cotton and a 4–5 mm hook for a small design. Follow a plant-hanger pattern with a solid base, chain-space sides, and reinforced straps. You’ll need intermediate skills to keep the mesh balanced and attach each strap evenly.
Check your work with the pot at its watered weight over a protected surface. Use hanging hardware rated for the full load, including the container and wet soil. Remove your pot for watering, and inspect the cotton and attachment points regularly for wear or stretching before rehanging it.
|
Detail |
Specification |
|---|---|
|
Yarn Weight |
Worsted, #4 cotton |
|
Skill Level |
Intermediate |
|
Estimated Time |
3–5 hours |
15) Fold-Over Cuff Baby Booties
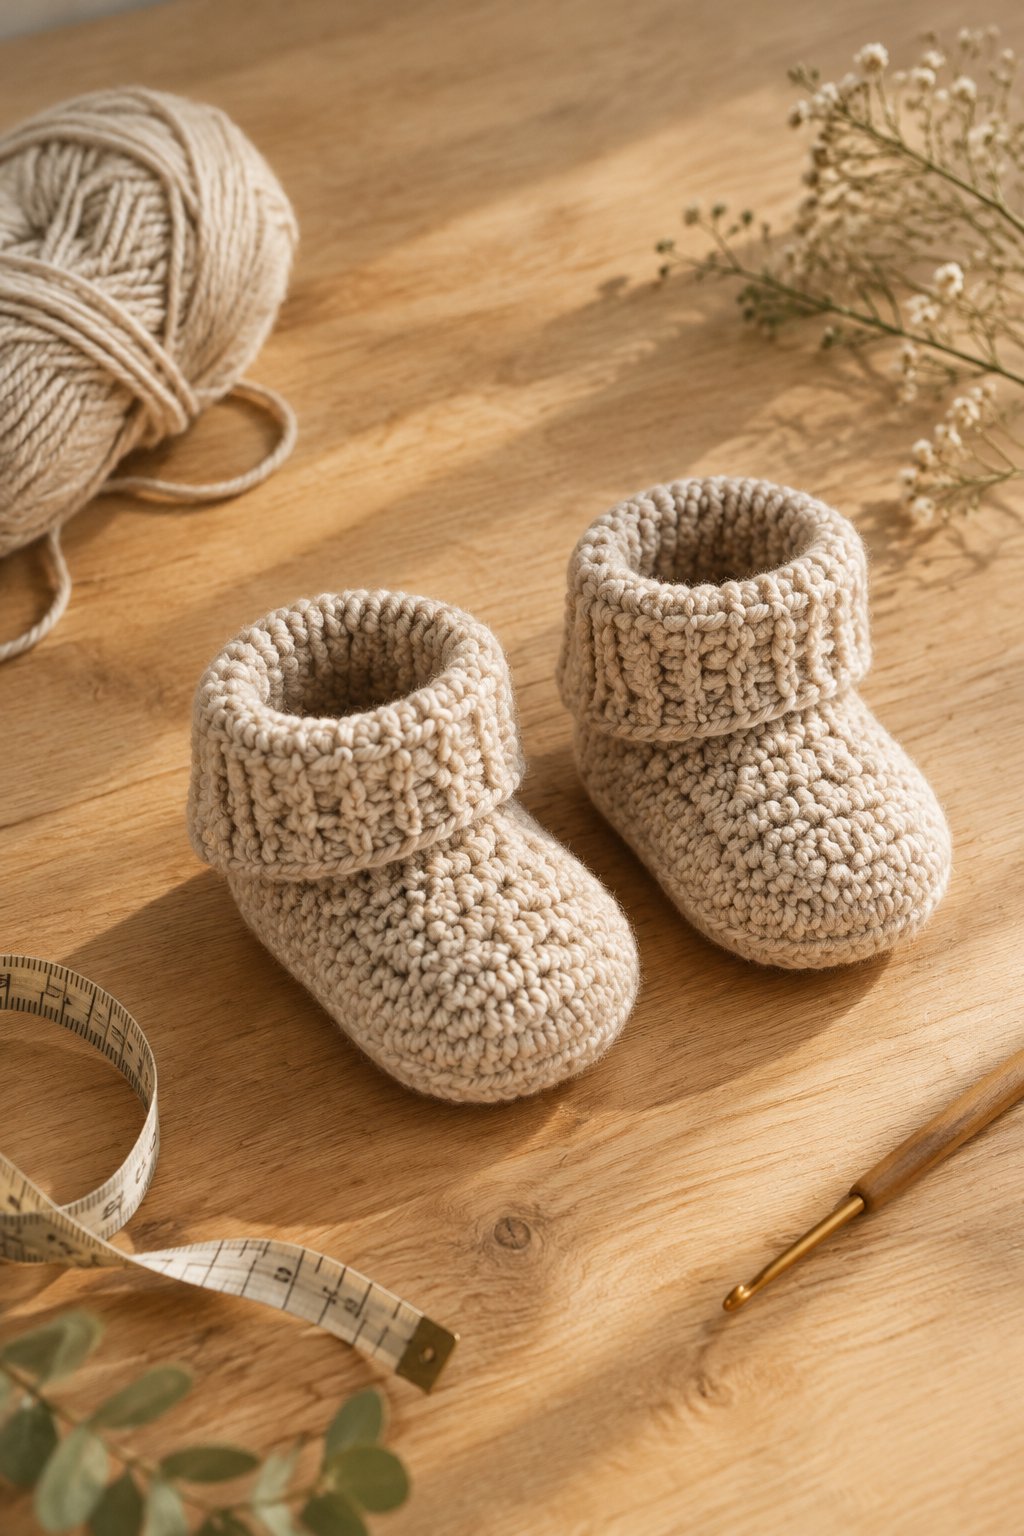
You can make a sweet baby gift with soft booties finished with fold-over cuffs. Choose butter yellow or pale blue, then use a small contrasting scrap around the cuff edge. Rounded toes and matching proportions give your pair a neat, balanced appearance.
Use washable DK baby yarn and a 3.5–4 mm hook, matching your pattern’s gauge. You’ll work an oval sole, shape the upper with decreases, and add a flexible cuff. Treat this as an intermediate project because small stitch-count changes affect the fit.
Choose your size using foot length and the pattern’s finished measurements. Work both soles before moving upward so you can compare them early. Keep your seams smooth against the foot, and skip detachable decorations. Include the fiber content and washing instructions when you wrap your finished pair.
|
Detail |
Specification |
|---|---|
|
Yarn Weight |
DK, #3 |
|
Skill Level |
Intermediate |
|
Estimated Time |
3–5 hours per pair |
16) Scrap-Yarn Triangle Bunting
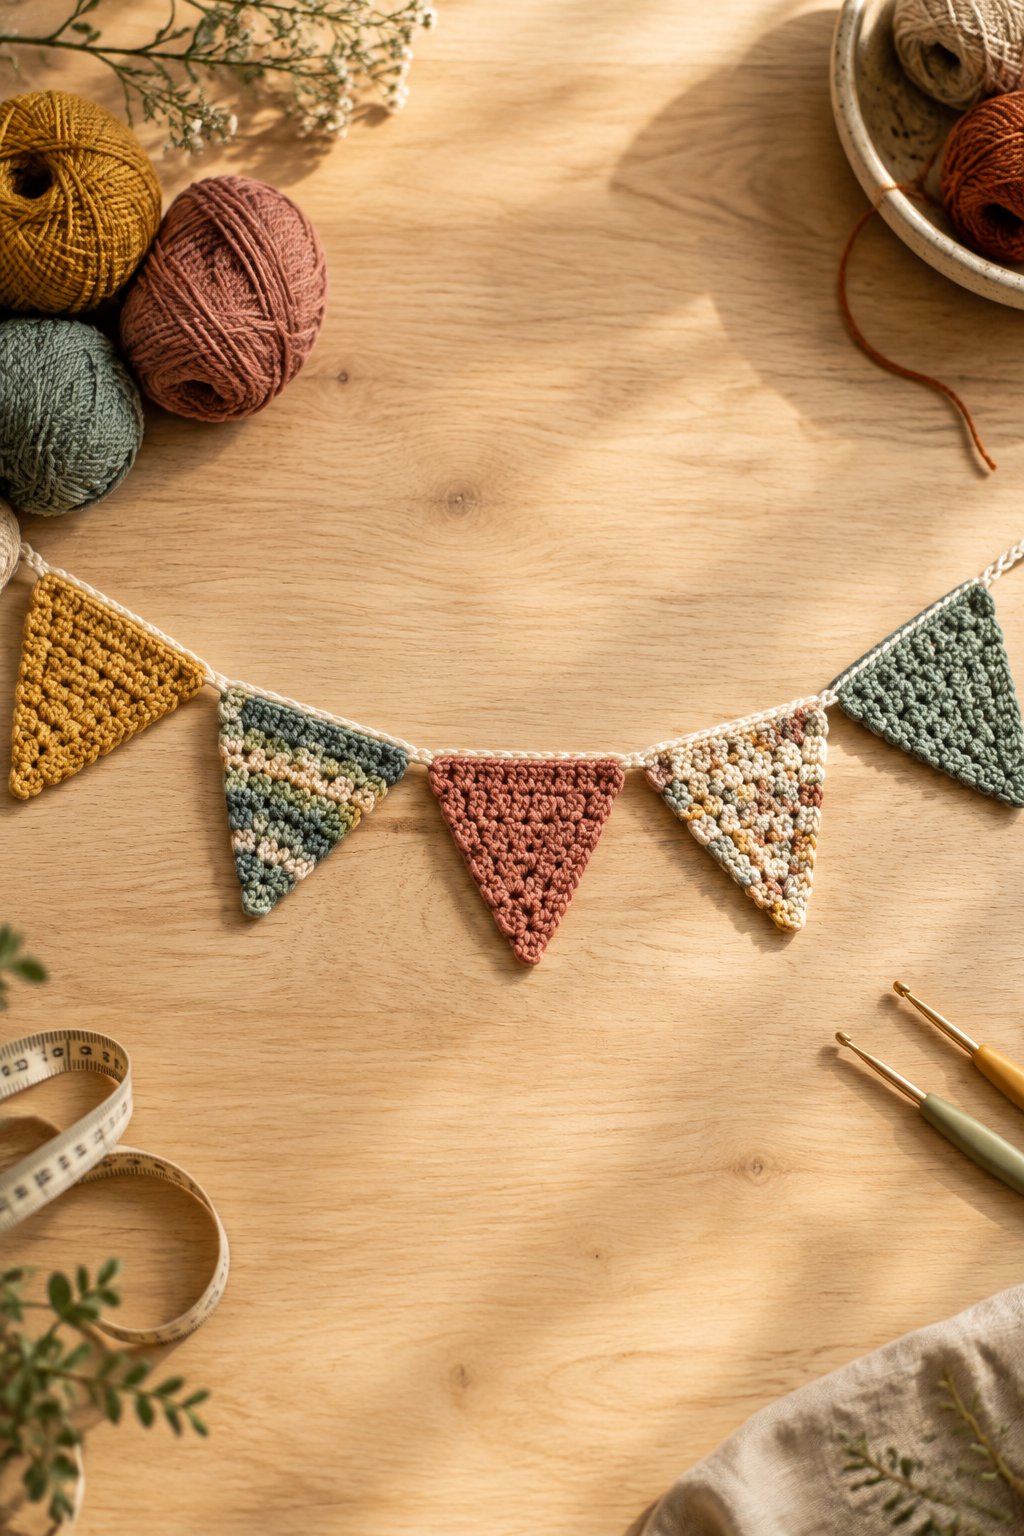
Your mixed-color scraps become cheerful decor when you turn them into triangle bunting. Pick a shared mood, such as warm autumn shades or soft pastels, to connect the flags. Keep each triangle close to the same size for an even line across your wall.
Use worsted yarn of similar thickness with a 4.5–5 mm hook. Follow a simple granny-triangle pattern using double-crochet clusters and chain spaces. You’ll practice corner placement and repeated rounds, making this a friendly beginner project once your basic stitches feel comfortable.
Block your triangles to matching measurements before joining them to a crocheted cord. Leave equal gaps between flags and generous ends for hanging. For a second variation, add one contrasting border around every triangle. Hang your bunting securely away from cribs and children’s reach.
|
Detail |
Specification |
|---|---|
|
Yarn Weight |
Worsted, #4 |
|
Skill Level |
Beginner |
|
Estimated Time |
3–6 hours per strand |
How to Match Your Yarn Stash to a Weekend Project

Match your available yardage and fiber to the project before choosing your colors. You’ll avoid running short halfway through a matching pair or putting a delicate yarn into a hard-working kitchen item.
How Much Yarn Do You Have Left?
Start by weighing your leftovers on a kitchen scale. If you have the original label, estimate remaining yardage with this formula: remaining grams × labeled yards ÷ labeled grams. For example, 25 grams from a skein labeled 200 yards per 100 grams gives you about 50 yards.
Compare that estimate with the yardage listed in your chosen pattern. Allow extra for swatching and finishing. If your yarn has no label, choose a modular project such as bunting, where you can stop after a complete triangle or switch colors between pieces.
When Should You Choose Cotton, Worsted Acrylic, or Chunky Yarn?
Choose cotton for absorbent dishcloths and washable coasters. Cotton describes the fiber, while worsted and chunky describe thickness, so check both parts of your label. For a plant hanger, select yarn and construction intended to support the pot’s weight.
Use soft worsted acrylic for colorful accessories when its care instructions suit your needs. Choose chunky yarn for a quick beanie or basket, checking whether the fabric needs softness or structure. Start with the hook range on the label, then adjust to your pattern’s gauge and desired density.
Which Scrap Colors and Yarn Weights Work Together?
Keep scraps close in thickness when you want consistent sizing. Compare short strands side by side, then crochet a small sample that includes each yarn. You’ll spot changes in stitch height or firmness before they affect the finished piece.
Build your palette around one shared color, especially for granny squares. A repeated cream border helps connect very different centers. Check that every yarn tolerates the same care routine; if you combine fibers, follow the gentlest washing and drying instructions among them.
How to Plan a Satisfying Weekend Finish
Give yourself a realistic finish by choosing one main project and setting aside time for assembly. Use the listed time ranges as rough estimates, then adjust for your experience and the pattern’s demands.
How Much Making Time Can You Realistically Set Aside?
Count your available crochet sessions before picking a project. If you have two 90-minute blocks, choose a small item with a simple repeat. A lined bag needs a longer allowance because its sewing time sits outside the crochet itself.
Keep your yarn and tools together so each session starts smoothly. For paired items, divide the yarn first and work matching stages close together. Choose a coaster as an optional extra only after your main project is finished.
Which Techniques and Finishing Steps Add Extra Time?
Allow more time when your project includes frequent color changes or unfamiliar shaping. Fine yarn adds stitches to even a small item, while fuzzy yarn makes stitch counting harder. Read the full pattern before starting so you know where the slower steps occur.
Reserve a separate block for weaving in ends and assembly. Add drying time if your piece needs washing or blocking. For lined projects, cut and prepare your fabric early, then confirm its fit against the completed crochet before sewing it in.
How Can You Check Fit, Durability, and Care Before Calling It Finished?
Test your finished item in the way you plan to use it. Try on wearables, close each button, and load bags with their intended contents. Look closely at seams and attachment points while they are under light tension.
Run your fingers over the inside of mitts or booties to find rough knots. Check that woven ends stay secure when you gently stretch the fabric. Before gifting, attach a care note with the fiber content and washing instructions, and let any washed or blocked item dry completely before wrapping.