You can give your handmade projects a polished finish with crochet edging and borders that add texture, shape, and a fresh pop of color. These cozy finishing details fit the current love for colorful, personal handmade pieces, and you only need a small swatch to try a new look.

You’ll get the most useful ideas to save when you match the trim to something you already enjoy making. Keep your project’s purpose in mind, from frequent washing to soft drape. The time estimates below cover the border alone and assume you already have a finished base; your project size and stitching speed will affect the total.
1) Single Crochet Border For A Clean Blanket Finish

You’ll get a crisp, understated frame with a single crochet border, making this a dependable beginner finish for blankets. Choose cream for a soft outline or navy for a stronger edge around pale squares. The compact stitches create a smooth band that leaves your blanket’s main pattern clearly visible.
Use the same worsted-weight yarn as your blanket and start with a 5 mm hook, adjusting to match its fabric. Work one single crochet into each top stitch, then follow the spacing guidance below for row ends. For a rectangular blanket, try three single crochets in each corner and check the shape after one round. Add a second round when you want a wider frame. Keep your joining slip stitch relaxed so the seam stays level, especially on a gift blanket.
|
Detail |
Specification |
|---|---|
|
Yarn Weight |
Worsted, #4 |
|
Skill Level |
Beginner |
|
Estimated Time |
2–4 hours, small blanket |
2) Crab Stitch Edging For Rope-Textured Dishcloths
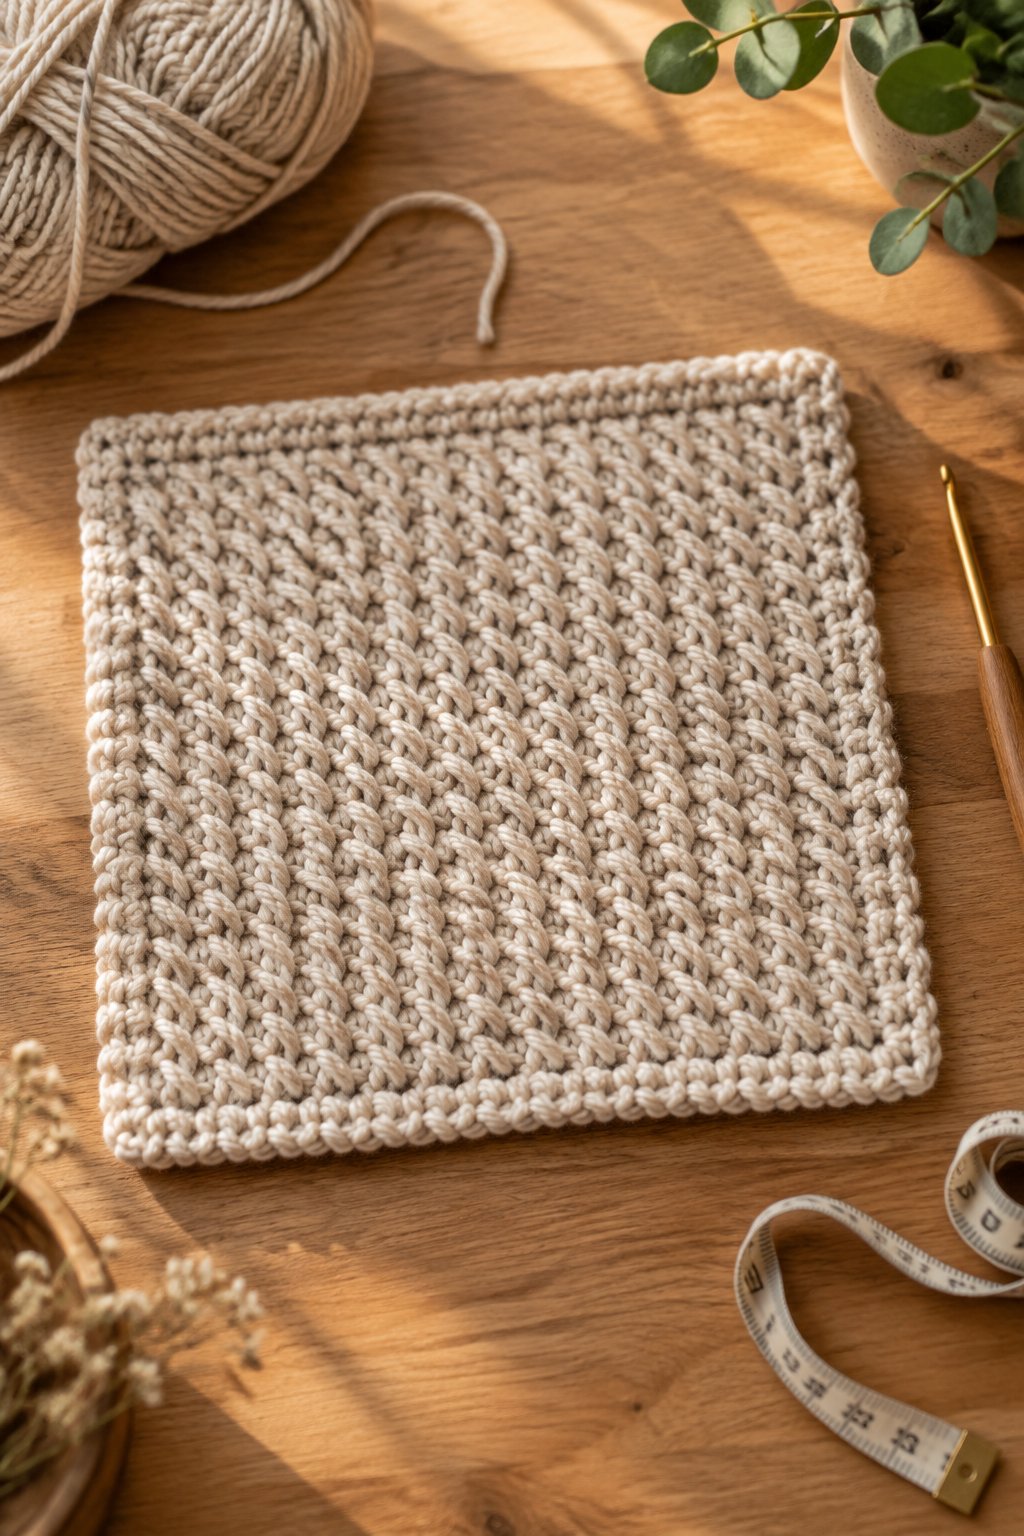
Give your dishcloth a firm, rope-like rim with crab stitch, also called reverse single crochet. You’ll see the twisted texture most clearly in solid cotton, especially warm white or deep teal. A contrasting edge also gives a plain square a tidy, gift-ready outline without adding much width.
Choose worsted-weight cotton and try a 4.5–5 mm hook. After a single crochet foundation round, work backward around the edge: left to right if you crochet right-handed, or right to left if you’re left-handed. Insert your hook into the next stitch behind your usual direction, draw up a loop, and complete a single crochet. Keep each loop loose enough to turn without pulling. You’ll find this an easy next step once regular single crochet feels comfortable; practice along a short swatch first.
|
Detail |
Specification |
|---|---|
|
Yarn Weight |
Worsted cotton, #4 |
|
Skill Level |
Easy |
|
Estimated Time |
20–40 minutes, dishcloth |
3) Shell Stitch Border For Scalloped Baby Blankets

Frame your baby blanket with soft, rounded scallops by choosing a shell stitch border. Butter yellow, pale peach, and ivory give you a gentle palette, while a deeper border color makes each curved fan easier to see. The repeated arches suit a simple blanket body with plenty of open space.
For an easy version, use smooth DK yarn with a 4 mm hook. Practice a repeat of five double crochets in one stitch, skip one stitch, single crochet in the next, then skip one stitch. Check that your foundation count supports the repeat before starting the blanket edge. Use a corner-specific adjustment to keep each turn open. Choose machine-washable yarn for a practical gift, and reserve the finished blanket for supervised cuddles or floor time. Keep an infant’s sleep space clear of blankets.
|
Detail |
Specification |
|---|---|
|
Yarn Weight |
DK, #3 |
|
Skill Level |
Easy |
|
Estimated Time |
2–4 hours, baby blanket |
4) Picot Edging For Dainty Cotton Coasters
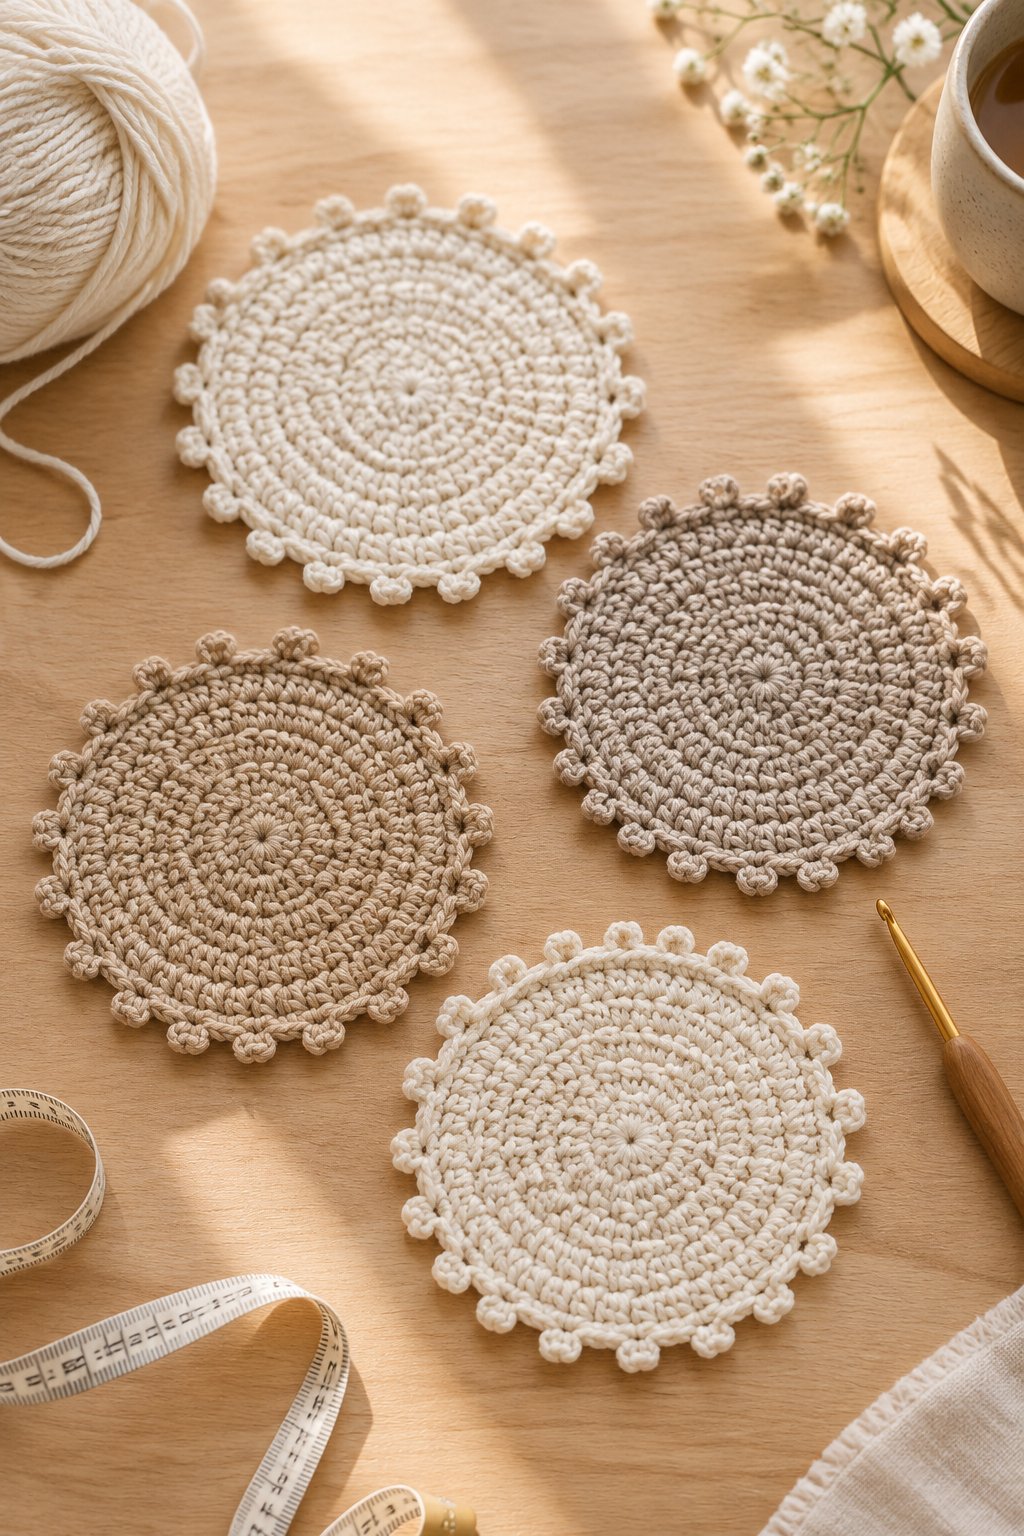
Add tiny pointed loops to your coasters with picot edging for a delicate, flower-like outline. You’ll get a sweet vintage look in dusty rose or sage, especially around a plain circular center. Keep the points small so your coaster stays easy to arrange beneath a mug.
Choose sport-weight cotton with a 3–3.5 mm hook for clear stitch definition. One common picot starts with chain three, followed by a slip stitch into the first chain. Separate the picots with two or three single crochets, checking that your spacing fits evenly around the circle. You’ll need basic chain and slip-stitch skills, making this an approachable beginner project. Test the finished coaster on a flat surface before weaving in your ends. For a coordinated gift set, keep the centers identical and change only the edging color.
|
Detail |
Specification |
|---|---|
|
Yarn Weight |
Sport cotton, #2 |
|
Skill Level |
Beginner |
|
Estimated Time |
15–30 minutes, coaster |
5) Moss Stitch Border For Colorful Scrap-Yarn Throws
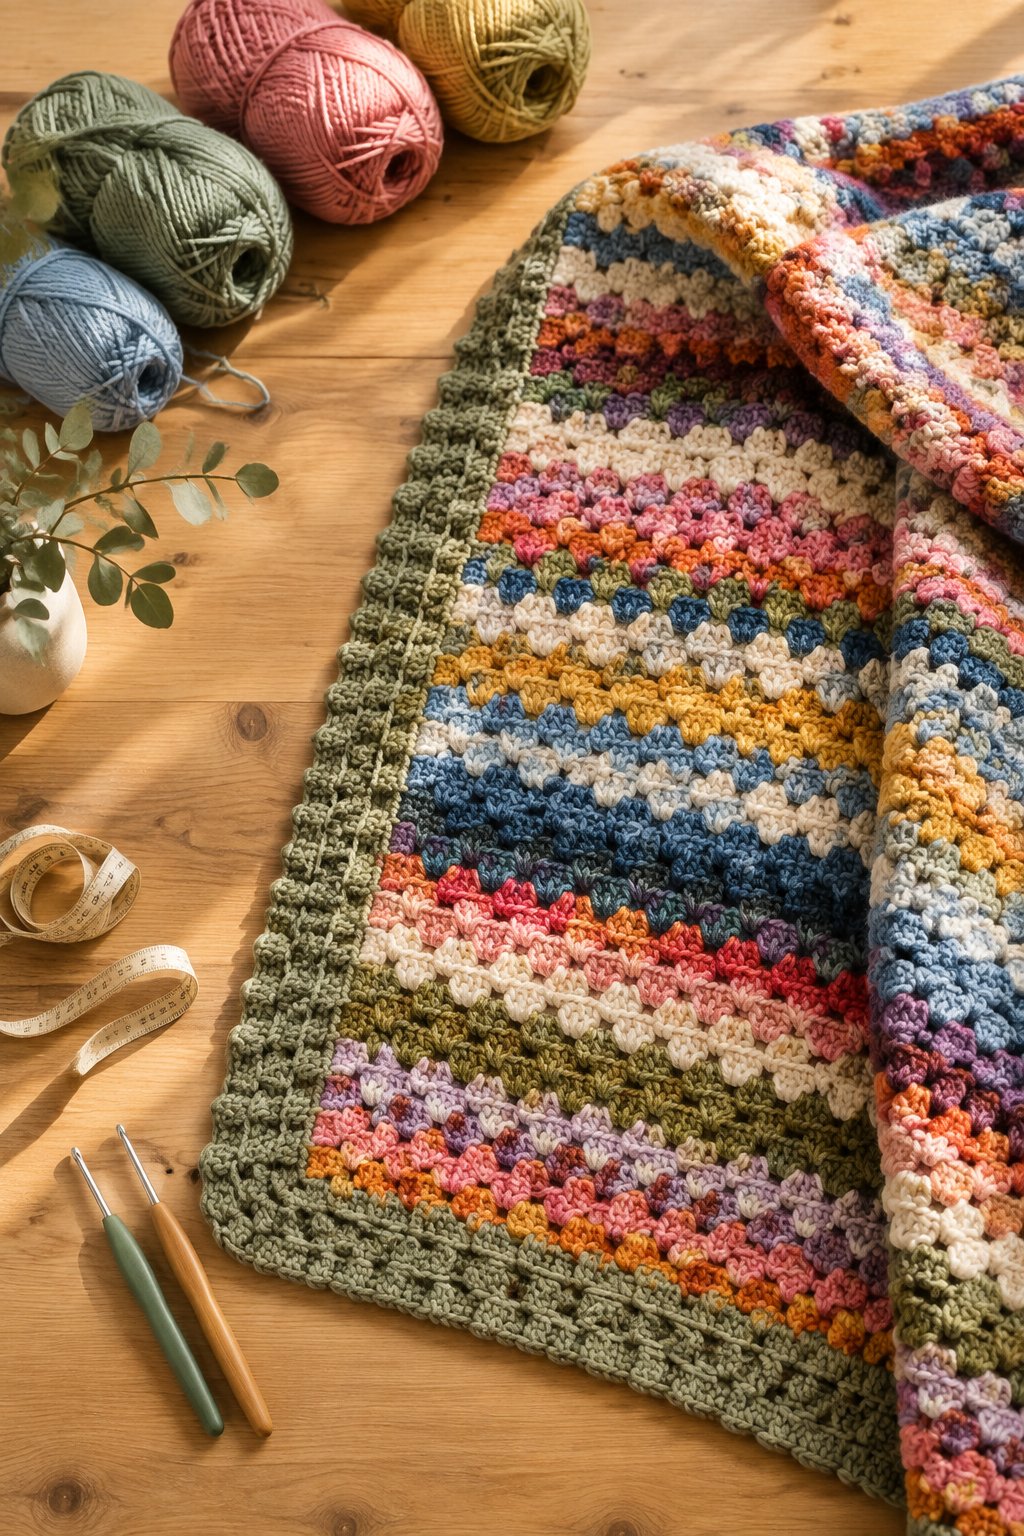
Bring your scrap-yarn throw together with a moss stitch border that blends small blocks of color. You’ll create a woven-looking surface by alternating single crochet and chain-one spaces. Try warm neutrals between brighter rounds to give a busy blanket a calmer outer frame.
Gather worsted-weight scraps with similar fiber content and washing needs, then start with a 5–5.5 mm hook. After the setup round, place your single crochets into the chain spaces from the previous round. Use a consistent corner group, such as single crochet, chain two, single crochet in each corner space. This easy stitch suits you once your chain tension feels steady. Weave in tails as you change colors so the finishing stays manageable. For a balanced sofa throw, repeat one color from the center in your final round.
|
Detail |
Specification |
|---|---|
|
Yarn Weight |
Worsted, #4 |
|
Skill Level |
Easy |
|
Estimated Time |
4–8 hours, throw |
6) Granny Stitch Border For Granny Square Blankets

Continue your blanket’s familiar cluster texture with a granny stitch border for a cohesive finish. You’ll get a colorful frame by repeating shades already used in the squares. A cream final round creates a gentle outline, while charcoal gives bright patchwork a more defined boundary.
Use worsted-weight yarn and a 5 mm hook as a starting point. Work three-double-crochet groups into the spaces between clusters, following your blanket pattern’s chain spacing. At each corner, work two groups separated by the corner chains. You’ll find this beginner-friendly if you already make granny squares. Pay special attention where joined squares meet, since those spaces sometimes need a different setup to preserve the rhythm. Lay the blanket flat after every round, then stop at a width that balances the size of your individual squares.
|
Detail |
Specification |
|---|---|
|
Yarn Weight |
Worsted, #4 |
|
Skill Level |
Beginner |
|
Estimated Time |
3–6 hours, throw |
7) Ribbed Crochet Border For Cozy Chunky Throws
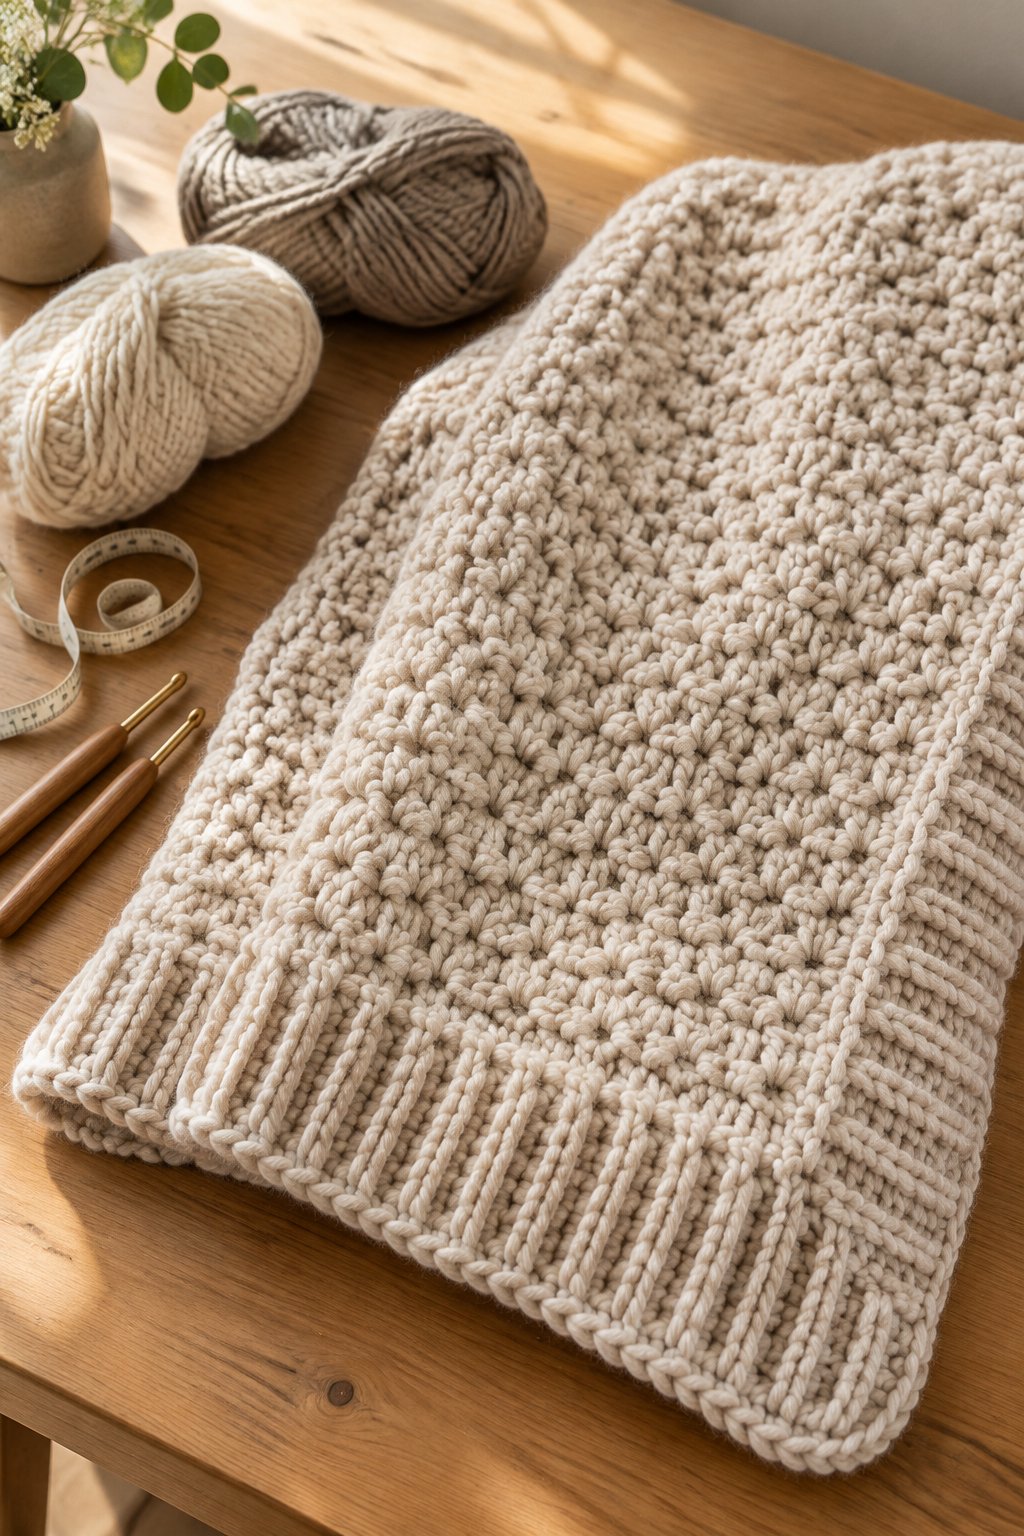
Choose a ribbed border when you want your chunky throw to have a deep, sweater-like frame. You’ll see the raised ridges clearly in oatmeal or muted olive. A smooth bulky yarn gives the ribs stronger definition than a fuzzy yarn and keeps the stitch structure easy to follow.
For an intermediate attached-ribbing method, try bulky yarn with a 6.5–8 mm hook. Work short rows of single crochet through the back loop, joining them to the blanket edge as you go. Follow a cornered ribbing pattern for the turns, since straight-edge joining alone will pull the corners inward. Start with a border about two to three inches wide and check its weight against your blanket. You’ll get a cozy couch throw, though a deep ribbed edge also adds noticeable yarn use and drying time.
|
Detail |
Specification |
|---|---|
|
Yarn Weight |
Bulky, #5 |
|
Skill Level |
Intermediate |
|
Estimated Time |
6–10 hours, throw |
8) Bobble Stitch Border For Raised-Dot Baby Blankets

Create a playful dotted frame with a bobble stitch border worked directly into your baby blanket. You’ll get a soft, raised texture in one color, or a stronger dotted effect with a contrasting bobble round. Pale blue with cream gives you an easy-to-coordinate nursery palette.
Choose smooth, washable DK yarn and begin with a 4 mm hook. Use a bobble pattern that specifies its unfinished double-crochet count, then separate each bobble with several plain stitches. Work a short sample to check which side the bumps face before you begin. This intermediate finish needs consistent tension so the dots stay similar in size. Add a plain outer round to support the textured row and give the edge a clear outline. Use your finished blanket for supervised play, and check the stitches and woven ends regularly.
|
Detail |
Specification |
|---|---|
|
Yarn Weight |
DK, #3 |
|
Skill Level |
Intermediate |
|
Estimated Time |
3–6 hours, baby blanket |
9) Pom-Pom Edging For Playful Nursery Blankets
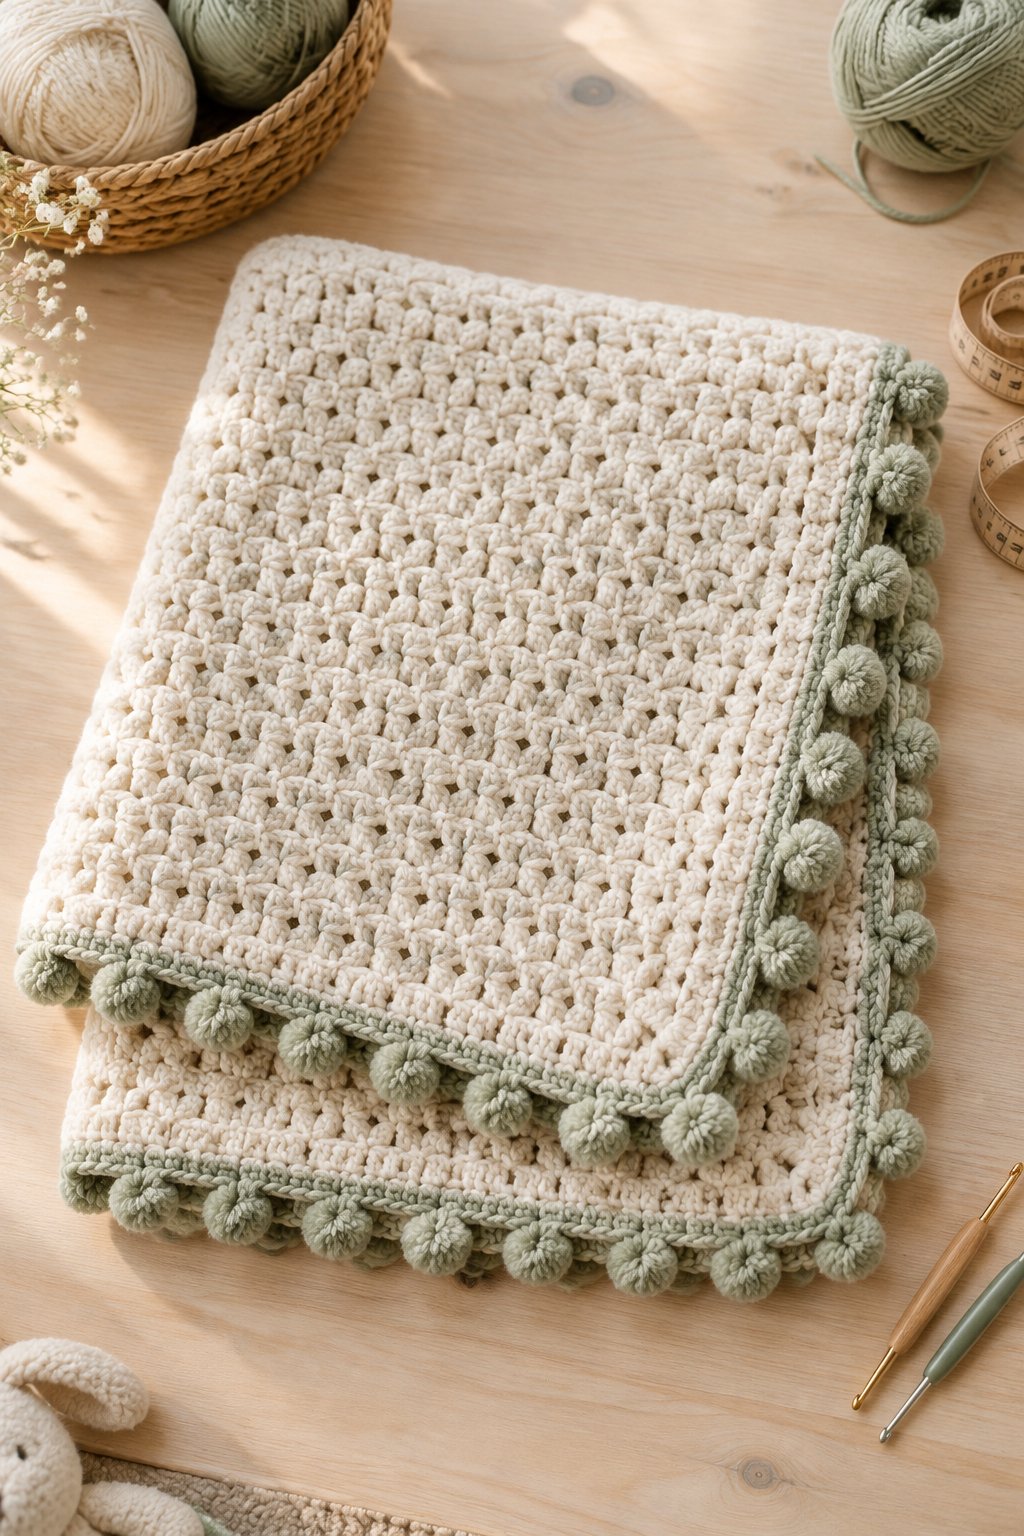
Use crocheted pom-pom edging for a bouncy decorative finish on a nursery display blanket. You’ll create small rounded drops along the edge, with mustard or coral adding cheerful color to a neutral center. Keep the drops close to the border for a compact shape.
For an intermediate version, choose washable DK yarn with a 4 mm hook and follow a pattern that forms each ball from joined crochet clusters. Loose, tied yarn pom-poms carry a detachment risk, so choose an integrated construction and inspect every connection. Even attached drops need care around young children. Reserve this trim for decoration kept out of reach, and keep it out of infant sleep spaces. You’ll need extra patience when shaping each cluster pair; make several samples first to settle on a consistent size and short connector length.
|
Detail |
Specification |
|---|---|
|
Yarn Weight |
DK, #3 |
|
Skill Level |
Intermediate |
|
Estimated Time |
4–7 hours, small blanket |
10) Ruffle Border For Frilly Crochet Pillow Covers
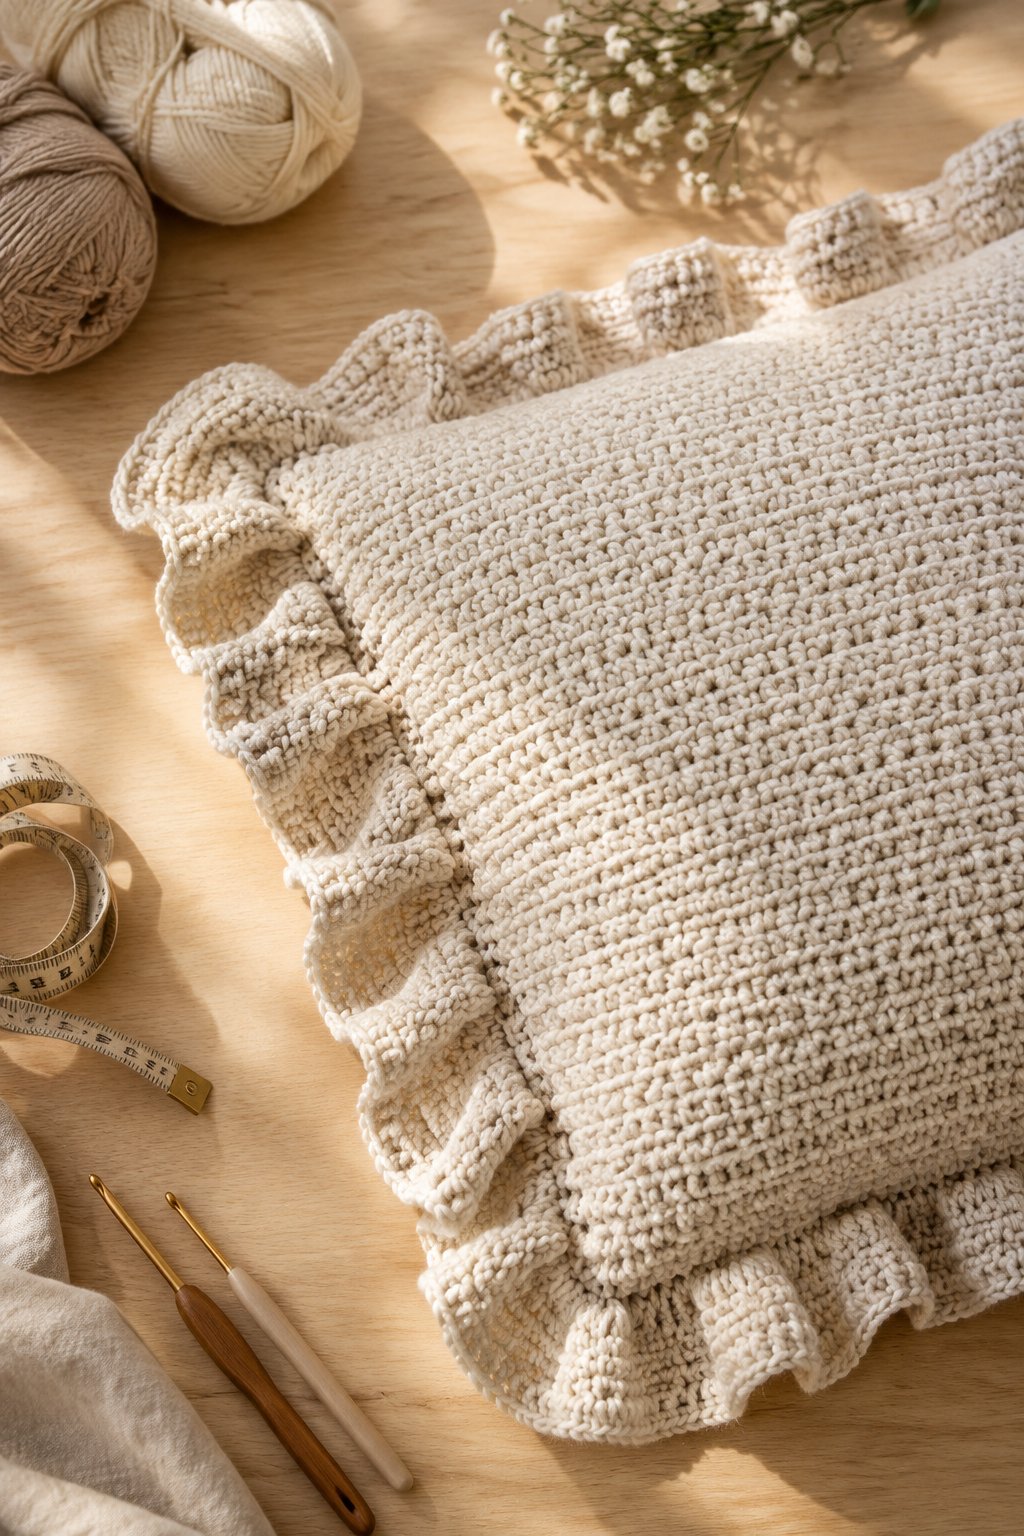
Give your pillow cover a gathered, frilly edge with a ruffle border that adds visible volume. You’ll get a soft cottage look in blush or warm ivory, while a contrasting red edge feels bold and playful. A plain pillow front gives the folds enough space to stand out.
Try DK cotton or a cotton blend with a 4 mm hook for a defined ruffle. After a stable foundation round, test two double crochets in each stitch to create fullness. Add another round at an even stitch count if you want more depth, checking the result on your pillow insert. This easy technique suits you once you’re comfortable with increases. Work the trim around the joined cover edges while keeping the opening accessible. Check that your chosen closure still works smoothly after the border is complete.
|
Detail |
Specification |
|---|---|
|
Yarn Weight |
DK, #3 |
|
Skill Level |
Easy |
|
Estimated Time |
2–4 hours, pillow cover |
11) V-Stitch Border For Airy Summer Shawls

Keep your summer shawl light with a V-stitch border that forms an open row of little fans. You’ll get a graceful outline in sea-glass green or soft lilac, especially when the border echoes your shawl’s main shade. The spaces between stitches help preserve an airy drape.
Choose fingering-weight cotton-blend yarn and test a 3.5–4 mm hook. Form a basic V with double crochet, chain one, double crochet in the same stitch or space. Set the spacing on a swatch before applying it to the shawl. This easy border works well if you already know double crochet and chains. For a triangular shawl, use the pattern’s center-point increase to keep the tip sharp. Keep the edging shallow near the neckline so your finished shawl settles comfortably around your shoulders without a heavy upper rim.
|
Detail |
Specification |
|---|---|
|
Yarn Weight |
Fingering, #1 |
|
Skill Level |
Easy |
|
Estimated Time |
3–5 hours, shawl |
12) Spike Stitch Border For Graphic Two-Tone Throws

Sharpen your throw’s outline with spike stitches that reach down into earlier border rounds. You’ll create a graphic pattern of long vertical accents, especially with cream against charcoal or rust against oatmeal. Keep the blanket body fairly simple so the extended stitches stay easy to see.
Use smooth worsted-weight yarn and a 5 mm hook. Build a few plain single crochet rounds, then insert selected stitches into a lower round and draw each loop up to your working height. Finish those stitches as single crochets. You’ll need intermediate tension control because tight spikes pull the edge upward. Mark a short repeat, such as one spike followed by several regular stitches, and keep the depth consistent. For a modern sofa throw, repeat the same accent color in one narrow outer round to frame the longer stitches.
|
Detail |
Specification |
|---|---|
|
Yarn Weight |
Worsted, #4 |
|
Skill Level |
Intermediate |
|
Estimated Time |
4–7 hours, throw |
13) Candy Cane Border For Twisted Two-Color Blanket Edges
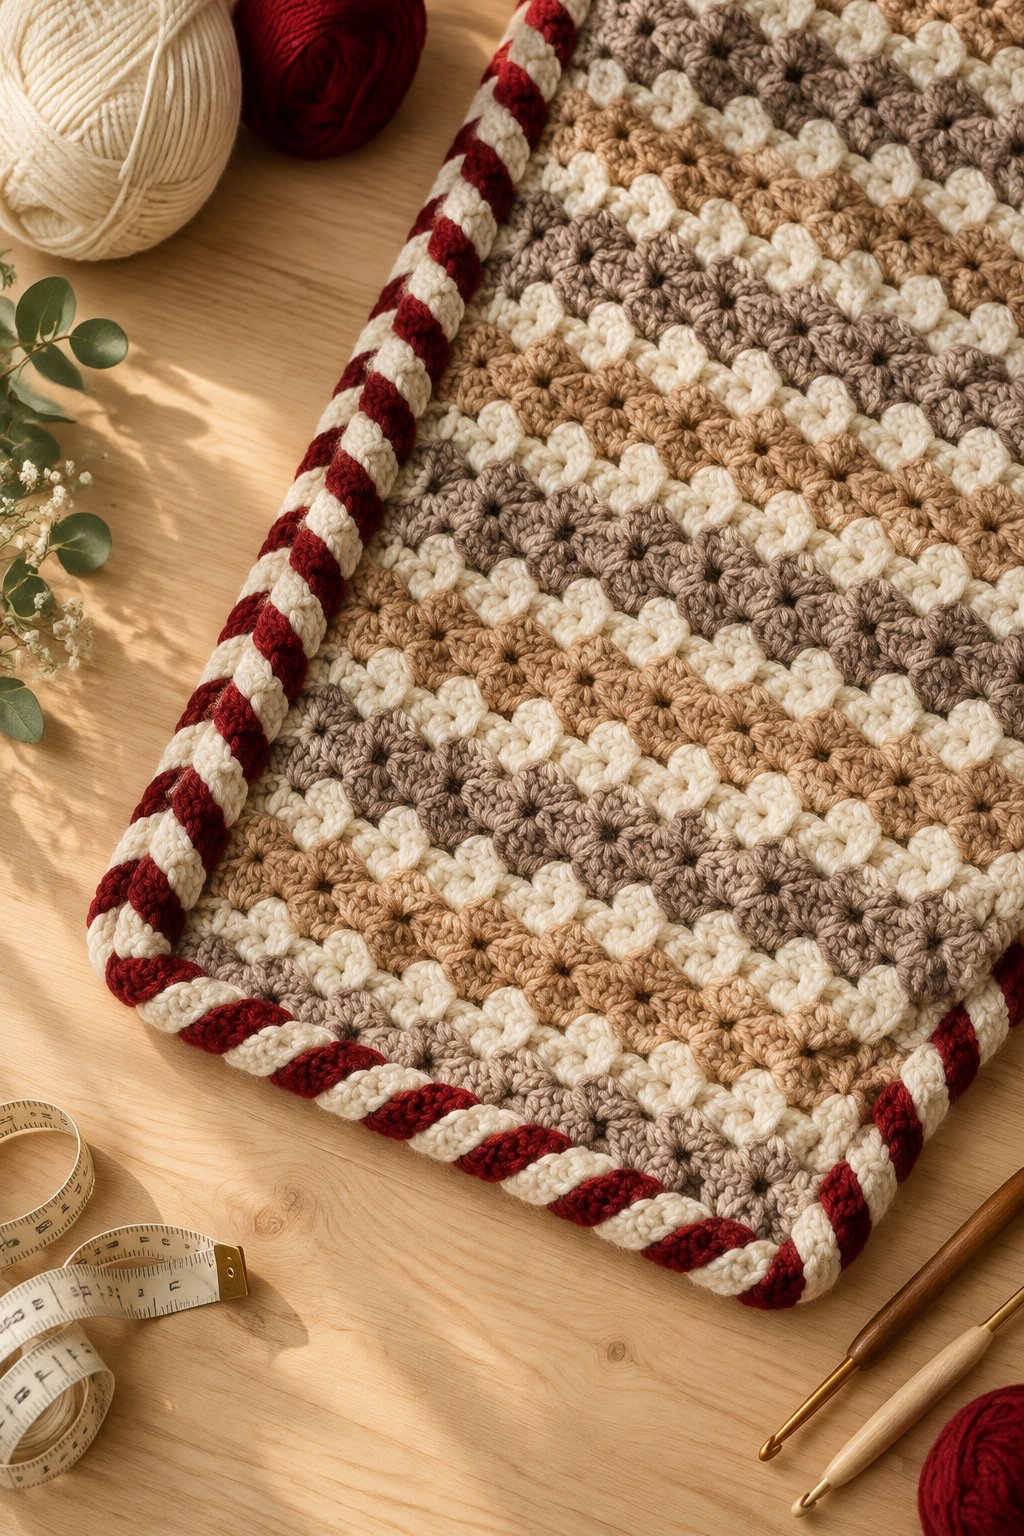
Finish your blanket with a candy cane border when you want a narrow, twisted two-color outline. You’ll get a festive look from red and cream, while blue and white gives the same detail an everyday feel. The interlocking loops create a lively edge without a deep band of stitches.
Choose two smooth DK yarns of equal thickness and start with a 4 mm hook. Follow a two-color chain-loop border pattern, since loop lengths and attachment spacing differ among versions. You’ll alternate the colors and interlock the loops to form the twist. This intermediate edging rewards careful yarn management: keep the working balls separated and straighten the loops every few repeats. Practice the finishing join on a swatch before edging a full blanket. Aim for matching loop sizes so both colors remain equally visible around the perimeter.
|
Detail |
Specification |
|---|---|
|
Yarn Weight |
DK, #3 |
|
Skill Level |
Intermediate |
|
Estimated Time |
3–6 hours, small blanket |
14) Tulip Stitch Border For Floral Spring Blankets
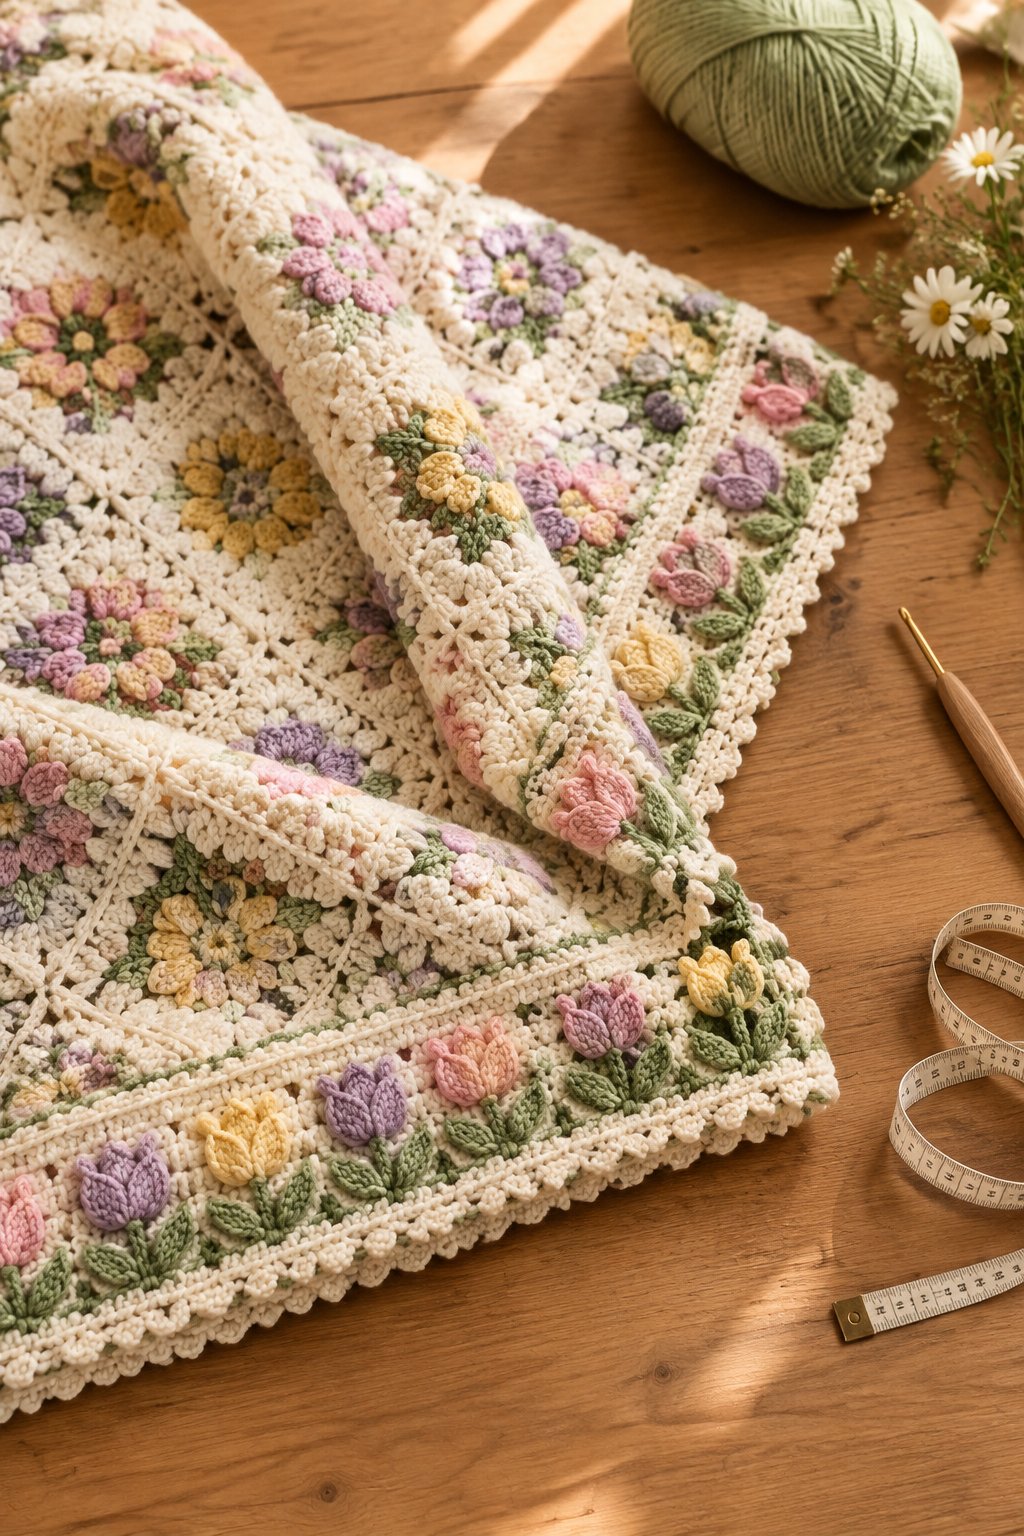
Add a row of tiny flowers to your spring blanket with a tulip stitch border. You’ll get a clear garden effect from green stems beneath pink or yellow flower heads. A cream background gives the small blossoms room to stand out, especially along a simple solid-color blanket.
Use smooth DK yarn with a 4 mm hook and choose an intermediate tulip border pattern with explicit corner instructions. Many versions pair green V-shaped stitches with colored clusters or puff stitches above them. Check the repeat count before starting so the flowers remain evenly spaced along each side. You’ll have several color changes, so leave enough tail for secure weaving. Keep the flower shapes attached closely to the fabric for a neat outline. A narrow plain round above the blossoms helps stabilize the top edge on a frequently handled throw.
|
Detail |
Specification |
|---|---|
|
Yarn Weight |
DK, #3 |
|
Skill Level |
Intermediate |
|
Estimated Time |
4–8 hours, small blanket |
15) Leaf Lace Edging For Botanical Table Runners
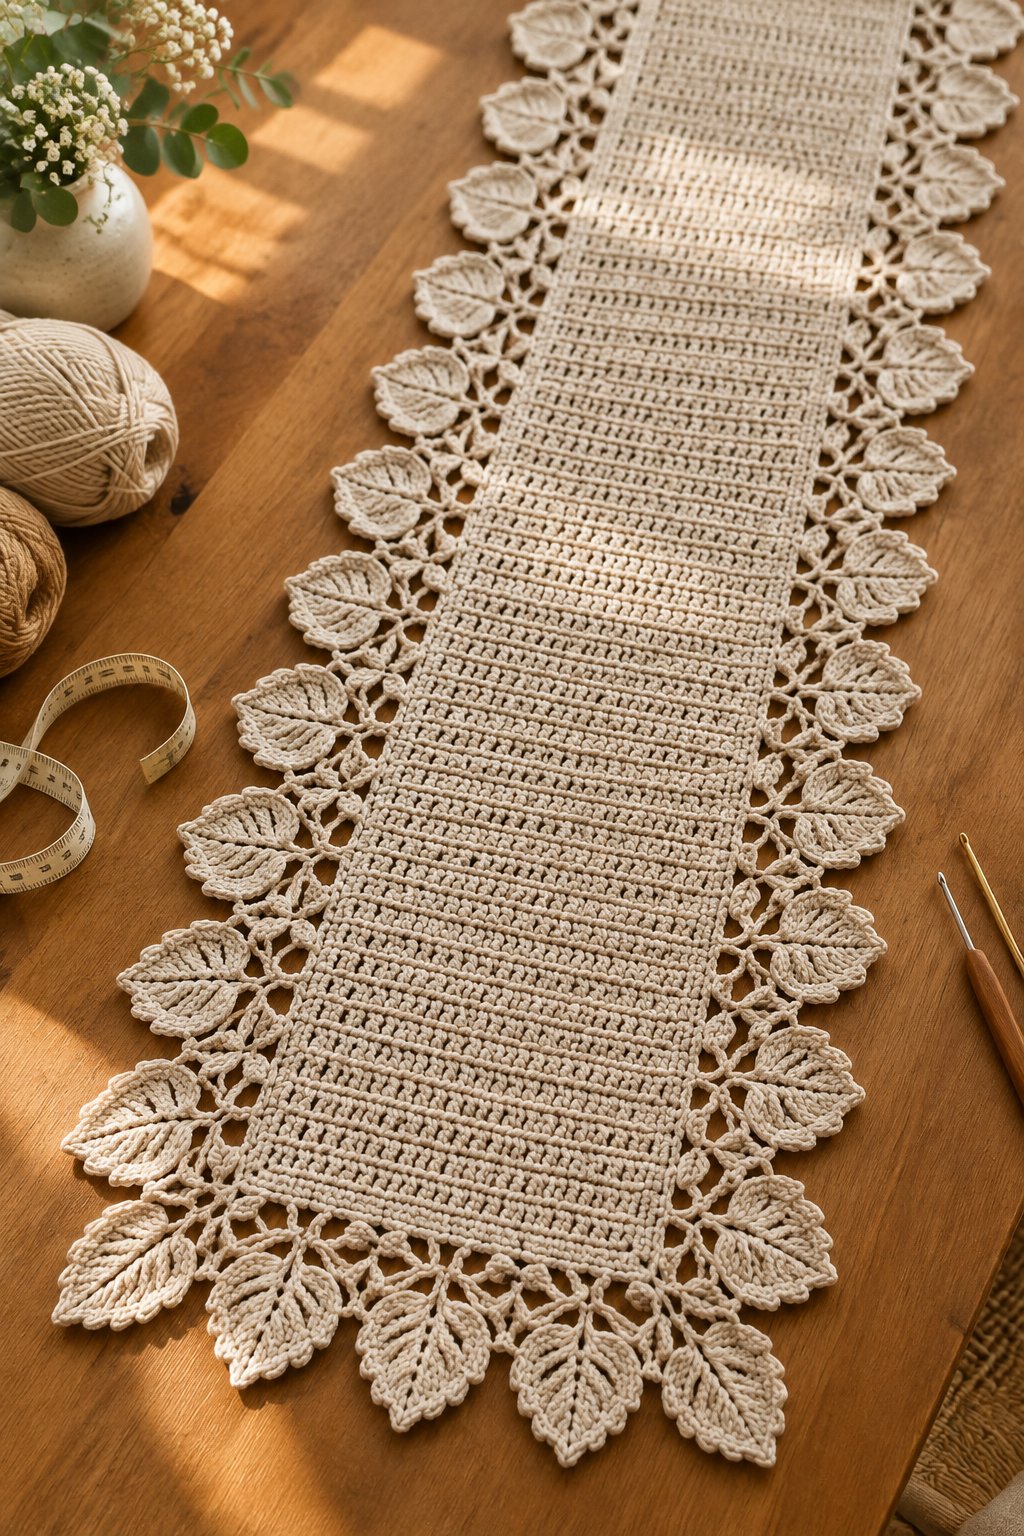
Bring a botanical outline to your table runner with leaf lace edging shaped into pointed motifs. You’ll see the leaf details clearly in ecru or moss green. The open spaces create a delicate finish, while the repeated points give your runner a distinct silhouette against the tabletop.
For an intermediate lace project, choose size 10 crochet cotton thread and a 1.5–1.75 mm steel hook. Follow a charted pattern that combines chains with grouped tall stitches and decreases to shape the leaves. Size 10 describes crochet thread sizing, so check the thread label carefully when shopping. You’ll get the cleanest result by testing one full repeat and blocking it before measuring. Keep the lace along the runner’s outer edges, leaving a stable center for tableware. Measure the blocked sample when deciding how many repeats fit each end.
|
Detail |
Specification |
|---|---|
|
Yarn Weight |
Size 10 crochet thread |
|
Skill Level |
Intermediate |
|
Estimated Time |
6–12 hours, runner |
16) Filet Crochet Border For Vintage-Inspired Cotton Towels
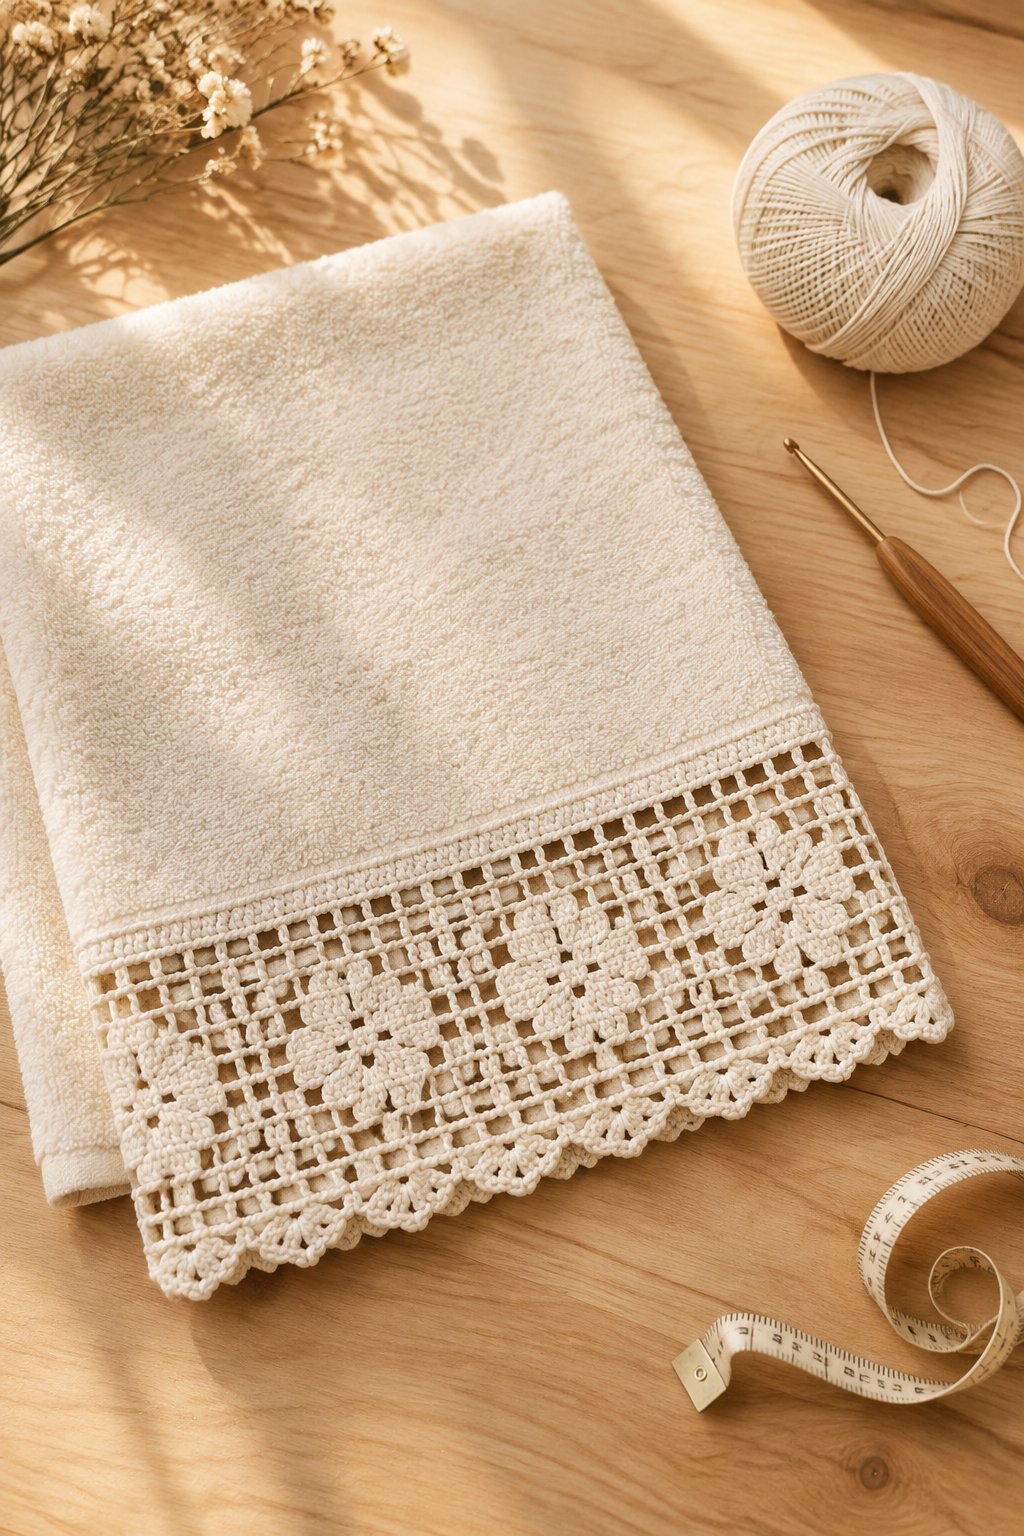
Give your cotton towels a vintage-inspired finish with filet crochet, using filled blocks against an open mesh. You’ll get a crisp geometric design in white thread, or a softer heirloom look with natural cotton. A narrow band suits everyday hand towels and keeps the decorative edge easy to manage.
Choose size 10 crochet cotton with a 1.5–1.75 mm steel hook. Follow a beginner-friendly chart with a clear block key, since filet patterns use different mesh conventions. You’ll build the design with double crochet and chains, counting each square carefully. For a fabric towel, crochet the trim separately and sew it securely to the hem with washable thread. Prewash your towel and cotton trim before joining them to reduce uneven shrinkage. Keep the band shallow enough that your towel still hangs freely from its usual rail.
|
Detail |
Specification |
|---|---|
|
Yarn Weight |
Size 10 crochet thread |
|
Skill Level |
Easy |
|
Estimated Time |
3–6 hours, towel band |
How To Choose Yarn And Hooks For Your Border

Match your border yarn to your project’s fabric and care needs first. Use each hook recommendation as a starting point, then check a sample.
Should Your Border Match The Project’s Yarn Weight?
Start with the same yarn weight for balanced thickness and tension. If you choose a finer trim, swatch its attachment to confirm that your edge stays smooth.
When Should You Choose Cotton, Worsted, Or Chunky Yarn?
Choose cotton fiber for washable household pieces, worsted weight for medium-weight blankets, and chunky yarn for thick throws. Cotton describes fiber; worsted and chunky describe yarn thickness.
Which Hook Size Gives The Best Drape?
Begin with your project’s hook size when using matching yarn. Try a larger hook if your sample feels stiff, then check that the loops remain tidy.
How Much Yarn Should You Set Aside?
Estimate from a measured border swatch using the same stitch pattern. Weigh your swatch, calculate its grams per inch, multiply by your project’s perimeter, and add 15–20% for joins and adjustments.
How To Keep Crochet Borders Flat And Even
Keep your border flat by matching stitch density to each edge and allowing enough room at corners. Check your work on a flat surface after every round.
Do You Need A Foundation Round First?
Use a single crochet foundation round when you need an even base for decorative repeats. A border worked directly into existing spaces needs its pattern’s setup.
How Do You Space Stitches Along Row Ends?
Mark equal edge sections and distribute stitches evenly within each. Start near one single crochet per single-crochet row and two per double-crochet row, then assess your fabric.
How Do You Adapt Stitch Repeats At Corners?
Mark each corner and count the repeats along each side before starting. Use the border pattern’s corner group and spread small count adjustments across the foundation round.
Why Is Your Border Waving Or Cupping?
Reduce stitch density if your border waves; add stitches if it cups. Check your tension and corner increases before changing hook size.
When Does Blocking Help?
Block to open lace and settle minor unevenness after correcting stitch counts. Follow your yarn label’s care directions, pin to your intended measurements, and let the piece dry fully.