You can finish tiny no-sew crochet amigurumi projects in under 30 minutes when you choose simple shapes with features worked into the stitches. These cozy, palm-size makes fit the appeal of quick handmade gifts: you get a cute result, use leftover yarn, and keep assembly short.

Keep your favorite designs saved for your next small-project break. The time ranges below are planning estimates for practiced crocheters making miniature versions, including stuffing and basic finishing; give yourself extra time while learning. You’ll find construction ideas and yarn guidance here, so pair your chosen design with a matching stitch-counted pattern before starting.
1) Mini Octopus With Crochet-In Tentacles
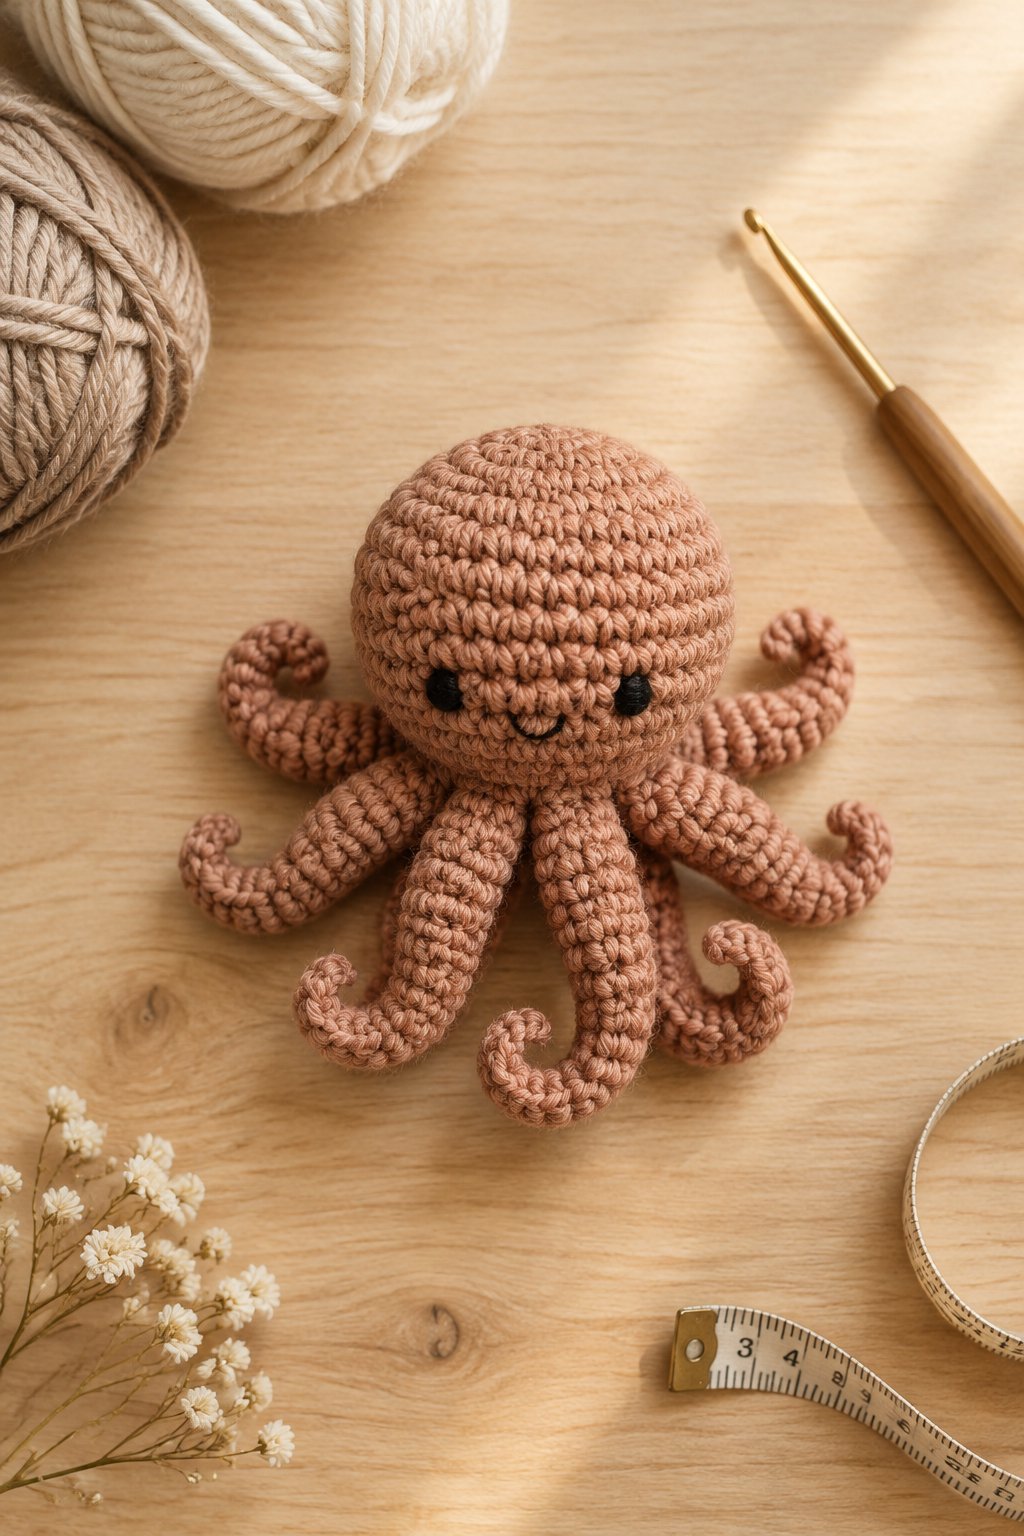
Your mini octopus gets its no-sew shape from tentacles worked directly into the bottom edge. Choose lavender or seafoam for a soft ocean palette, and keep the head about golf-ball size to protect your time budget. Worsted cotton with a 3.5 mm hook gives you clear stitches and crisp curls.
Build the rounded head with single crochet, then add stuffing before closing the underside. For each tentacle, work a short chain and place multiple stitches into each chain on the return to create a curl. Follow your pattern’s spacing so the legs sit evenly around the base. This beginner-friendly design suits a small shelf display or an ocean-themed gift. Count all eight tentacles before fastening off, and keep the stuffing inside the head so each curl stays light and springy.
|
Detail |
Specification |
|---|---|
|
Yarn Weight |
Worsted, #4 cotton |
|
Skill Level |
Beginner |
|
Estimated Time |
20–29 minutes |
2) Tiny Ghost With a Ruffled Hem
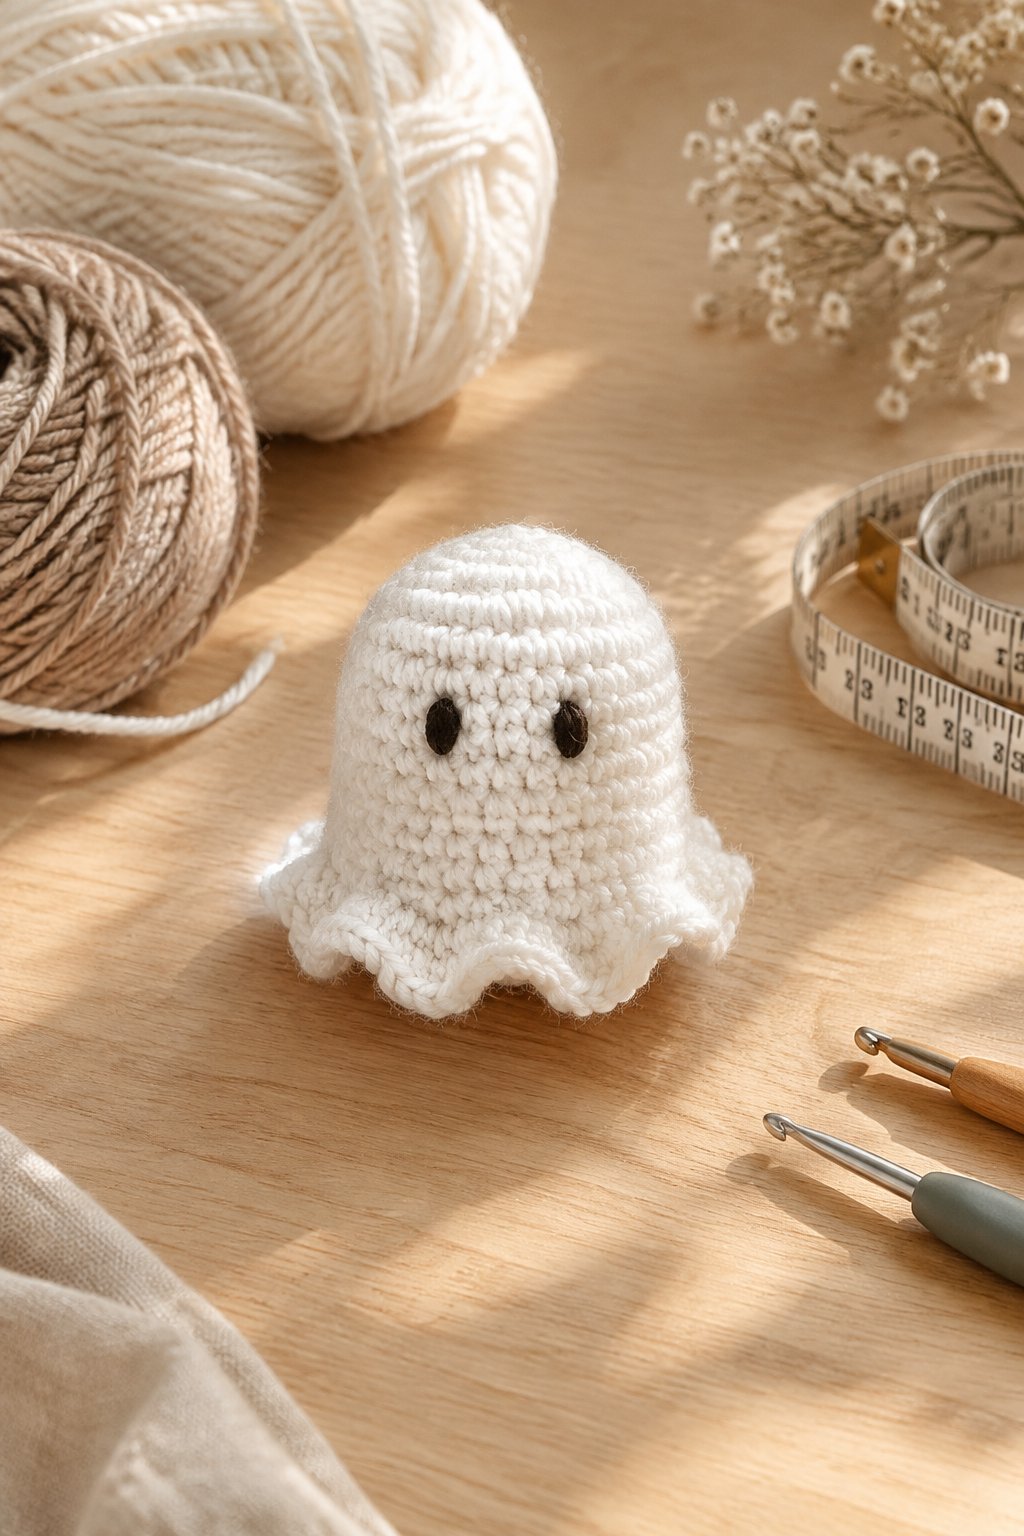
A rounded crown and flared hem give your tiny ghost its floating shape without separate arms. Use white or pale lilac worsted acrylic with a 3.5 mm hook for a smooth, compact finish. You’ll get the clearest silhouette by keeping the body short and letting the ruffle supply the movement.
Work single crochet in continuous rounds, then follow a design that closes the stuffed base through the inner loops. Use the remaining outer loops for the decorative hem, adding increases to create gentle waves. This keeps your stuffing contained beneath the ghost. Your main beginner skills are counting rounds and working into selected loops. Display your finished ghost beside a small pumpkin, or make a pair in different pastel shades. Keep the facial details small so the ruffled edge remains the main feature.
|
Detail |
Specification |
|---|---|
|
Yarn Weight |
Worsted, #4 acrylic |
|
Skill Level |
Beginner |
|
Estimated Time |
20–29 minutes |
3) Mini Mushroom With a Continuous Cap and Stem
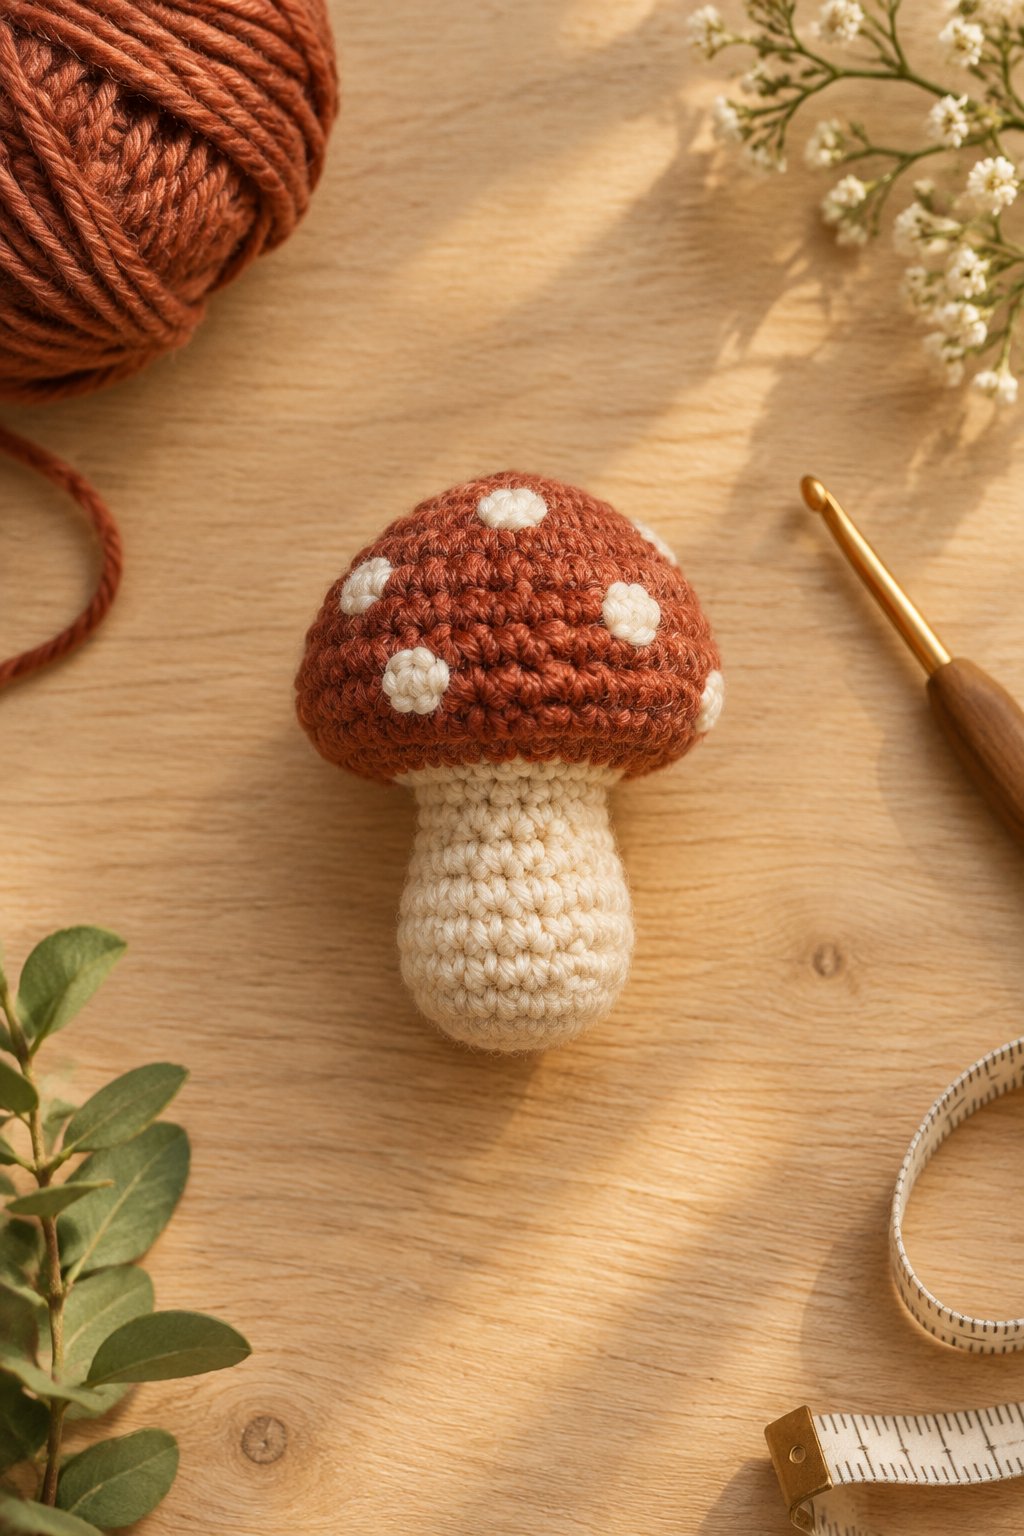
You’ll keep your mushroom no-sew by choosing a cap-to-stem pattern worked as one continuous shape. A rust-red cap and cream stem create a woodland look, while blush and oatmeal give you a softer palette. Use worsted cotton and a 3.25 mm hook to help the cap hold its rounded outline.
Start at the cap’s crown, widen with increases, and follow the pattern’s underside shaping before narrowing into the stem. Add small pinches of stuffing as the opening shrinks. Keep the stem lightly filled so it stays proportional to the broad top. This easy project suits you once you’re comfortable with color changes and invisible decreases. For a quick finish, leave the cap plain; spotted versions need extra decoration time. Place your mushroom beside a houseplant or include it in a woodland gift set.
|
Detail |
Specification |
|---|---|
|
Yarn Weight |
Worsted, #4 cotton |
|
Skill Level |
Easy |
|
Estimated Time |
20–29 minutes |
4) Round Dumpling With a Slip-Stitch Closure
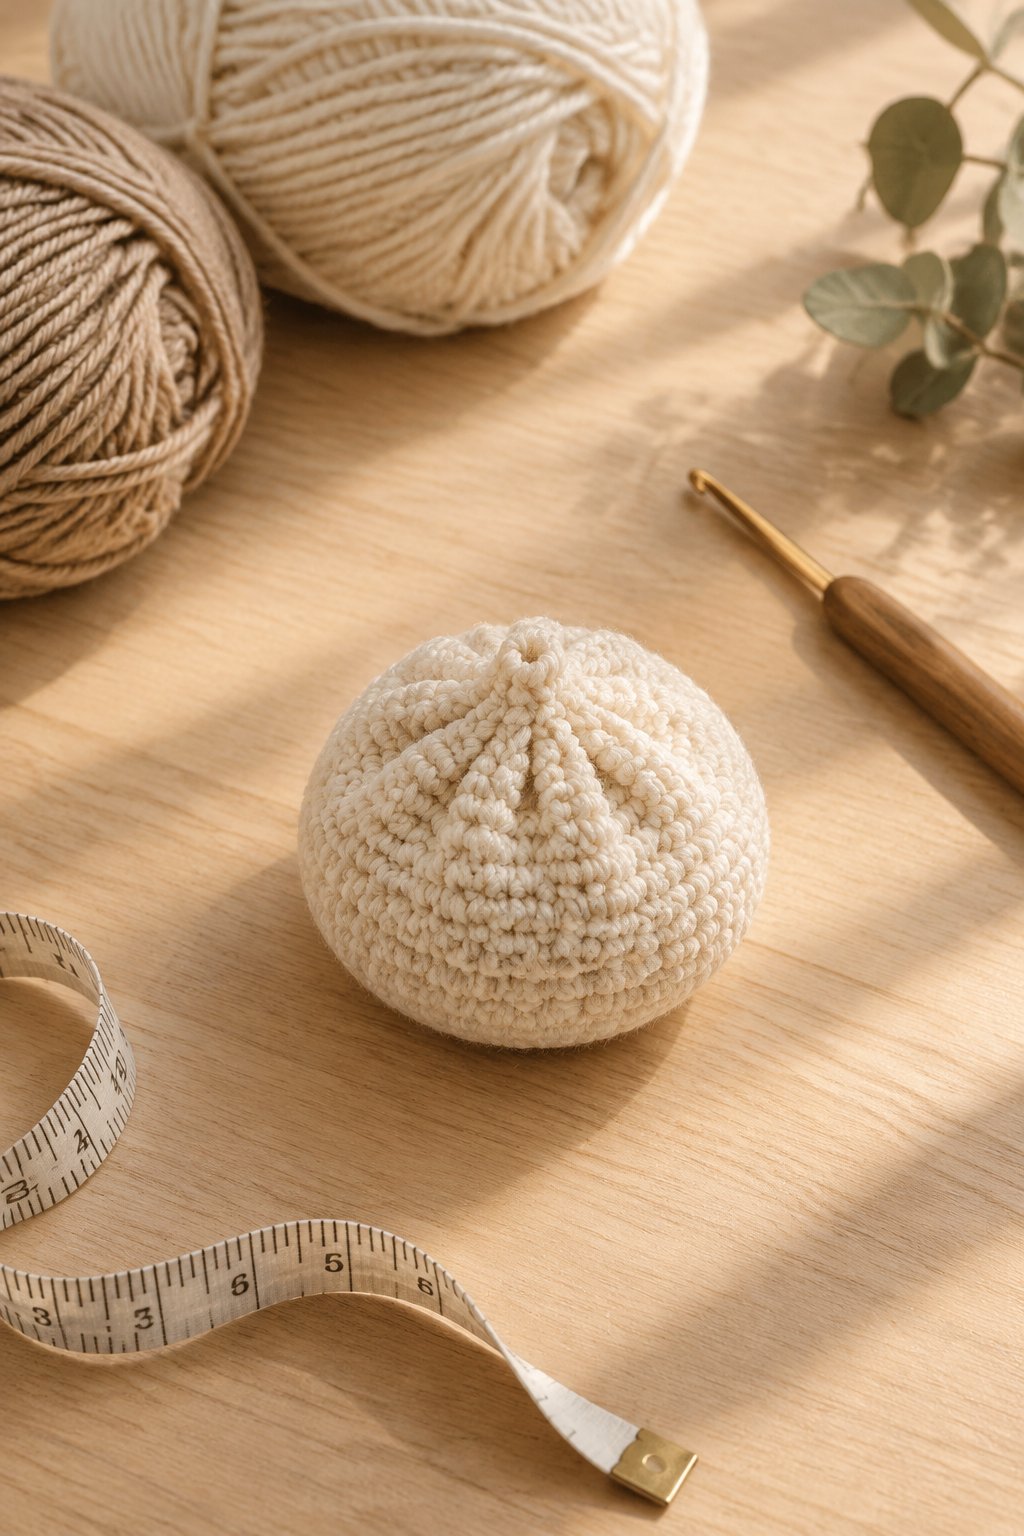
Your dumpling takes shape when you fold a crocheted circle and slip-stitch the edges together around a little stuffing. Cream worsted cotton and a 3.5 mm hook give you a smooth wrapper with a tidy raised seam. Keep the circle small enough to fit comfortably across your palm before folding.
Use single crochet increases to build the wrapper, then bring matching edge stitches together. Slip-stitch through both layers, pause to add filling, and close the remaining opening. A loose grip on the joining stitches helps you avoid a tightly puckered edge. This beginner project gives you useful practice joining crochet with your hook. Skip the face for a clean food-miniature style, or add tiny stitched eyes for a cheerful desk companion. Use a modest amount of stuffing so your curved seam stays visible.
|
Detail |
Specification |
|---|---|
|
Yarn Weight |
Worsted, #4 cotton |
|
Skill Level |
Beginner |
|
Estimated Time |
15–25 minutes |
5) Pocket Whale With Crochet-In Flippers
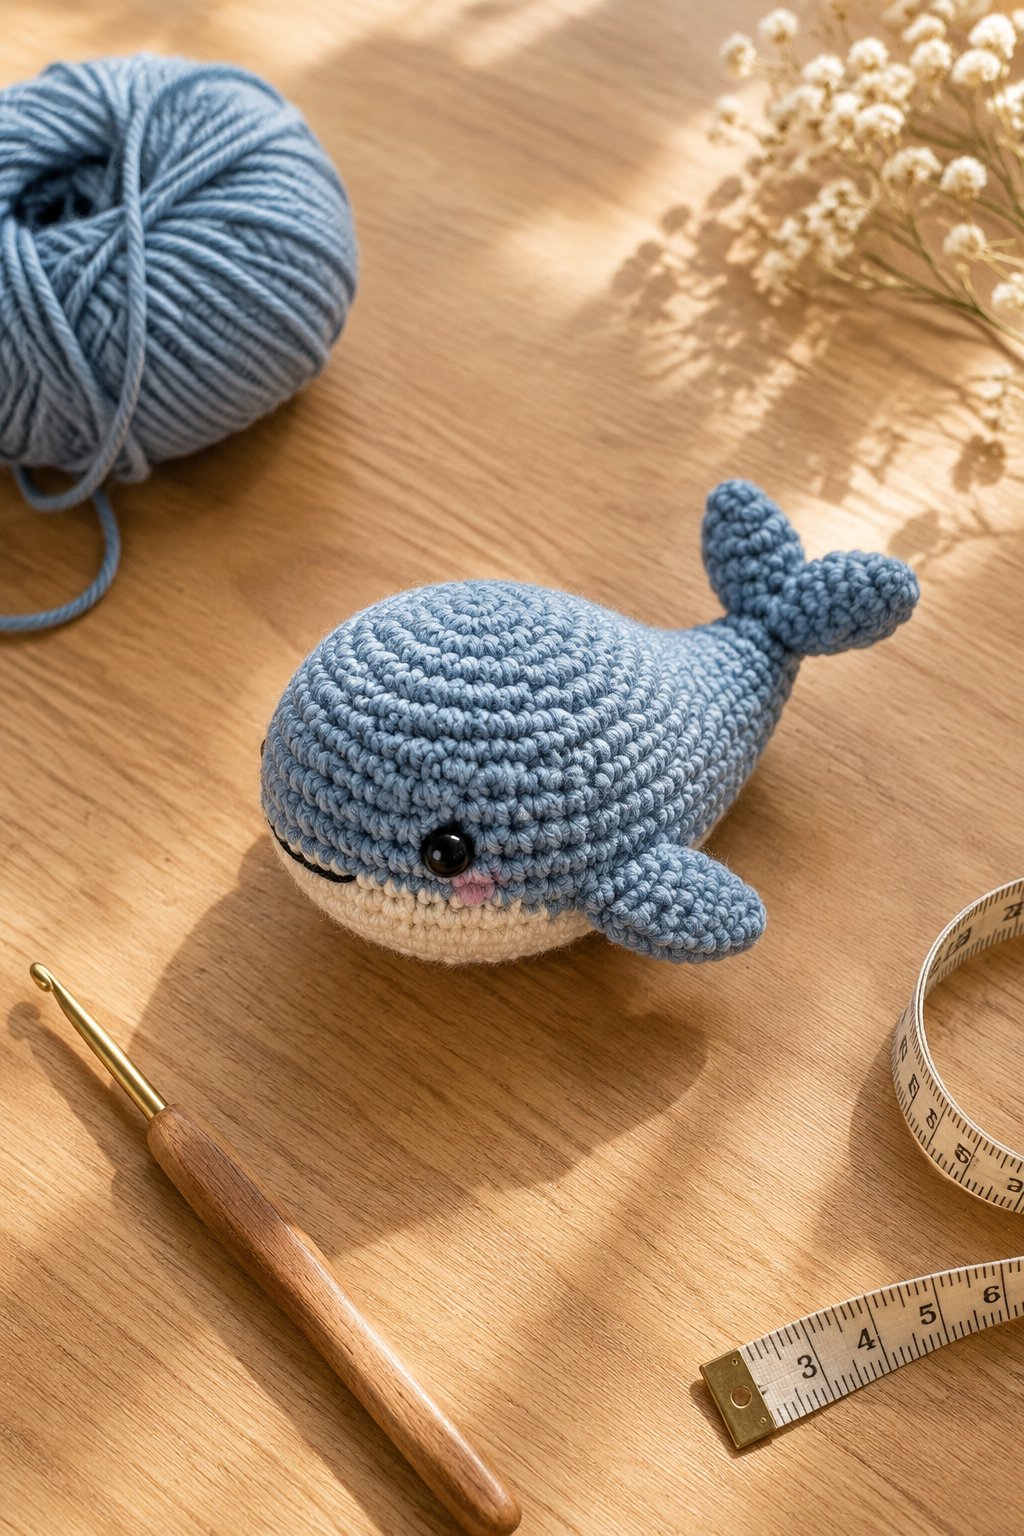
Crochet-in flippers let you finish your pocket whale without attaching tiny side pieces afterward. Choose dusty blue worsted acrylic with a 3.5 mm hook for a soft miniature with clearly defined stitches. An oval body and short tail give you the familiar whale profile while keeping the design compact.
Look for a pattern that forms each flipper with a short chain worked back into the body round. Shape the body with single crochet increases and decreases, then crochet the tail from the closed rear edge. You’ll want easy-level confidence with stitch placement because uneven flippers change the silhouette. Stuff the front slightly more firmly than the tail area to preserve the rounded head. Your finished whale makes a sweet coastal shelf accent or a small gift for someone who loves ocean animals.
|
Detail |
Specification |
|---|---|
|
Yarn Weight |
Worsted, #4 acrylic |
|
Skill Level |
Easy |
|
Estimated Time |
20–29 minutes |
6) Tiny Strawberry With Crochet-In Leaves
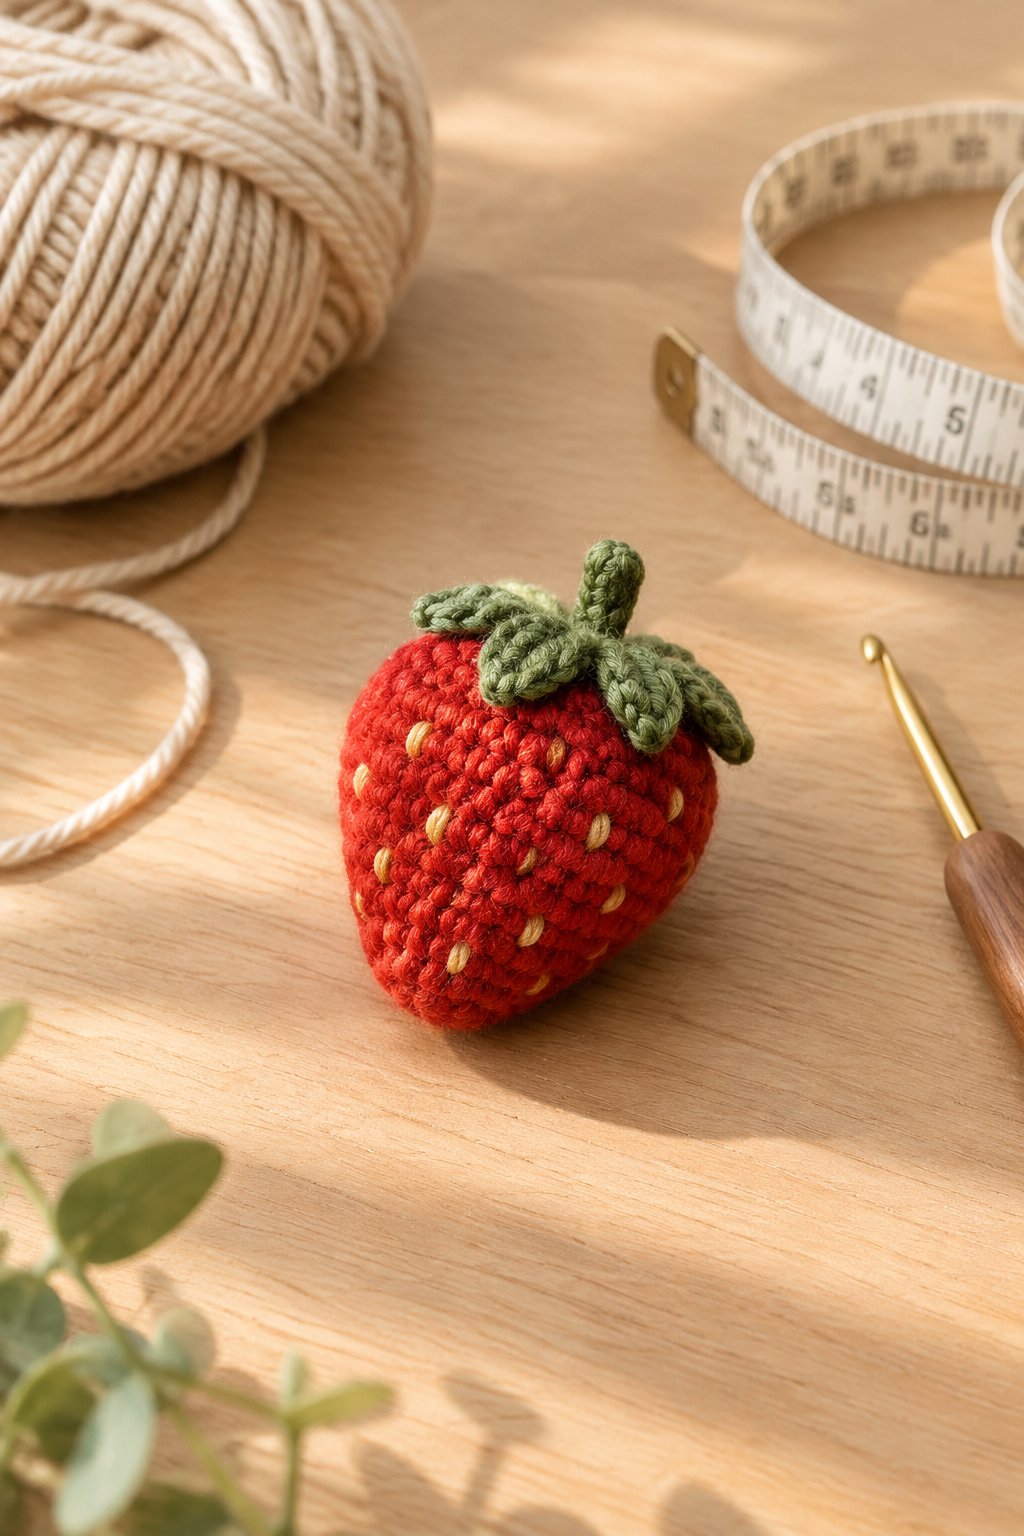
Your strawberry stays no-sew when you work its green leaves directly from the berry’s top. Pair red worsted cotton with a leafy green scrap and a 3.25 mm hook for a firm, bright finish. A narrow tip and rounded shoulders make the fruit recognizable even without stitched seeds.
Work upward from the point using single crochet increases, then add stuffing before narrowing the opening. Choose a pattern that reserves loops around the crown for short chain-and-return leaves. Keep those leaves compact so they sit against the fruit. This easy design introduces shaping and a small color change without separate assembly. For your quickest version, use plain red yarn; add seed stitches only when your schedule allows. Tuck your finished berry into a gift box or group several in a decorative kitchen bowl.
|
Detail |
Specification |
|---|---|
|
Yarn Weight |
Worsted, #4 cotton |
|
Skill Level |
Easy |
|
Estimated Time |
20–29 minutes |
7) Mini Heart With Joined Lobes
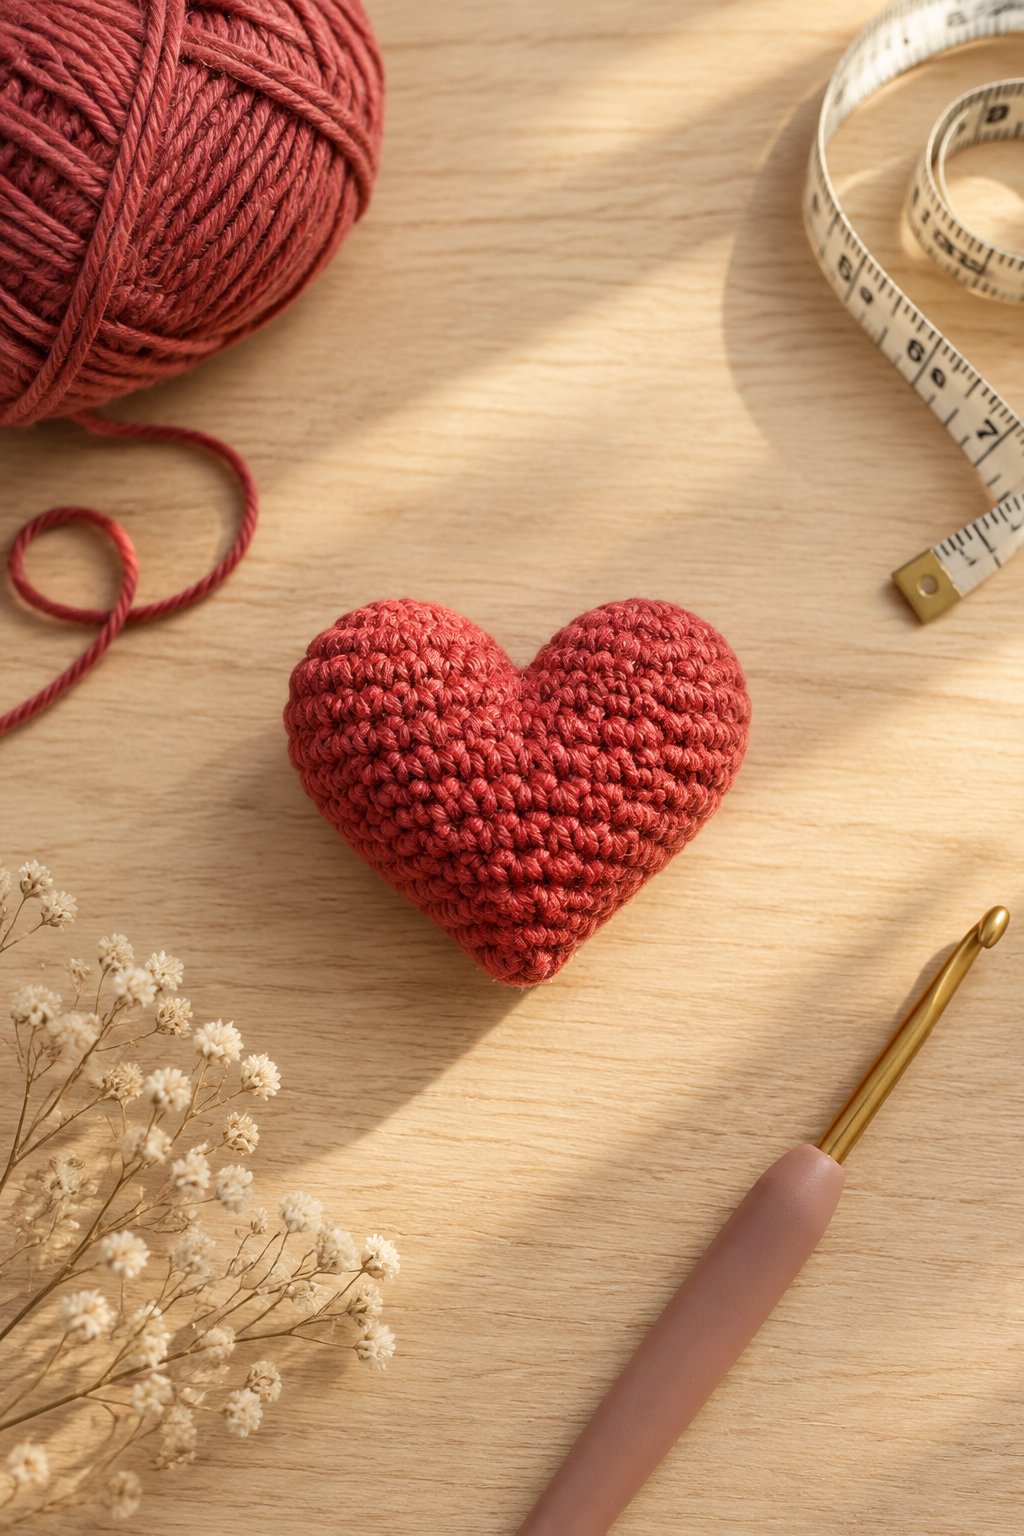
You create this puffy heart by joining two small crocheted lobes and continuing down to one point. Cherry red gives you a classic finish, while peach or rose works well for softer gift wrapping. Choose worsted acrylic and a 3.5 mm hook to keep the miniature shape neat.
Make the first lobe and fasten off, then crochet the second and join both with your working yarn. Follow a pattern that includes a hook-worked join across the center gap. After joining, use gradual decreases to form the lower half, adding small amounts of stuffing as you go. This easy project suits you once you can track stitches around two joined pieces. Keep the lobes equally filled for a balanced outline. Use your finished heart as a gift topper or a pocket-size keepsake.
|
Detail |
Specification |
|---|---|
|
Yarn Weight |
Worsted, #4 acrylic |
|
Skill Level |
Easy |
|
Estimated Time |
20–29 minutes |
8) Baby Chick With Bobble-Stitch Wings
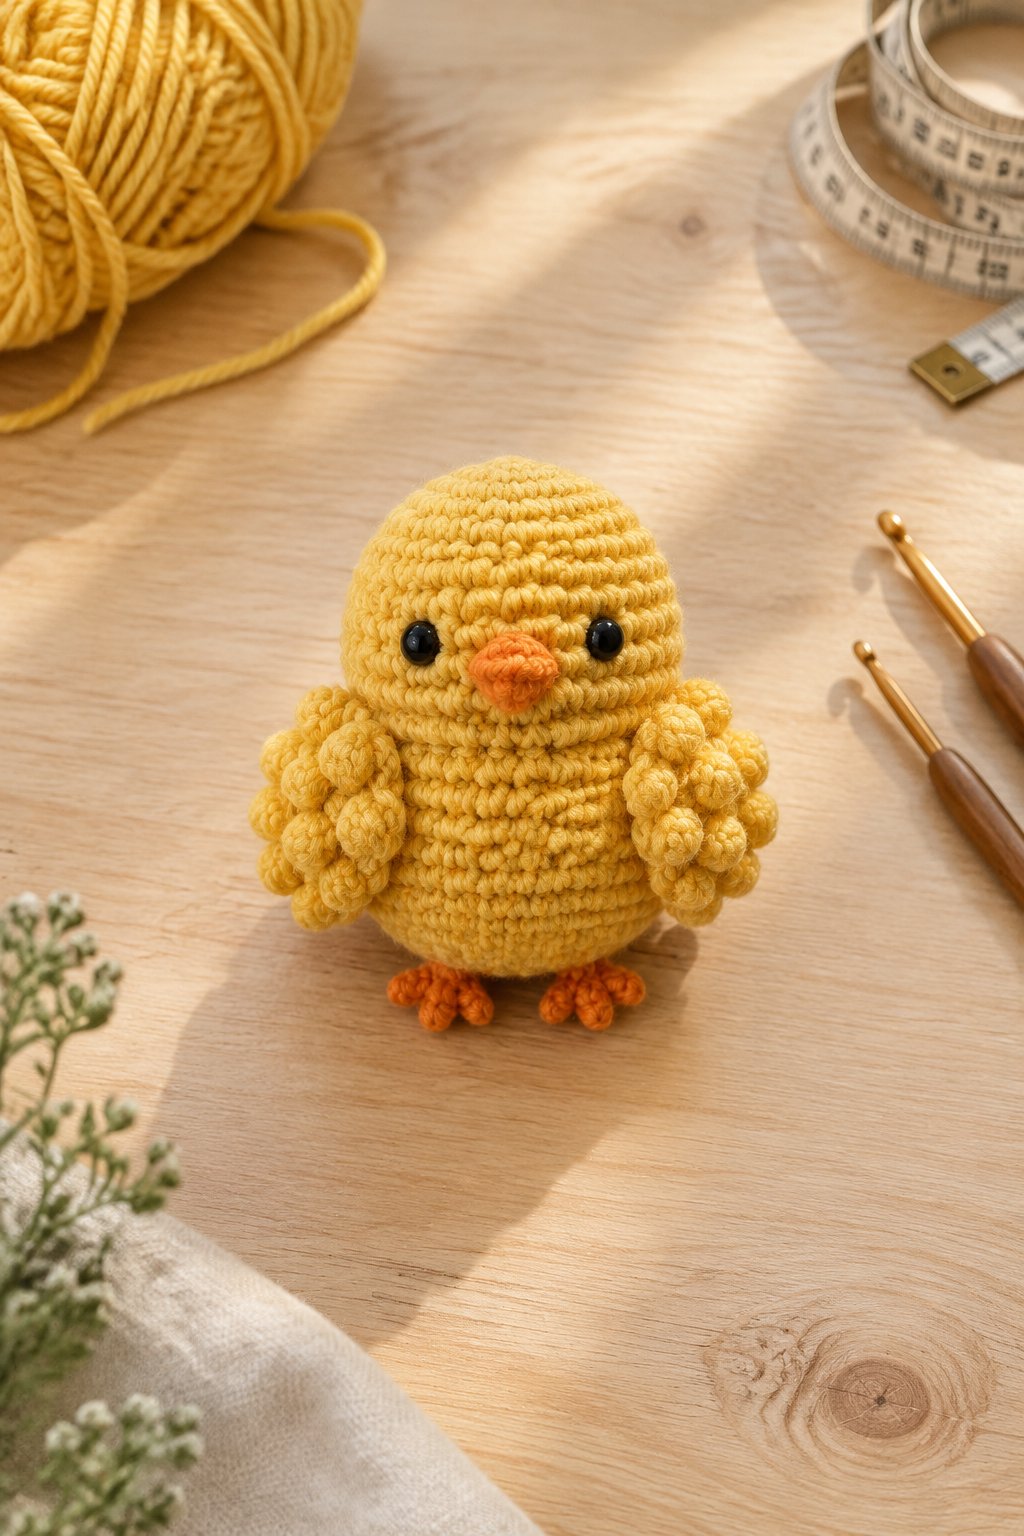
Bobble-stitch wings give your baby chick raised sides while you crochet the body in one piece. Choose butter-yellow worsted cotton and a 3.5 mm hook for a tidy egg-shaped bird. A tiny orange beak adds enough contrast to make the face readable at this small scale.
Build the body in single crochet, placing a bobble on each side at the height your pattern specifies. Push both bobbles outward before stuffing so the wings remain visible. For fully crochet-built features, choose a design with a small beak worked into the face round. You’ll need easy-level skills because bobbles and color placement require attention. Keep the body softly filled and check the wing positions before closing. Your chick works well in a spring display or as a cheerful addition to a wrapped gift.
|
Detail |
Specification |
|---|---|
|
Yarn Weight |
Worsted, #4 cotton |
|
Skill Level |
Easy |
|
Estimated Time |
20–29 minutes |
9) Mini Carrot With a Chain-Stitch Leaf Top
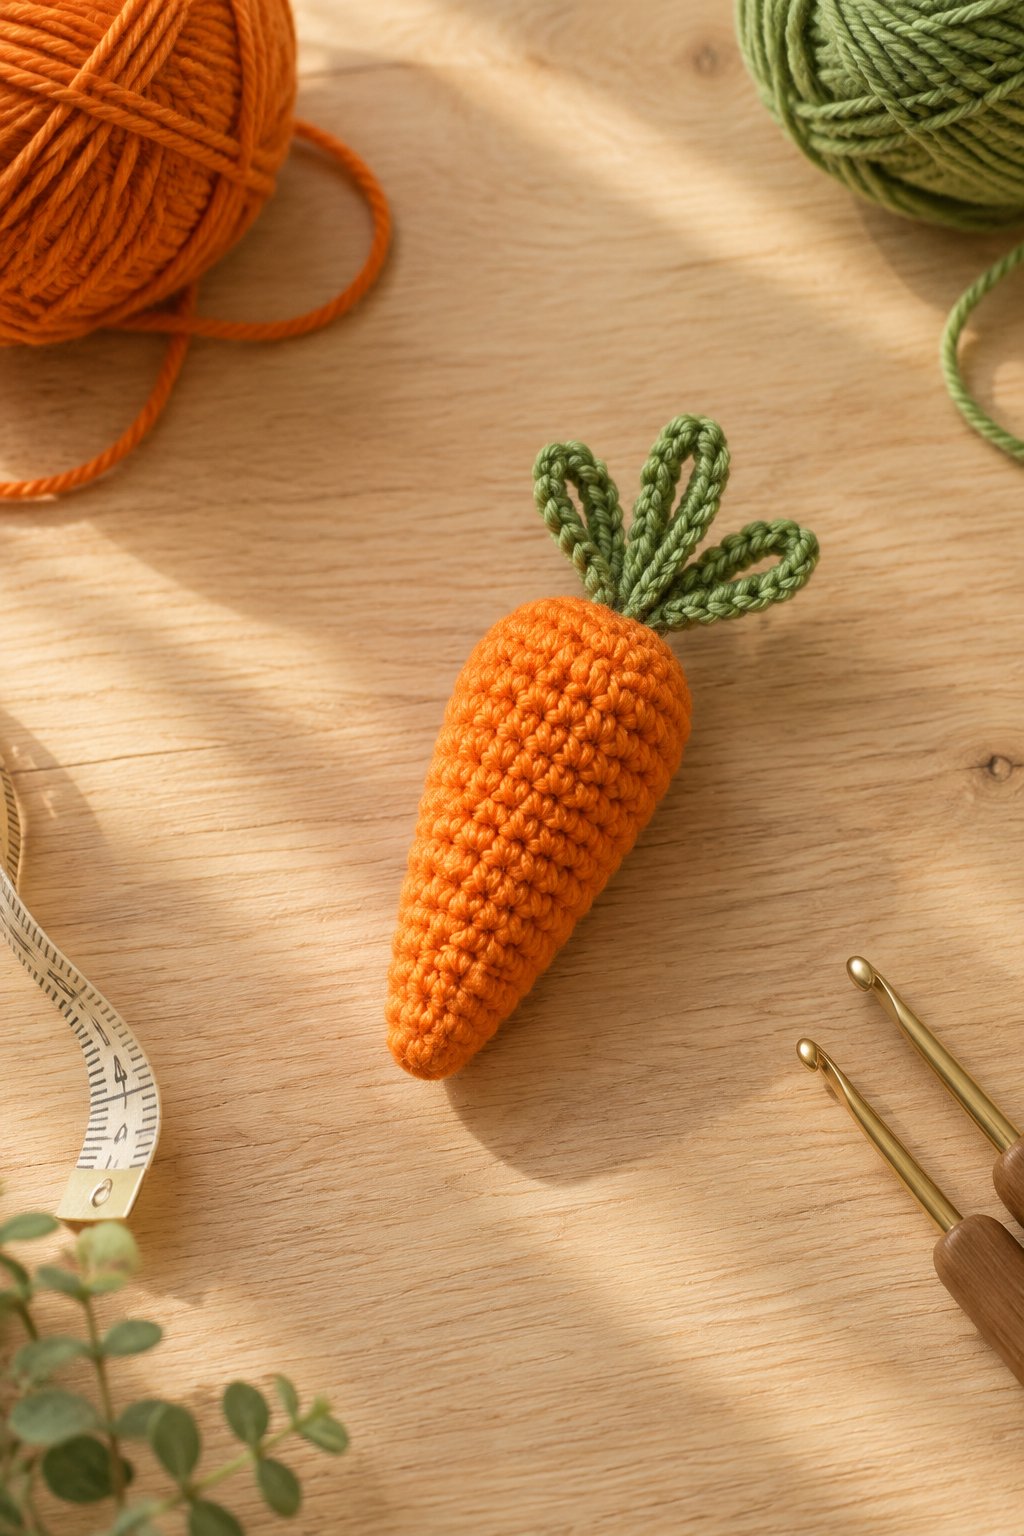
Your mini carrot combines a tapered orange body with green chain leaves worked from the closed top. Worsted cotton and a 3.25 mm hook give you enough structure to keep the point defined. Choose muted terracotta and sage for a rustic look, or use bright scraps for playful pretend produce.
Begin at the narrow tip and increase gradually as you work toward the shoulders. Add a little stuffing at a time, using a blunt tool gently to guide it toward the point. Change to green at the top and follow your pattern’s closure before chaining the leaves. This beginner-friendly shape helps you practice controlled increases on a small project. Vary the leaf lengths slightly for a relaxed finish. Tie your carrot onto spring gift packaging, keeping any added ribbon separate from the crochet.
|
Detail |
Specification |
|---|---|
|
Yarn Weight |
Worsted, #4 cotton |
|
Skill Level |
Beginner |
|
Estimated Time |
15–25 minutes |
10) Tiny Snake With a Curled Body
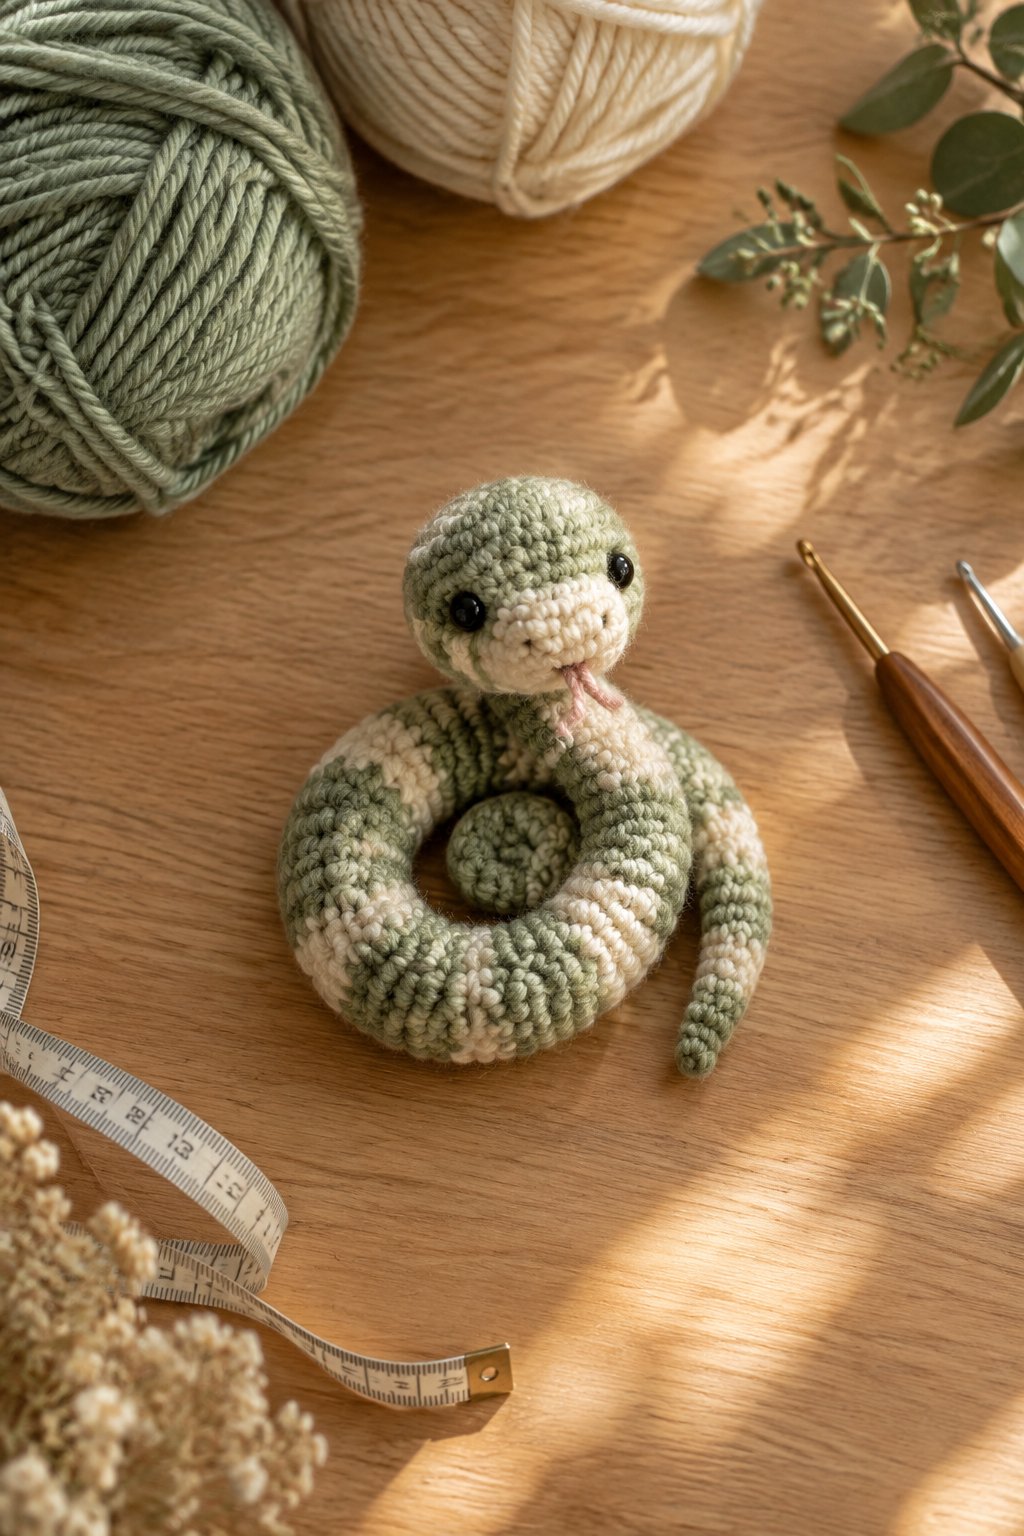
A short crocheted tube gives your tiny snake a flexible body that you arrange into a loose curl. Use smooth worsted acrylic in lime, teal, or a lightly variegated shade with a 3.5 mm hook. Keep the snake short to make the under-30-minute goal realistic.
Choose a continuous head-to-tail pattern with a slightly wider head and a narrow body. Work single crochet rounds and add small wisps of stuffing as you progress; a densely packed tube becomes harder to bend. Taper the tail with decreases, then shape the finished snake by hand. Your curl will remain movable unless the pattern includes built-in shaping. This beginner project suits you if you enjoy repeating a small stitch count. Use your snake as a desk decoration, and skip wire inserts when making a child’s toy.
|
Detail |
Specification |
|---|---|
|
Yarn Weight |
Worsted, #4 acrylic |
|
Skill Level |
Beginner |
|
Estimated Time |
20–29 minutes |
11) Mini Fish With a Crochet-Closed Tail
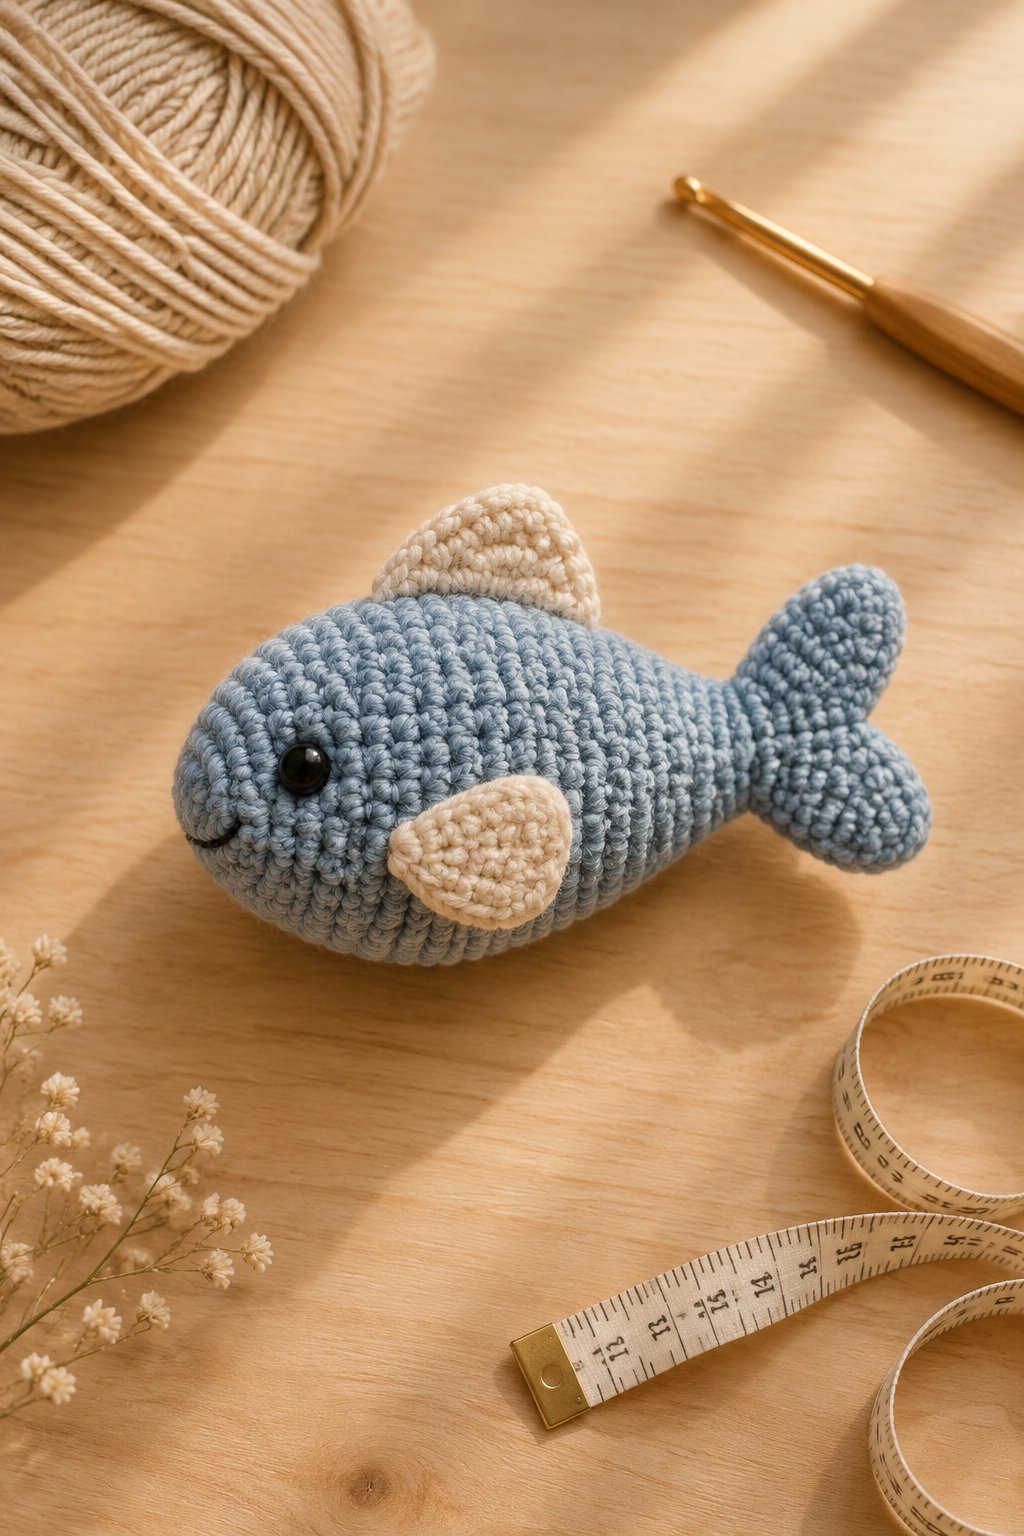
You finish your mini fish by crocheting the body opening closed and building the tail from that edge. Coral worsted cotton with a 3.25 mm hook creates a bright, well-defined shape. Keep the body oval and the tail broad enough to show clearly without overwhelming the miniature.
Start at the mouth end and use single crochet increases to round out the body. After adding stuffing, flatten the rear opening and work through both layers to close it. Follow your pattern’s short tail rows, using taller stitches where you need extra width. This easy construction gives you practice turning a closing seam into a useful design feature. Leave the tail unstuffed so it fans outward. Your finished fish fits an ocean-themed display or a gift set alongside another small sea creature you’ve crocheted.
|
Detail |
Specification |
|---|---|
|
Yarn Weight |
Worsted, #4 cotton |
|
Skill Level |
Easy |
|
Estimated Time |
15–25 minutes |
12) Tiny Cupcake With Continuous Swirled Frosting
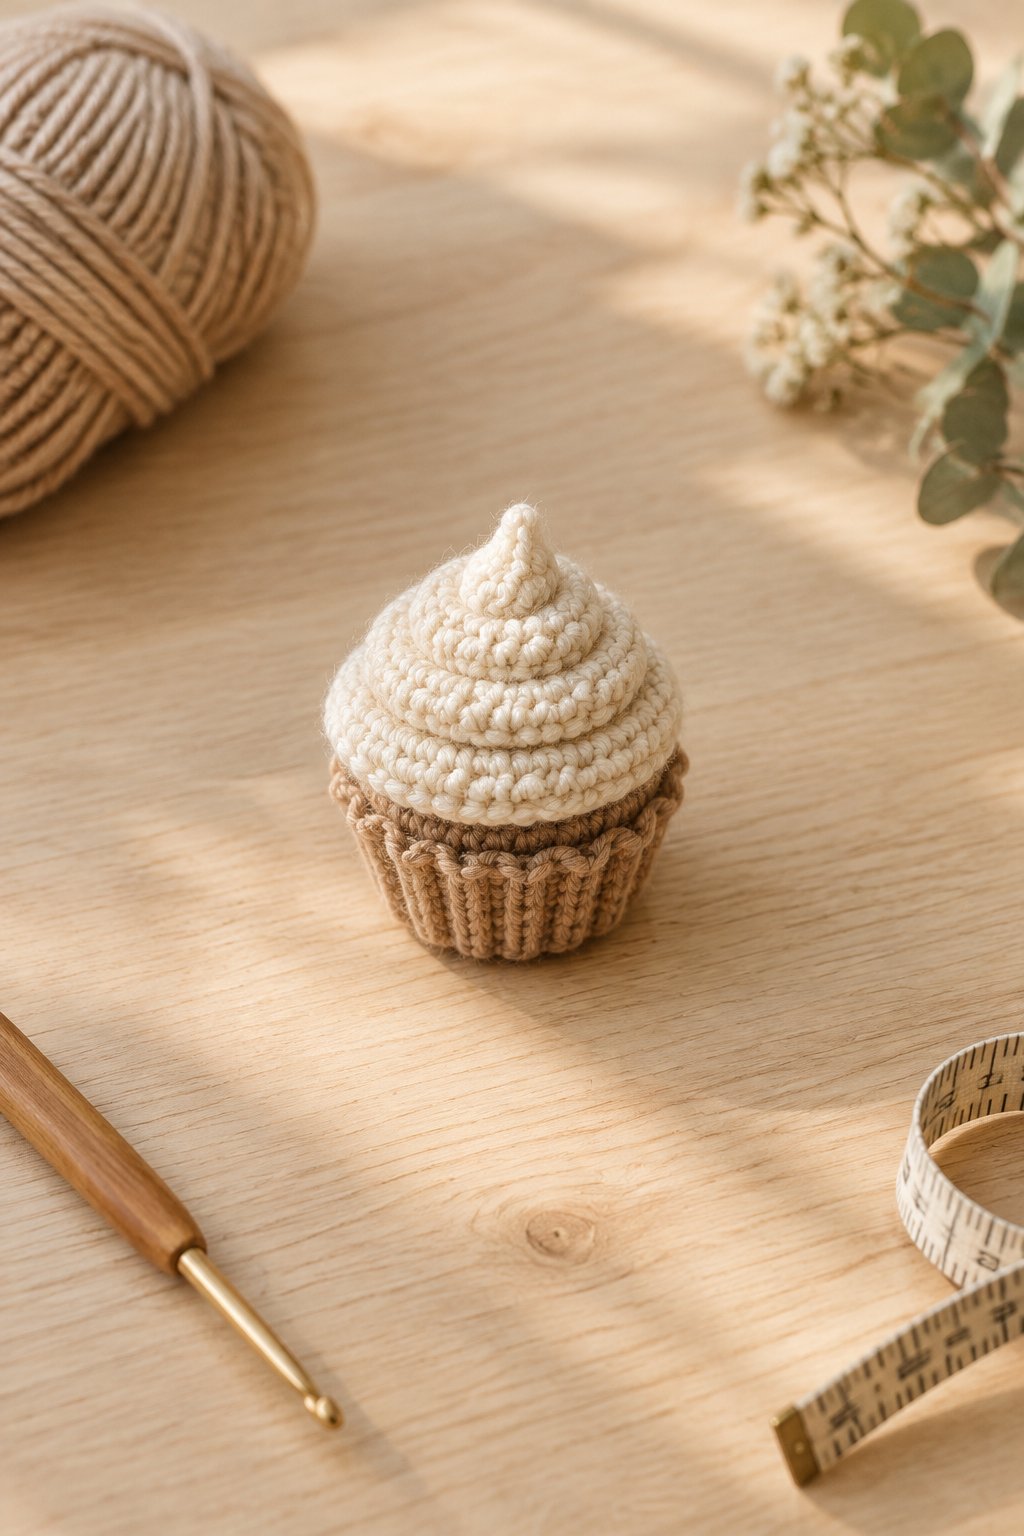
Your cupcake gets its no-sew finish from a continuous base and frosting, with a spiral worked into reserved loops. Choose caramel and pink worsted cotton with a 3.5 mm hook for a clear wrapper-and-frosting contrast. Keep the cake about two inches tall to limit the number of rounds.
Look for a pattern that carries the stuffed base into a tapered frosting dome. Back-loop rounds leave front loops available for a later surface-crocheted swirl, with the working yarn continuing through the design. Follow the specified stitch placement so the frosting spirals evenly toward the top. This intermediate option needs confidence with loop selection and surface crochet. Use a short, shallow swirl for the quickest finish, and leave sprinkles for another session. Display your cupcake on a craft-room shelf or give it to a baking enthusiast.
|
Detail |
Specification |
|---|---|
|
Yarn Weight |
Worsted, #4 cotton |
|
Skill Level |
Intermediate |
|
Estimated Time |
25–29 minutes |
13) Mini Pear With an Integrated Stem
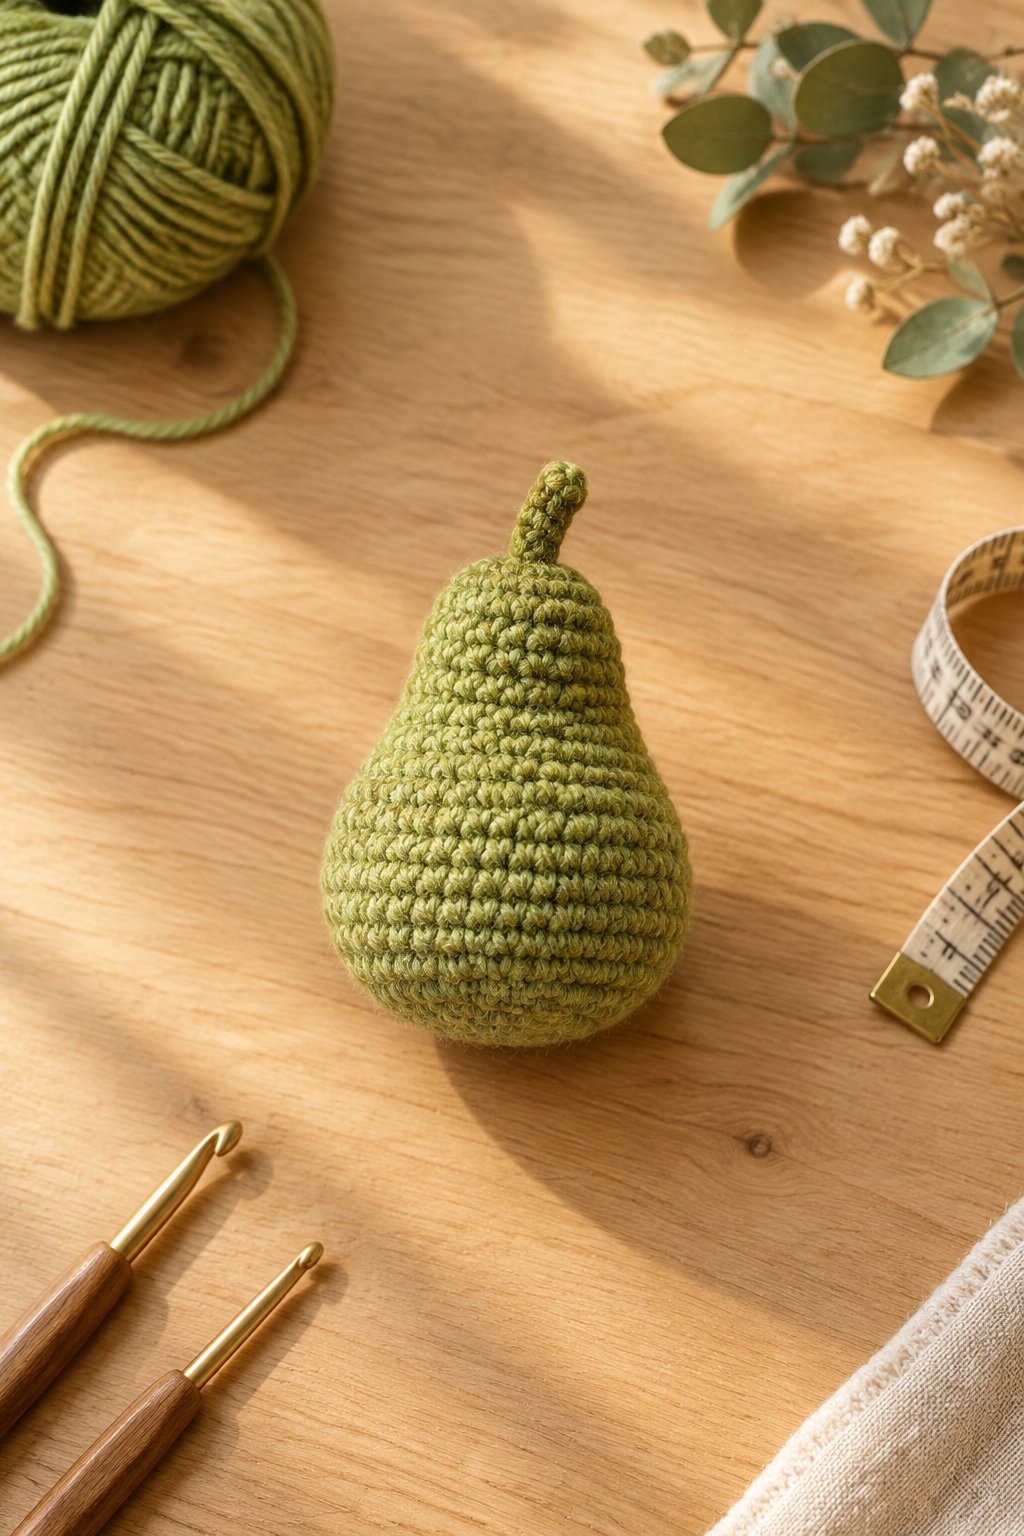
A broad base and narrow neck give your mini pear its familiar shape with very little decoration. Choose yellow-green worsted cotton and a 3.25 mm hook for a firm fruit miniature. A short brown stem worked from the top completes the design without a separate attachment.
Begin at the base, increase to form the rounded belly, and decrease gradually into the upper section. Stuff the belly more firmly than the neck so your pear keeps its curved outline. Use a pattern that changes to brown at the closure and forms the stem with a short chain worked back on itself. This easy project helps you see how decrease placement controls shape. Skip the optional leaf to keep your finish quick. Group your pear with a crocheted strawberry for a small kitchen display.
|
Detail |
Specification |
|---|---|
|
Yarn Weight |
Worsted, #4 cotton |
|
Skill Level |
Easy |
|
Estimated Time |
20–29 minutes |
14) Pocket Cactus With a Continuous Pot and Body
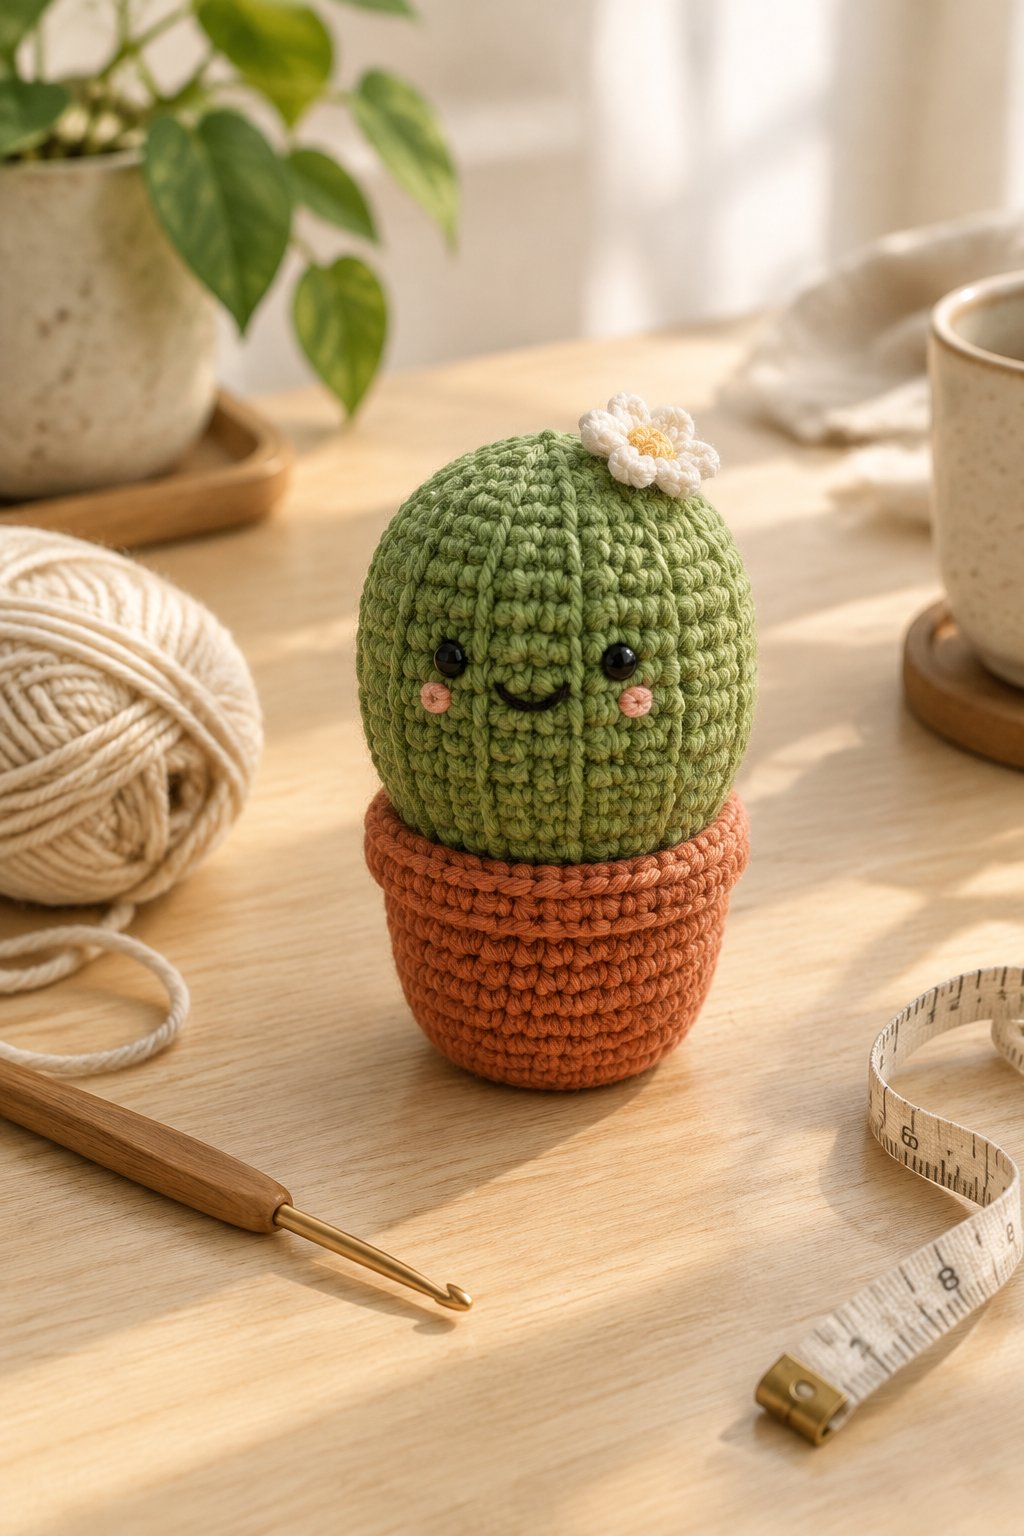
You’ll get a fast, no-sew cactus by crocheting a tiny pot directly into a single rounded green body. Terracotta and sage worsted cotton with a 3.5 mm hook give you a clean desert palette. Choose a simple column shape to keep the project within your short crafting window.
Start with a flat pot base, then work upward with a defined edge round. Follow a continuous pattern that shapes the pot opening before changing to green for the cactus. A small ridge of reserved loops provides a place to crochet the rim. This easy design asks you to manage color changes and selected-loop stitches. Keep the bottom evenly stuffed so your cactus sits steadily. Leave off separate arms and flowers for the quickest version, and use your finished piece as a small desk plant.
|
Detail |
Specification |
|---|---|
|
Yarn Weight |
Worsted, #4 cotton |
|
Skill Level |
Easy |
|
Estimated Time |
25–29 minutes |
15) Tiny Five-Point Puffy Star
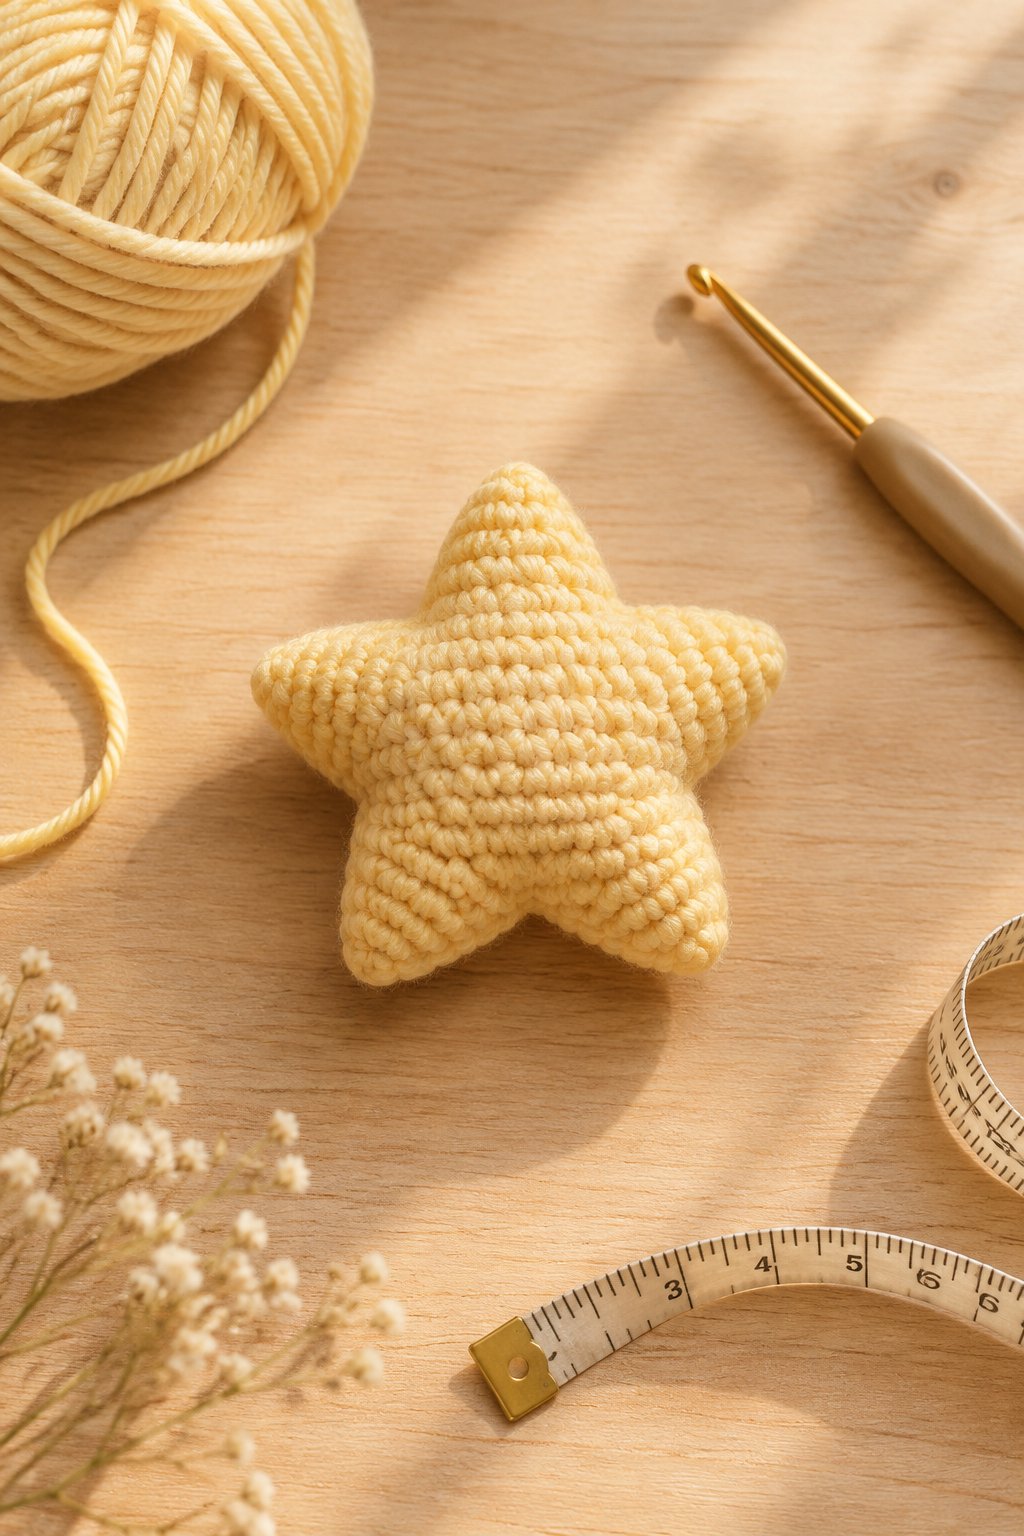
Your puffy star stays no-sew when you crochet two matching shapes together around a thin layer of stuffing. Butter-yellow worsted cotton and a 3.25 mm hook help the five points hold their outline. Pale blue or cream also works well if you want a softer ornament palette.
Choose a small pattern that uses single crochet centers and taller stitches to form the points. Hold both stars together with their points aligned, then join around the edge using your hook. Pause before closing to add a little stuffing, keeping the tips lightly filled. This easy project suits you once you’re comfortable working several stitch heights in one round. Check each point as you join so the layers stay aligned. Add a crocheted hanging loop for a gift topper or seasonal branch decoration.
|
Detail |
Specification |
|---|---|
|
Yarn Weight |
Worsted, #4 cotton |
|
Skill Level |
Easy |
|
Estimated Time |
20–29 minutes |
Choosing Yarn and Hooks for Tiny Amigurumi
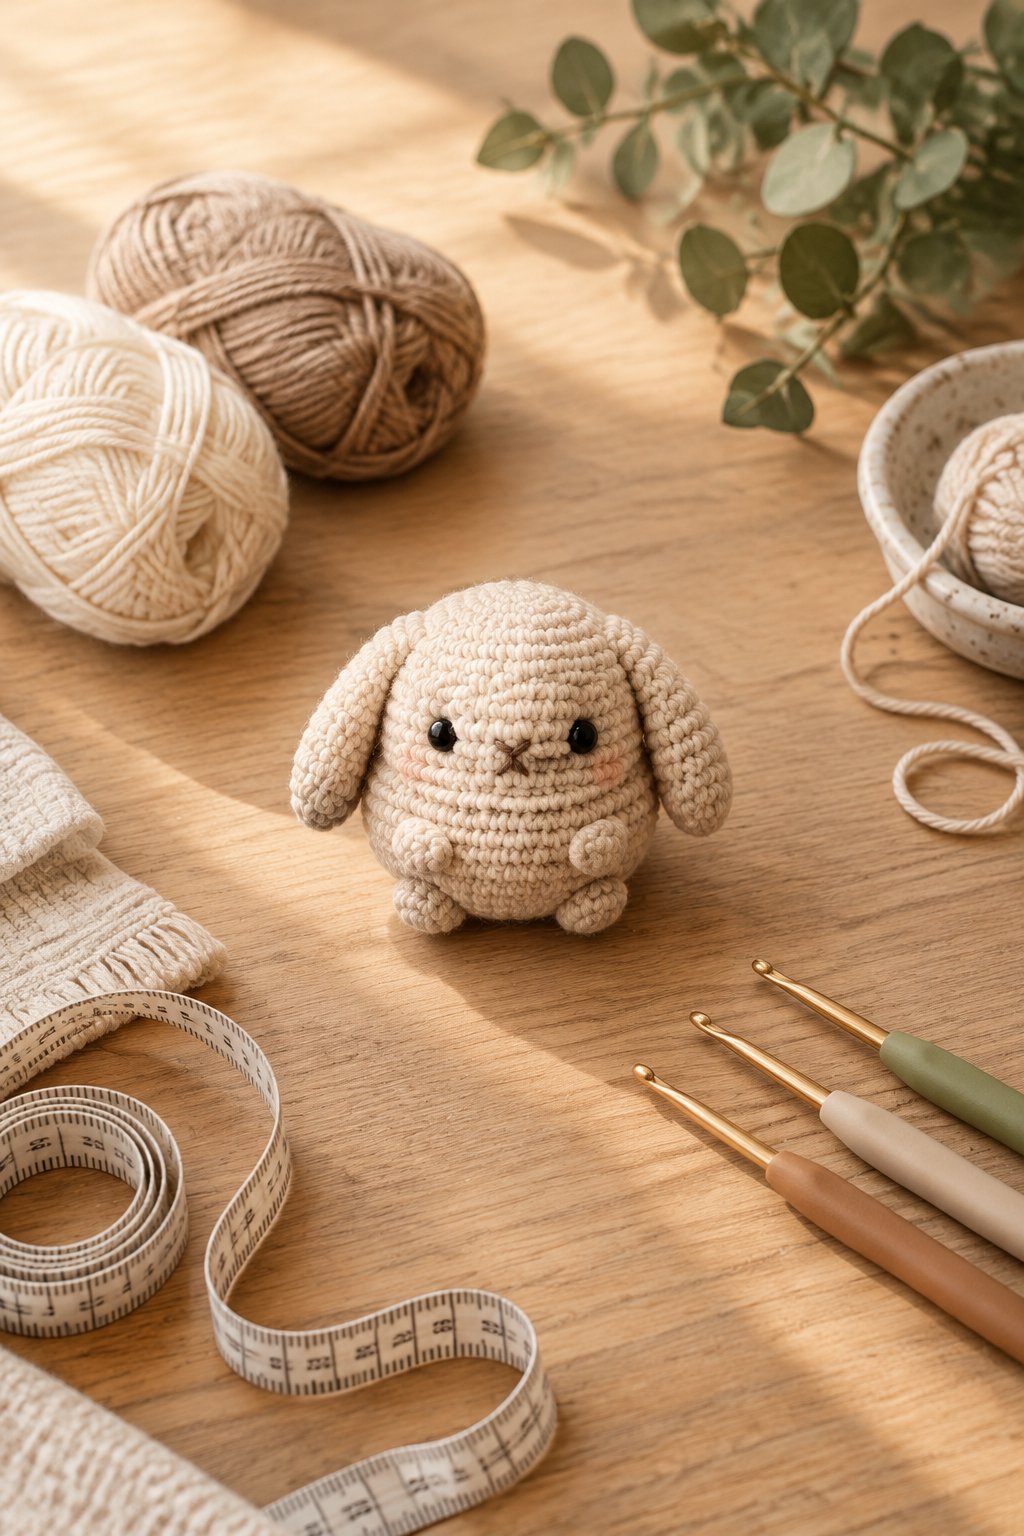
Choose smooth, light-colored worsted yarn for your first tiny amigurumi because you’ll see stitch placement clearly. Match your hook to the fabric’s density, then check the result after stuffing.
Should You Choose Worsted Cotton or Chunky Chenille?
Pick worsted cotton when you want defined leaves, points, or tentacles. Choose chunky chenille for a plush finish, following a pattern written for that yarn; your finished piece will be larger, and the fuzzy surface makes small stitches harder to track.
Which Hook Size Keeps Stuffing From Showing?
Start around 3–3.5 mm for worsted yarn, then inspect your work under light pressure. If stuffing shows through, try a smaller hook; if inserting your hook feels difficult, move up slightly. Follow your pattern’s starting recommendation for chenille.
Which Yarn Makes Small Stitches Easiest to See?
Use smooth yarn in a medium-light solid color, such as peach or pale blue. Save black yarn and strongly textured fibers for a design you already know, and place a locking marker in the first stitch of each round.
Keeping Your Project Truly No-Sew and Under 30 Minutes
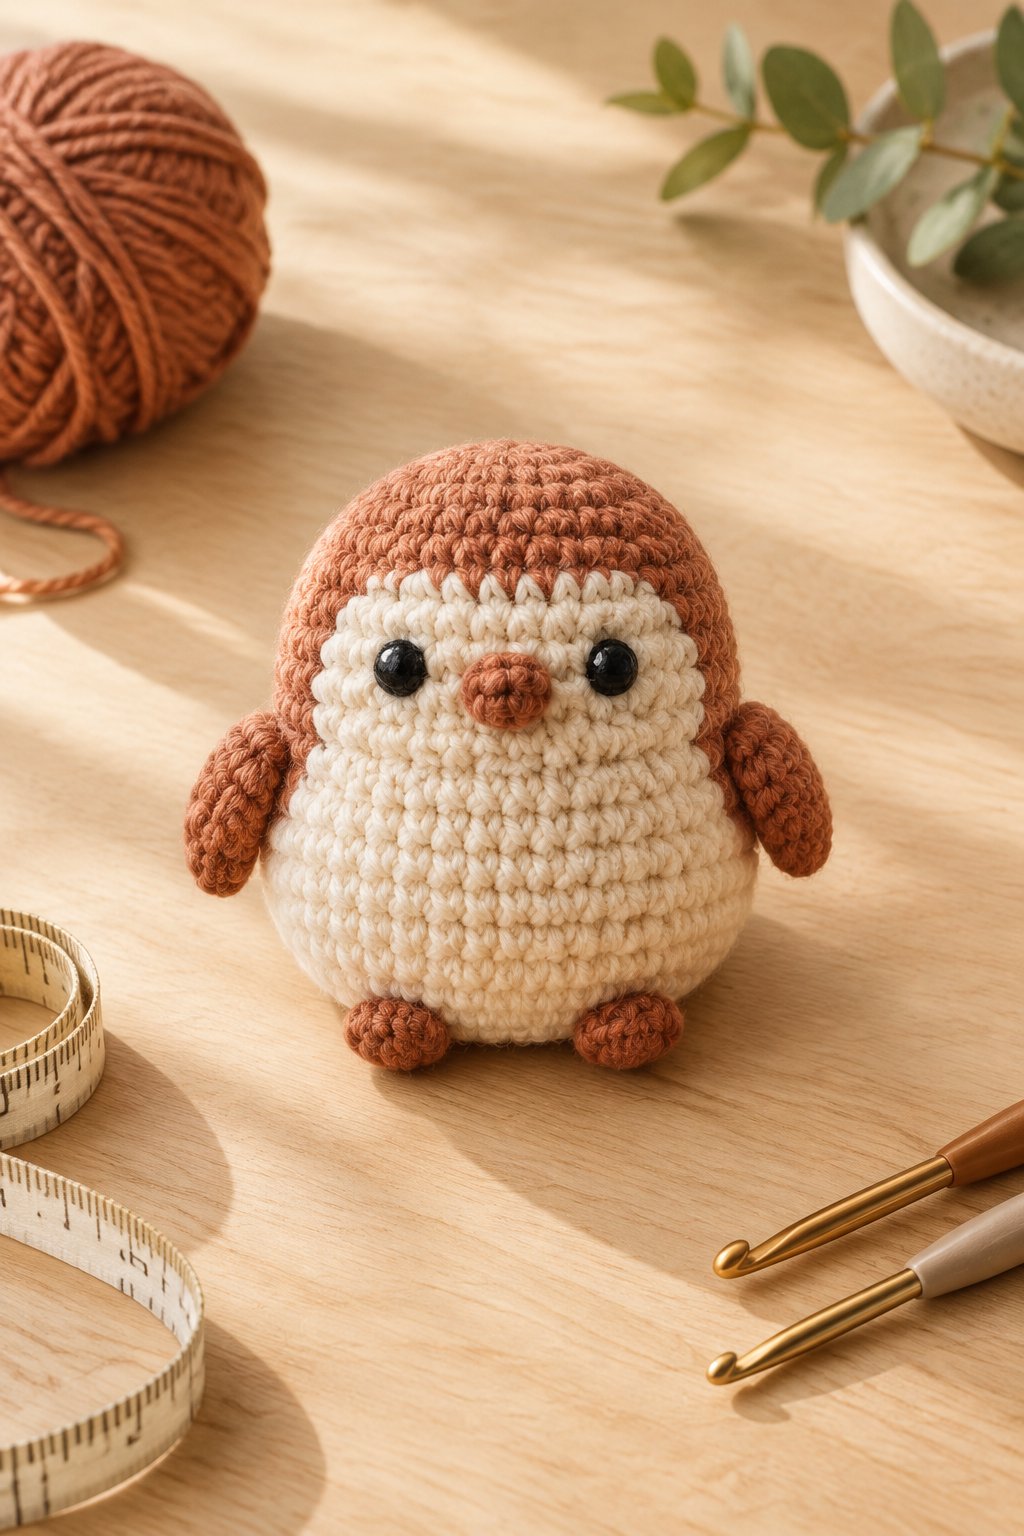
Keep your project within a short session by choosing miniature construction and setting out your supplies before starting. Use your first attempt to learn the shaping, then time a repeat.
What Counts as No-Sew Construction?
You’re making no-sew amigurumi when you join parts with crochet or build features into the fabric. Check the finishing instructions: some patterns still use a yarn needle for closing holes, hiding ends, or adding embroidered faces.
Does the Time Estimate Include Stuffing and Finishing?
The estimates here include stuffing and basic finishing for a practiced maker. Allow extra time for optional decoration, unfamiliar stitches, or reworking mistakes.
Which Skills Should Beginners Practice First?
Practice a secure magic ring, single crochet increases, invisible decreases, and counting rounds. Make a small stuffed ball first so you learn how firmly to fill the fabric.
When Are Embroidered Features Safer Than Plastic Eyes?
Choose securely embroidered features for toys intended for children under three or anyone who mouths toys. Plastic safety eyes pose a choking risk if detached; secure embroidery ends inside the work and inspect the finished toy for loose threads.