With Bernat Blanket yarn patterns, you can crochet chunky, ultra-soft makes that bring cozy texture to your home and a personal touch to handmade gifts. The plush chenille finish gives even basic stitches a soft, inviting look, so you get plenty of visual appeal without needing complicated stitchwork.
You’ll find plenty of inspiration for your next project, whether you enjoy relaxing rows or small, shaped designs. Save the colors and textures you love, then match your pattern to the exact yarn label. Treat the time ranges below as planning estimates for the suggested sizes; your pace and finishing details will affect your schedule.
1) Moss Stitch Bernat Blanket Throw

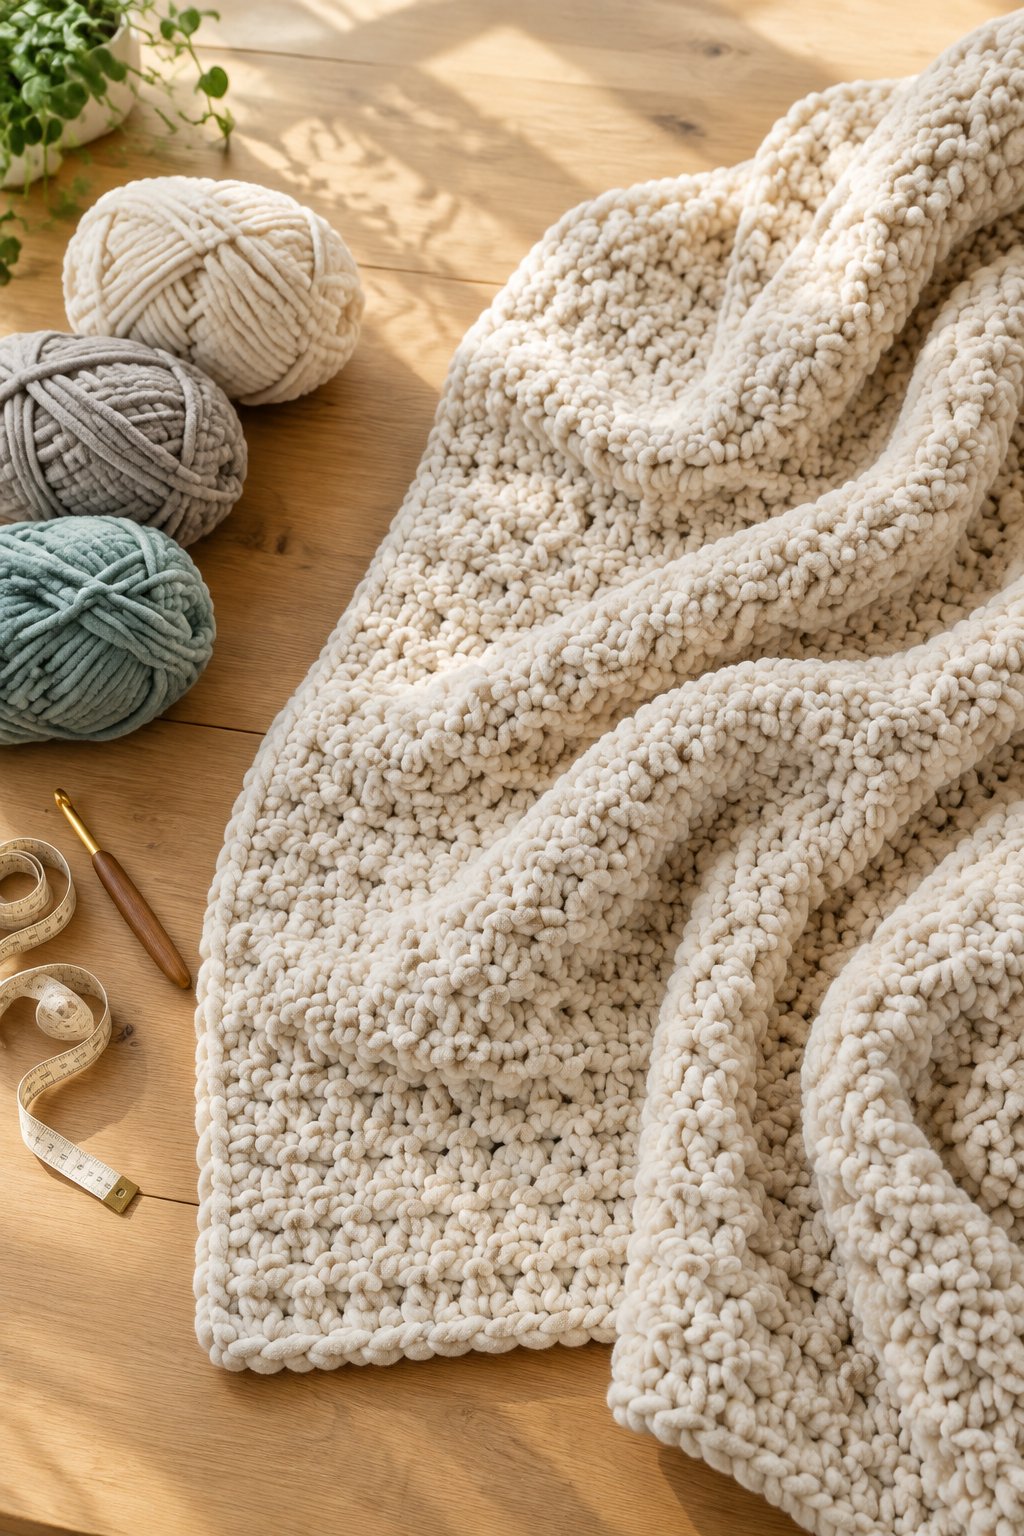
You get a softly woven look with a moss stitch throw, making this a welcoming first blanket project. Choose oatmeal for a calm neutral, or alternate dusty blue and cream for narrow stripes. A rectangular shape drapes neatly across your couch arm without adding a complicated border.
Use standard Bernat Blanket, a #6 super bulky chenille, with an 8 mm hook as your starting point. You’ll repeat single crochet and chain-one spaces, working into the spaces on later rows. Mark your first and last stitches so the plush fibers don’t hide your edges.
For a manageable beginner make, aim for a lap-size throw around 36 by 48 inches. Keep your starting chain relaxed and check the width after several rows. Finish with a simple single crochet border for a tidy gift.
|
Detail |
Specification |
|---|---|
|
Yarn Weight |
#6 Super Bulky |
|
Skill Level |
Beginner |
|
Estimated Time |
10–16 hours |
2) Two-Tone Chevron Blanket

A two-tone chevron gives your blanket bold movement through repeating peaks and valleys. Pair navy with ivory for crisp contrast, or choose blush and warm beige for a softer finish. Broad stripes let you show off the zigzag shape while keeping color changes manageable.
Choose #6 Bernat Blanket and begin your swatch with an 8 mm hook. Follow a chevron pattern with a stated stitch multiple, since the increases and decreases must line up. Place markers at each peak during your first few rows to make counting easier.
You’ll find this an easy next step after straight-row blankets. Try a 40-by-50-inch throw for reading or gifting, and count each completed row before turning. Carry colors along an edge only when your chosen pattern includes a border that will cover them.
|
Detail |
Specification |
|---|---|
|
Yarn Weight |
#6 Super Bulky |
|
Skill Level |
Easy |
|
Estimated Time |
12–20 hours |
3) Waffle Stitch Blanket With Raised Squares
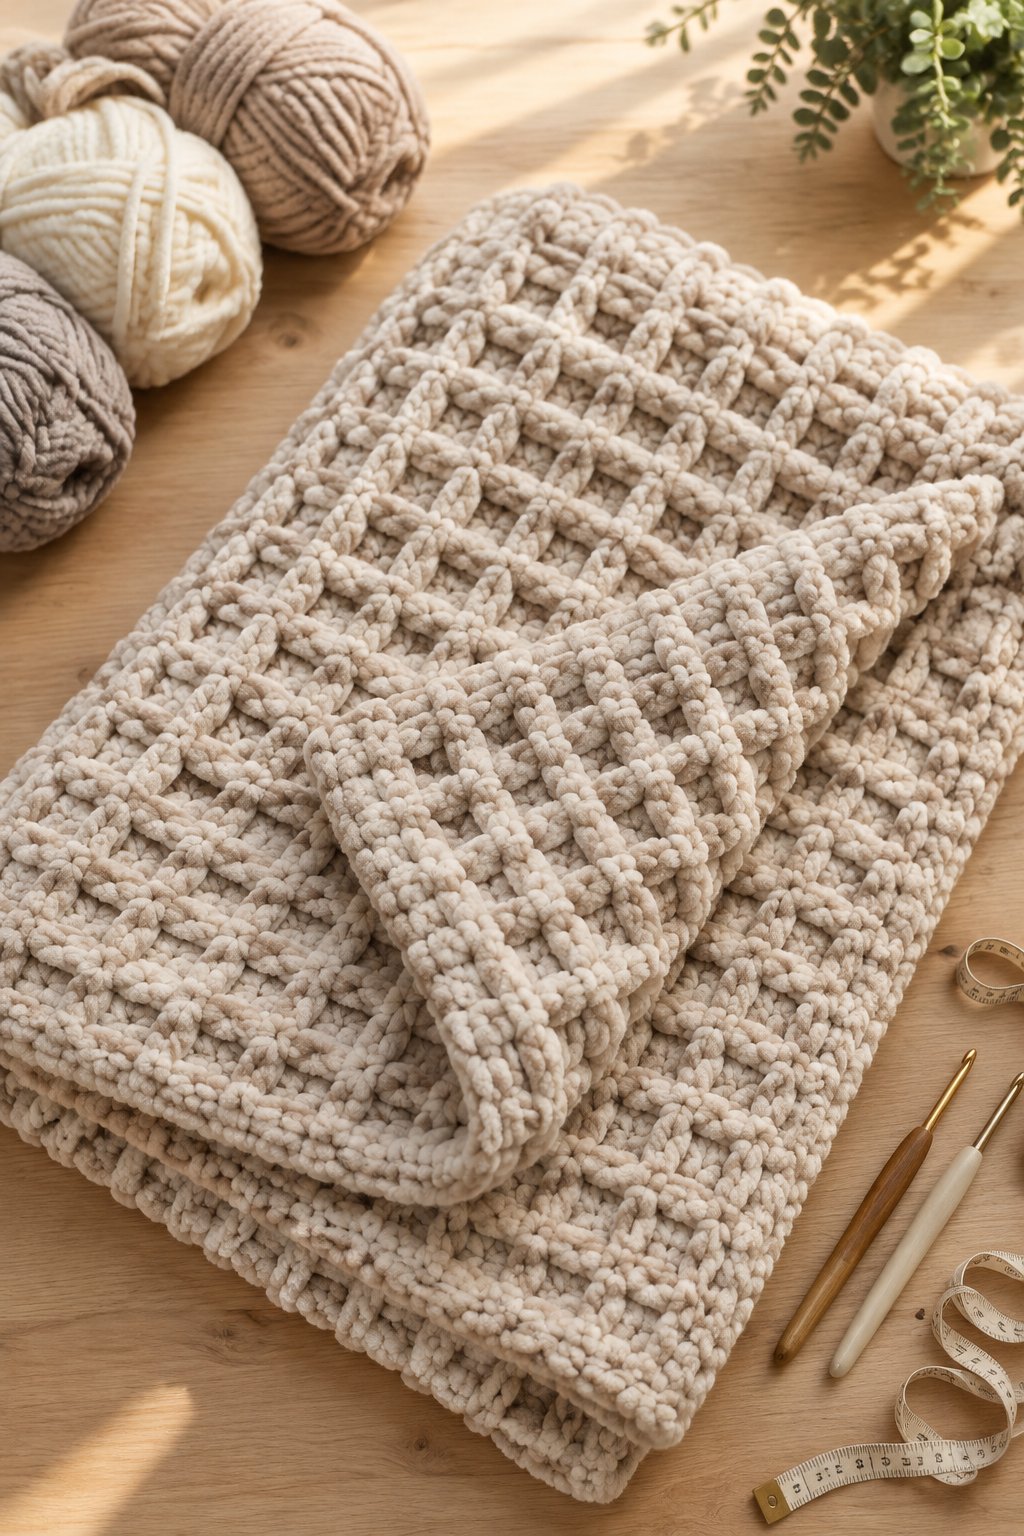
With waffle stitch, you build raised squares that give your blanket a cushioned, deeply textured surface. Solid cream makes the grid easy to appreciate, while caramel adds warmth to your living room. Keep the palette simple so your stitchwork becomes the main feature.
Use #6 Bernat Blanket with an 8–9 mm hook, adjusting after a swatch. You’ll combine double crochet with front-post double crochet to form the recessed blocks. Practice finding the stitch posts first, since the chenille surface makes them less obvious.
Choose this intermediate project when you’re comfortable with double crochet and counting rows. A lap blanket keeps the finished weight manageable, and the dense texture suits chilly evenings. Budget extra yarn compared with a flatter stitch, then finish with a narrow border that leaves the raised squares in focus.
|
Detail |
Specification |
|---|---|
|
Yarn Weight |
#6 Super Bulky |
|
Skill Level |
Intermediate |
|
Estimated Time |
14–22 hours |
4) Corner-To-Corner Bernat Baby Blanket

You’ll create diagonal blocks with a corner-to-corner blanket, giving soft colors a playful tiled effect. Try pale mint with cream, or use one gentle shade for a quieter design. The growing corner makes it easy to see your progress as the fabric expands.
Select #6 Bernat Baby Blanket or standard Bernat Blanket and swatch with an 8 mm hook. In a classic double-crochet version, you’ll use chains, double crochet, and slip stitches to build each block. Follow the pattern’s decrease instructions once you reach your planned dimensions.
This easy project suits you if basic stitches already feel comfortable. A roughly 30-inch square makes a compact supervised cuddle blanket or nursery gift. Add a small handmade care tag, and keep decorative fringe off the edges so your finish stays simple and easy to inspect.
|
Detail |
Specification |
|---|---|
|
Yarn Weight |
#6 Super Bulky |
|
Skill Level |
Easy |
|
Estimated Time |
6–10 hours |
5) Oversized Granny Square Blanket

An oversized granny square gives you a bold, geometric blanket without joining separate motifs. Build a cream center with sage outer rounds, or use leftover colors in planned bands. Your square grows outward, so each new round frames the colors already in place.
Work with #6 Bernat Blanket and an 8–9 mm hook for a fabric that bends comfortably. You’ll repeat groups of double crochet with chain spaces, adding the required groups at each corner. Check your work flat after every few rounds to catch rippling early.
This beginner-friendly design makes a satisfying couch blanket when you want a familiar repeat. Choose a continuous-square pattern that explains whether to turn between rounds. For a clean finish, complete your final color band and add one plain edging round, keeping the corner increases consistent with your pattern.
|
Detail |
Specification |
|---|---|
|
Yarn Weight |
#6 Super Bulky |
|
Skill Level |
Beginner |
|
Estimated Time |
10–18 hours |
6) Five-Point Star Baby Blanket
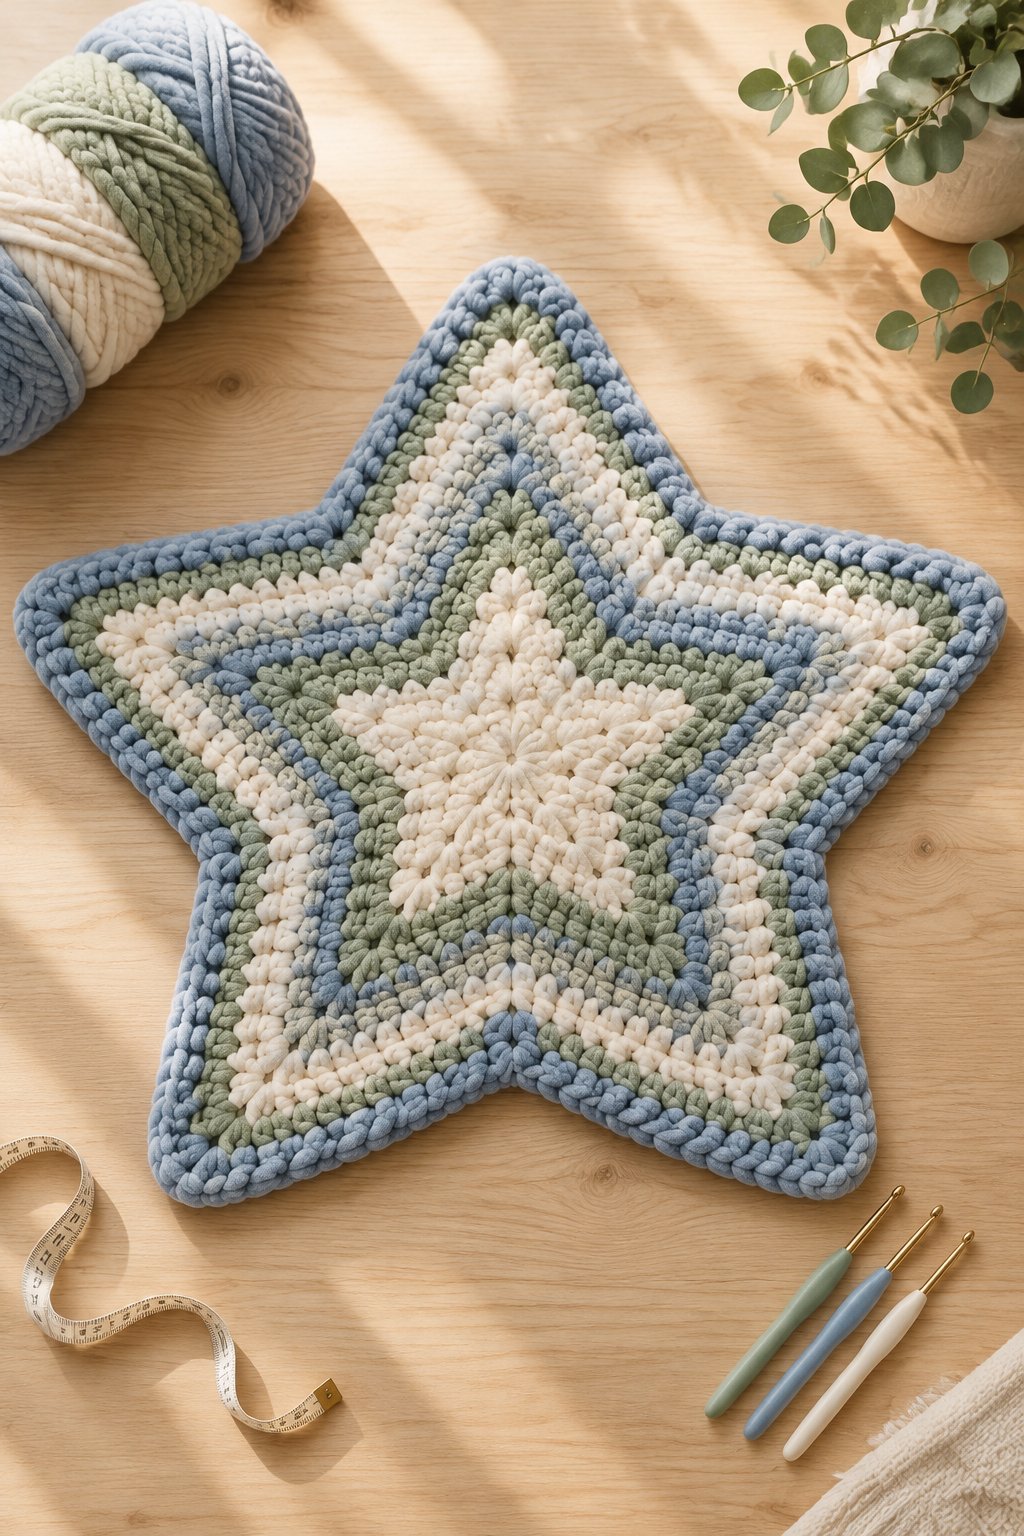
You give a nursery gift extra charm when you crochet a five-point star blanket. Pale yellow creates a cheerful sunlike look, while alternating white and lavender rounds highlight each point. The shaped outline adds interest even when you keep the stitch pattern simple.
Choose #6 Bernat Baby Blanket with an 8 mm hook to start your gauge check. A star pattern uses planned increases at the points and decreases between them, often with double crochet. Mark all five tips so you can check the shaping as you work.
Treat this as an intermediate make because accurate placement keeps the star flat. Measure from tip to tip when tracking your size, and follow the designer’s round counts closely. Present your finished blanket folded with one point visible, ready for supervised cuddles or a nursery display.
|
Detail |
Specification |
|---|---|
|
Yarn Weight |
#6 Super Bulky |
|
Skill Level |
Intermediate |
|
Estimated Time |
7–12 hours |
7) Basketweave Stitch Lap Blanket

A basketweave lap blanket gives your seating area a substantial texture with interlocking raised blocks. Choose charcoal for a tailored look or muted clay for a warmer accent. The repeating woven effect stands out best when you use a solid color.
Start with #6 Bernat Blanket and an 8–9 mm hook, then check the fabric’s flexibility. You’ll alternate groups of front-post and back-post double crochet, switching their placement after a set number of rows. Keep a row tally beside you so each block stays the same height.
This intermediate project works well as a generous lap blanket for your favorite chair. Begin around 32 by 40 inches if you prefer a smaller make. Allow extra yarn for the dense stitchwork, and use a plain edge to keep your finished blanket from looking crowded.
|
Detail |
Specification |
|---|---|
|
Yarn Weight |
#6 Super Bulky |
|
Skill Level |
Intermediate |
|
Estimated Time |
12–18 hours |
8) Bobble Stitch Throw Pillow

You’ll add touchable texture to your sofa with a bobble stitch pillow in a single rich shade. Try dusty rose for a soft accent or forest green for deeper contrast. Evenly spaced bobbles give the square front a dotted surface that looks polished.
Use #6 Bernat Blanket with a 7–8 mm hook, checking that the fabric covers your pillow insert. Form the bobbles according to your chosen pattern, with plain stitches between them. Make a smooth back panel to reduce bulk and keep the textured front prominent.
This intermediate project suits you once you’re comfortable completing several partial stitches together. Fit both panels to a 16-inch insert, measuring them without stretching. An envelope-style back gives you access to the insert for cleaning; overlap the panels generously so the opening stays covered during use.
|
Detail |
Specification |
|---|---|
|
Yarn Weight |
#6 Super Bulky |
|
Skill Level |
Intermediate |
|
Estimated Time |
5–8 hours |
9) Round Bernat Blanket Floor Pouf

A round floor pouf gives you a soft footrest with a sculptural shape and oversized stitches. Choose warm gray to blend with your furniture, or make mustard yellow your accent color. A gently flattened top helps the finished piece look balanced beside a low chair.
Use #6 Bernat Blanket held double with a 10–12 mm hook as a swatching range. Follow a pattern written for doubled yarn, using dense single crochet and evenly spaced shaping. An inner fabric liner keeps your filling contained behind the crocheted shell.
You’ll need intermediate skills for maintaining a smooth circle and managing the final decreases. Plan a pouf around 18 inches across, then check its height against your seating. Fill it evenly with suitable cushion filling, and treat your finished piece as a footrest rather than climbing equipment.
|
Detail |
Specification |
|---|---|
|
Yarn Weight |
#6 Super Bulky, Held Double |
|
Skill Level |
Intermediate |
|
Estimated Time |
6–10 hours |
10) Chunky Crochet Storage Basket With Handles

You can give lightweight clutter a cozy home with a chunky basket and two built-in handles. Cream suits open shelving, while denim blue hides everyday marks more easily. A round base and straight sides create a soft container for spare yarn or folded scarves.
Choose #6 Bernat Blanket held double, starting your swatch with an 8–10 mm hook. Build the base in single crochet, then follow your pattern’s transition into the sides. Chain openings near the rim form the handles, with stitches worked over those chains on the following round.
This easy project introduces shaping without a large time commitment. Aim for a tabletop basket around 10 inches wide and keep your handles short. Use it for light storage, and check the opening after filling so the soft sides keep a pleasing shape.
|
Detail |
Specification |
|---|---|
|
Yarn Weight |
#6 Super Bulky, Held Double |
|
Skill Level |
Easy |
|
Estimated Time |
3–5 hours |
11) Palm-Size Whale Amigurumi

A tiny whale gives you a rounded plush project with a cheerful face and small side fins. Choose ocean blue with a cream belly, or keep the whole body pale aqua. Your finished size will depend on the pattern’s stitch count, even with the same yarn.
Use #6 Bernat Blanket and try a 6–7 mm hook for compact single crochet. You’ll work in continuous rounds with increases and decreases, marking the first stitch each time. Choose a pattern written for blanket yarn if you want a palm-size result.
This easy introduction to amigurumi suits you after practicing basic round shaping. Attach the tail securely and check the body before closing your final opening. For a desk decoration, add a small embroidered smile; for a child’s gift, follow the age-related finishing guidance later on.
|
Detail |
Specification |
|---|---|
|
Yarn Weight |
#6 Super Bulky |
|
Skill Level |
Easy |
|
Estimated Time |
1–3 hours |
12) Floppy-Eared Blanket Yarn Bunny

You’ll give your bunny plenty of character through long ears and a softly rounded body. Warm white creates a classic plush look, while pale peach adds a gentle touch of color. Keep the face small and simple so the floppy silhouette stays the main feature.
Select #6 Bernat Blanket and swatch tight single crochet with a 6–7 mm hook. Your pattern will guide the increases, decreases, and separate ear pieces. Leave the ears unstuffed when directed so they hang naturally beside the head without adding unnecessary weight.
Choose this intermediate project when you’re ready to assemble several shaped parts. Pin the ears in place and compare both sides before sewing. For your finishing stitches, catch several secure stitches on the body, and check each attachment by gently pulling before you weave in the remaining yarn.
|
Detail |
Specification |
|---|---|
|
Yarn Weight |
#6 Super Bulky |
|
Skill Level |
Intermediate |
|
Estimated Time |
4–7 hours |
13) Plush Crochet Slipper Socks
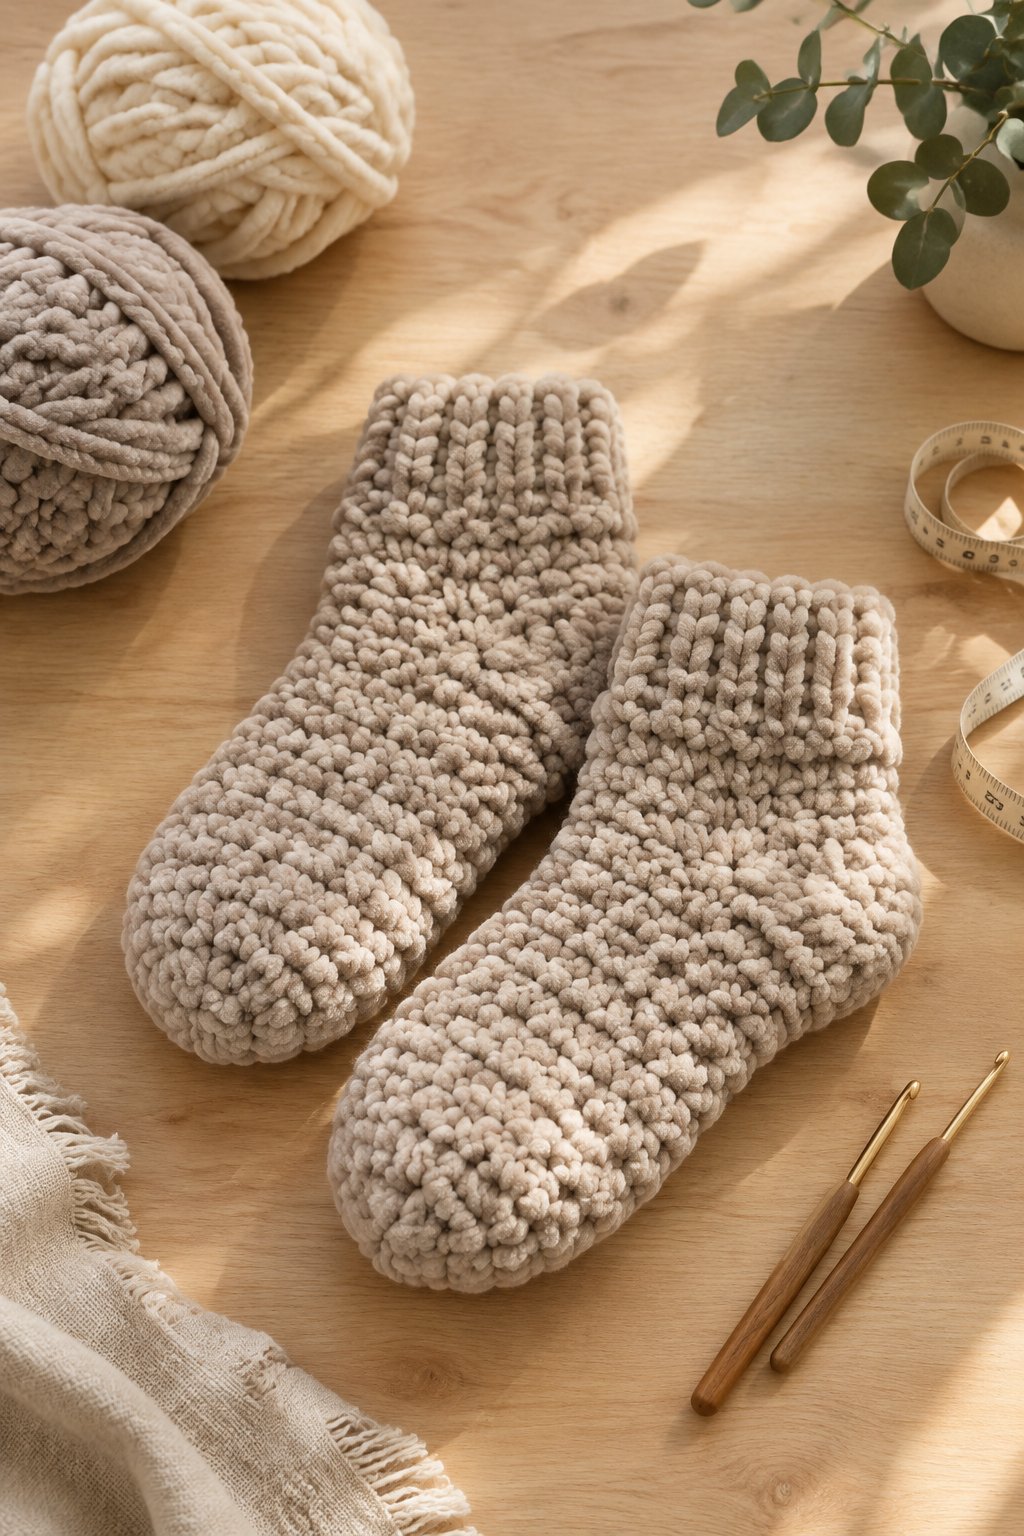
With plush slipper socks, you get a quick wearable project designed for lounging at home. Try heathered gray for a practical pair or burgundy for a cozy gift. A rounded toe and short cuff keep the shape simple while showing off the chenille surface.
Use #6 Bernat Blanket with a 7–8 mm hook, following a pattern that includes foot measurements. Single crochet or half double crochet gives you a compact fabric. Measure your foot length and circumference before starting, then check the first slipper as you build it.
This easy project works best when you match the pattern’s gauge closely. Repeat your row counts for the second sock, noting any fit adjustments. Add a non-slip treatment intended for handmade footwear according to its directions, and test your finished slippers carefully on your flooring.
|
Detail |
Specification |
|---|---|
|
Yarn Weight |
#6 Super Bulky |
|
Skill Level |
Easy |
|
Estimated Time |
3–5 hours per pair |
14) Round Crochet Pet Bed With Raised Sides
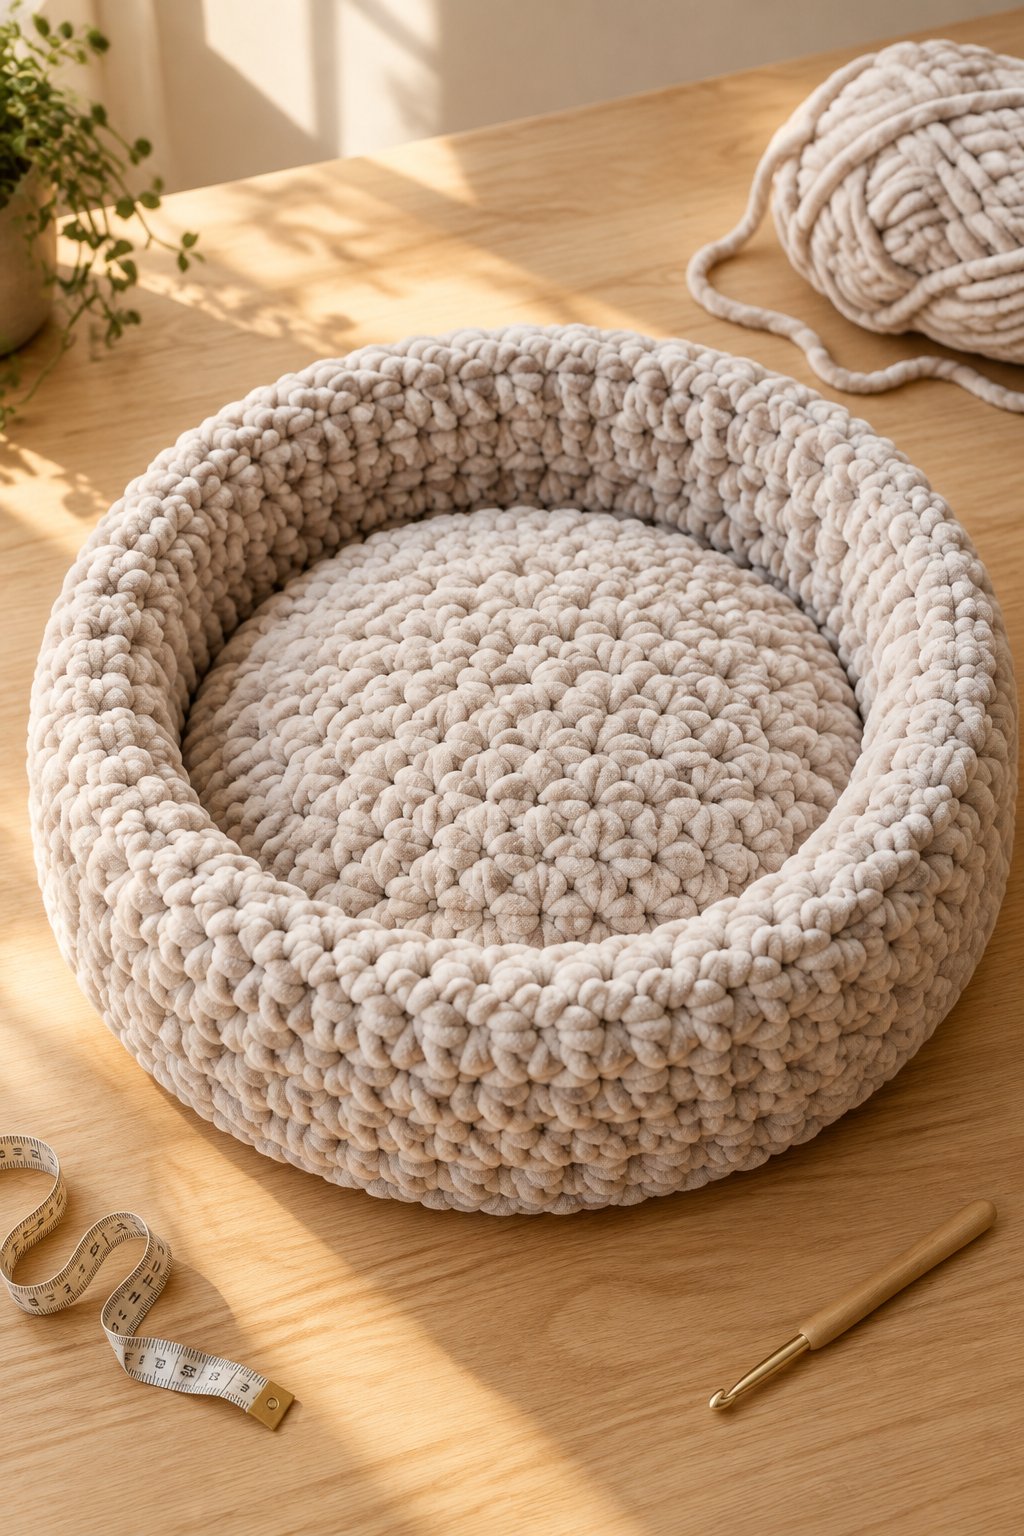
You can crochet a snug resting spot with a round pet bed and a soft raised rim. Choose taupe or a shade close to your pet’s fur to make loose hair less noticeable. A shallow center gives your companion space to curl up comfortably.
Work with #6 Bernat Blanket held double and test an 8–10 mm hook. Look for a pattern with a flat single crochet base and a clearly explained padded edge. Measure your pet while curled up, then allow extra room inside the raised sides.
This intermediate make involves large rounds and a secure final seam. Use an enclosed liner if your design includes loose filling, and keep all closures inaccessible to your pet. For a pet that chews fabric, choose a different bed style and save your crochet project for decorative household use.
|
Detail |
Specification |
|---|---|
|
Yarn Weight |
#6 Super Bulky, Held Double |
|
Skill Level |
Intermediate |
|
Estimated Time |
6–10 hours |
15) Ribbed Crochet Pumpkin With a Yarn Stem

A ribbed pumpkin gives your fall decorations a soft texture and a pleasingly squat shape. Choose burnt orange for a familiar autumn look or cream for a neutral display. A small crocheted stem keeps the entire decoration yarn-based and easy to coordinate.
Use #6 Bernat Blanket with a 7–8 mm hook, working a rectangle in back-loop single crochet or half double crochet. Seam the short ends to make a tube, then gather the openings as your pattern directs. Shape the segments with strong matching yarn after adding your filling.
This beginner-friendly make suits a mantel or entry table. Try a pumpkin around 6 inches wide before adjusting your rectangle for other sizes. Crochet the stem separately, sew it firmly over the gathered top, and tuck your joining stitches beneath its base for a clean finish.
|
Detail |
Specification |
|---|---|
|
Yarn Weight |
#6 Super Bulky |
|
Skill Level |
Beginner |
|
Estimated Time |
1–3 hours |
16) Extra-Cozy Ribbed Infinity Scarf
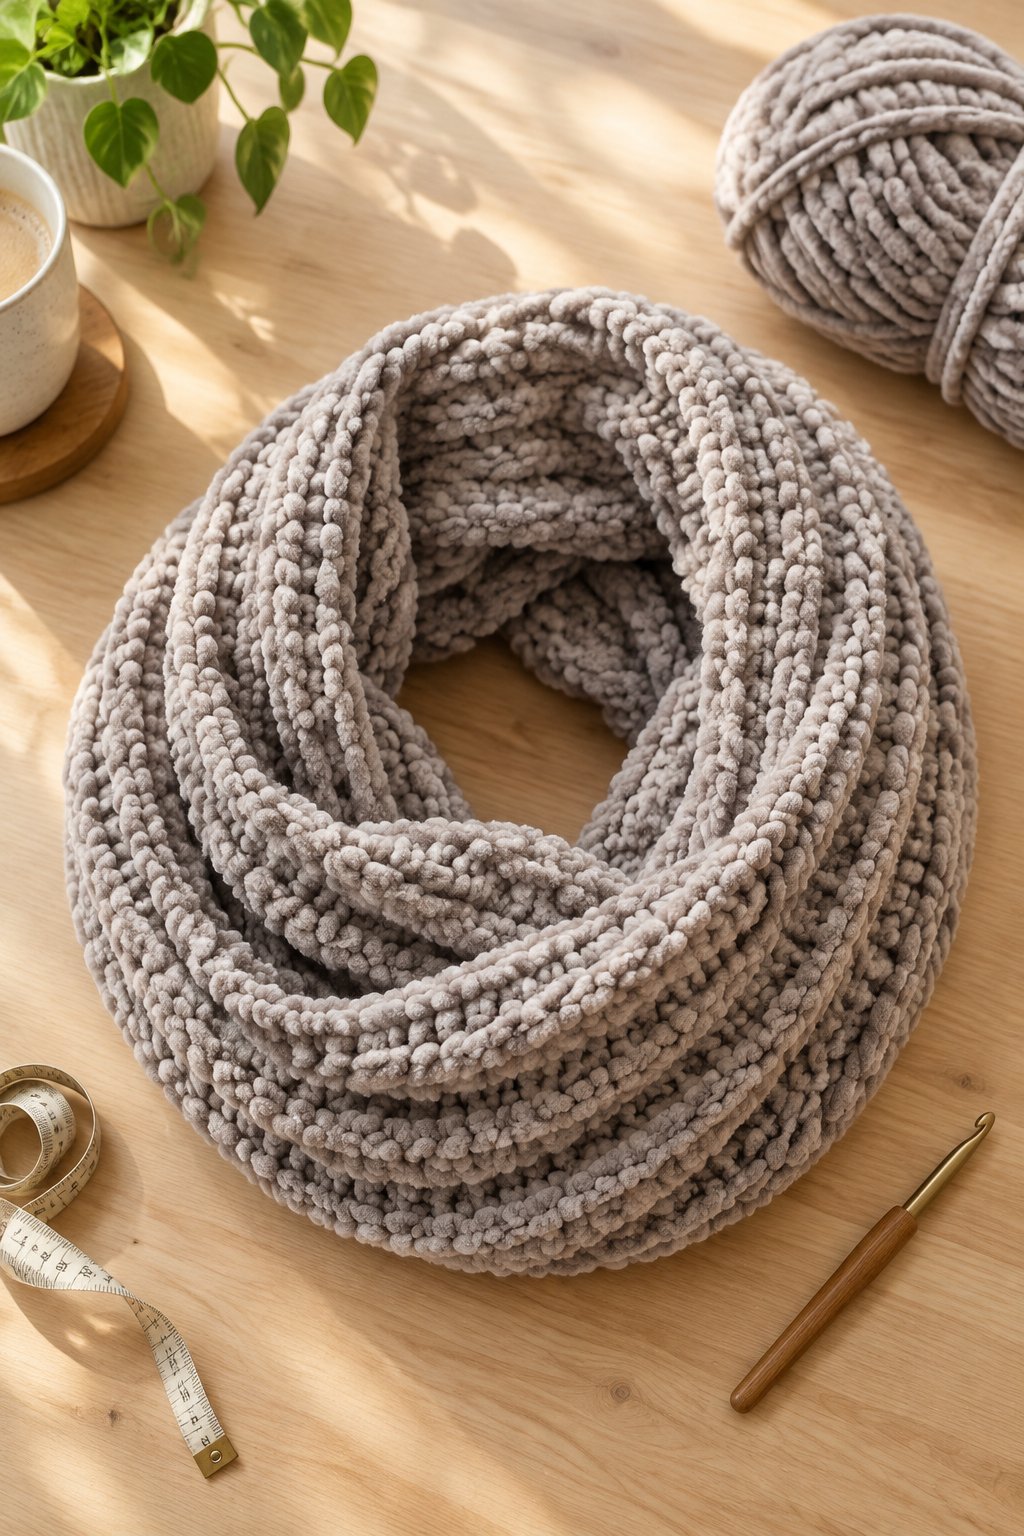
You’ll get bold winter texture from a ribbed infinity scarf with soft, raised lines. Choose deep teal to brighten your coat or oatmeal for an easy neutral. Keep the width modest so the thick chenille folds comfortably around your neck without excessive bulk.
Use #6 Bernat Blanket with a 9–10 mm hook as a starting range for a flexible swatch. Back-loop half double crochet creates clear ribs with a simple repeat. Work a flat strip, then join the ends carefully so the seam follows the direction of your rows.
This beginner project gives you useful practice keeping both edges straight. Try the strip around your neck before joining, and choose a comfortable loop length for your preferred fit. Make an untwisted join for a classic infinity shape, matching the first and last rows stitch by stitch.
|
Detail |
Specification |
|---|---|
|
Yarn Weight |
#6 Super Bulky |
|
Skill Level |
Beginner |
|
Estimated Time |
2–4 hours |
How to Choose Your Yarn and Pattern
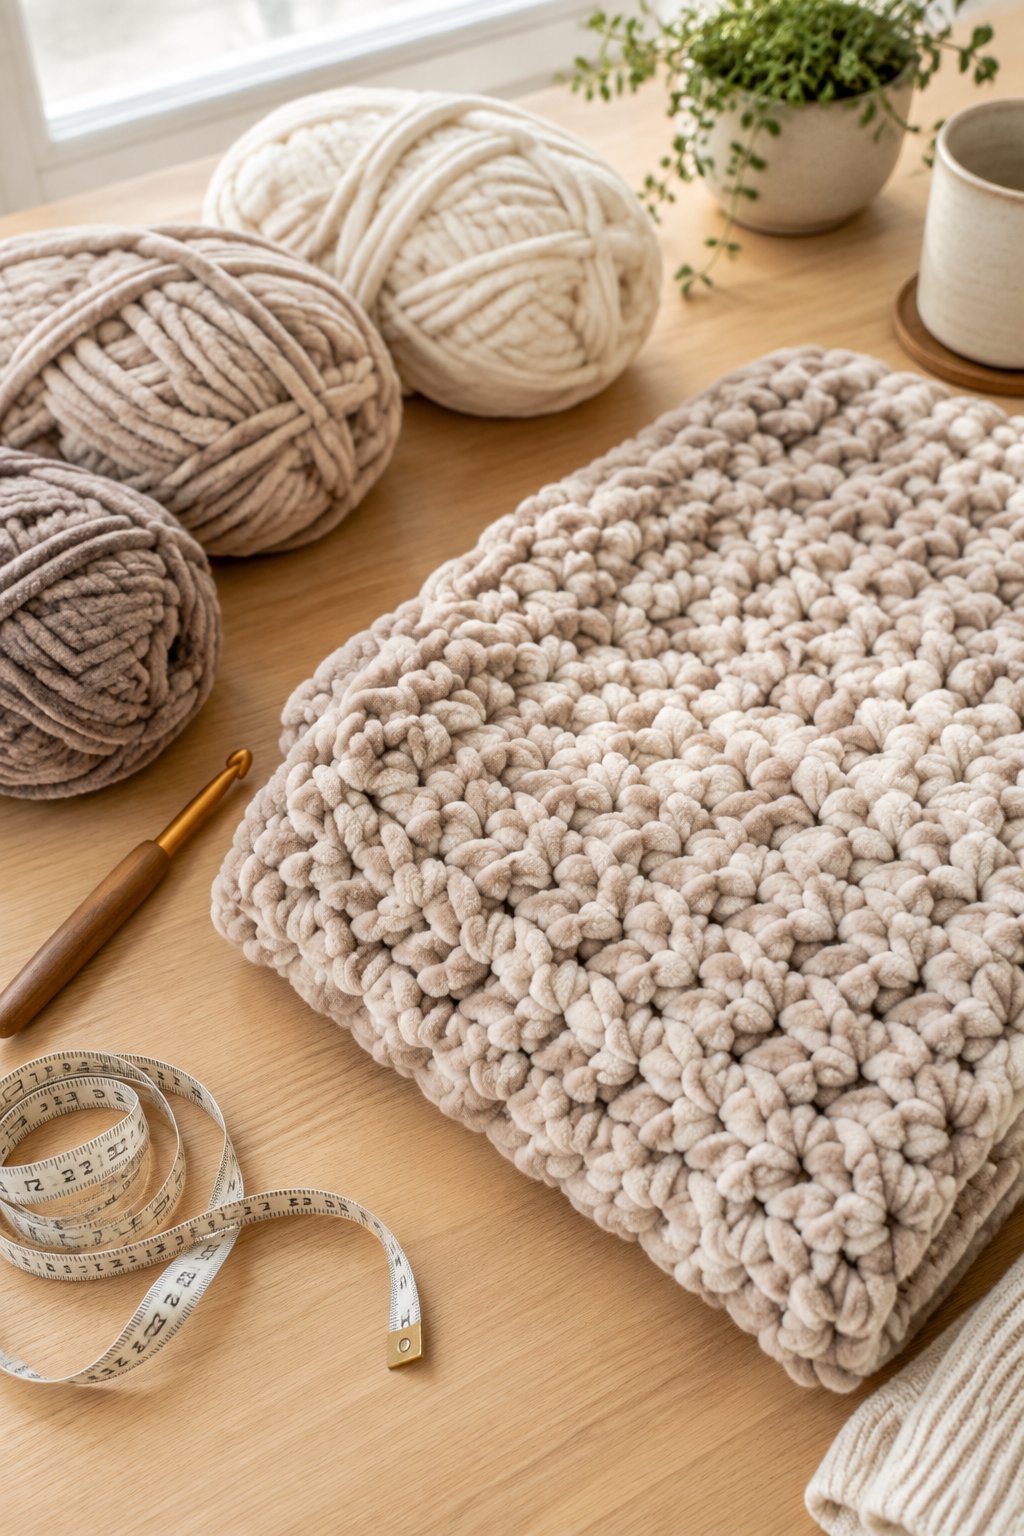
Choose your pattern around the exact yarn weight on your label. A small swatch helps you check the finished texture before committing your supplies.
What Is the Difference Between Bernat Blanket and Blanket Big?
With standard Bernat Blanket, you’re working with #6 super bulky chenille; Blanket Big is #7 jumbo and substantially thicker. Choose a pattern written for your version because substituting changes both size and yarn needs.
Which Hook Size Matches Your Yarn and Project?
Start around 8 mm for standard Bernat Blanket and check your specific label. Blanket Big calls for much larger hooks, commonly 25 mm; use your pattern’s gauge to confirm the match.
How Much Yarn Will Your Finished Make Need?
Use your pattern’s yardage, then divide it by the yards in each skein and round up. For a custom blanket, weigh your swatch and scale that weight to your planned area, allowing extra for edging.
Which Stitch Techniques Fit Your Skill Level?
Begin with straight rows or a repeating granny square if you know basic stitches. Choose post stitches or shaped toys when you’re comfortable counting and following shaping instructions.
Tips for Crocheting With Chenille Yarn
You’ll get cleaner chenille stitches by working in good light and keeping your loops even. Check your fabric frequently while corrections are still small.
How Can You Find Stitches in Plush Yarn?
Use a light solid color while learning, and feel for each stitch’s top loops. Mark row ends or round starts, then count before continuing.
How Do You Prevent Loose Loops and Secure Yarn Ends?
Keep your working loop close to the hook shaft and avoid stretching stitches as you finish them. Leave generous tails and weave through several stitches in different directions, following your pattern’s finishing method.
How Can You Keep Baskets and Stuffed Makes Firm?
Use the pattern’s dense gauge and add filling gradually to avoid stretched gaps. For baskets, choose a doubled-yarn design with a sturdy base and keep the contents light.
What Safety and Care Details Matter for Baby and Pet Projects?
Keep blankets and plush toys out of infant sleep spaces, and use embroidered features for young children. Supervise pets around crochet and remove damaged pieces promptly. Follow your yarn label’s washing instructions and dry filled projects completely before use.