Creating stylish accessories can be a fun and fulfilling way to express your creativity. That’s why I put together this free guide filled with crochet headband patterns. With quick and easy projects, you can add a touch of flair to any outfit.
If you’re a beginner or just looking for some fun and easy DIY projects, this guide is made for you. Whether you’re planning to make gifts for friends or just want to treat yourself, these crochet accessories are perfect for any occasion. You’ll find a variety of styles that can match your personal tastes, from trendy twisted headbands to cute flower-embellished designs.
What you can expect from this guide are 19 unique crochet headband projects that are not only stylish but also incredibly simple to make. Each pattern includes clear instructions, making it easy for you to follow along. You’ll gain skills in crochet while creating beautiful accessories that can elevate your wardrobe.
As you explore these projects, you’ll discover how fun and rewarding it is to create something with your own hands. Plus, you’ll have the satisfaction of wearing items that you made yourself! So grab your crochet hook and let’s get started on these delightful headbands that will have you looking chic in no time.
Key Takeaways
– Discover 19 easy crochet headband patterns, perfect for beginners and quick projects.
– Learn to make various styles, including twisted and flower-embellished headbands.
– Each project comes with clear instructions, allowing you to follow along easily.
– Create personalized gifts or stylish accessories for yourself that reflect your taste.
– Enjoy the satisfaction of crafting unique items that enhance your wardrobe effortlessly.
1. Basic Knit Headband
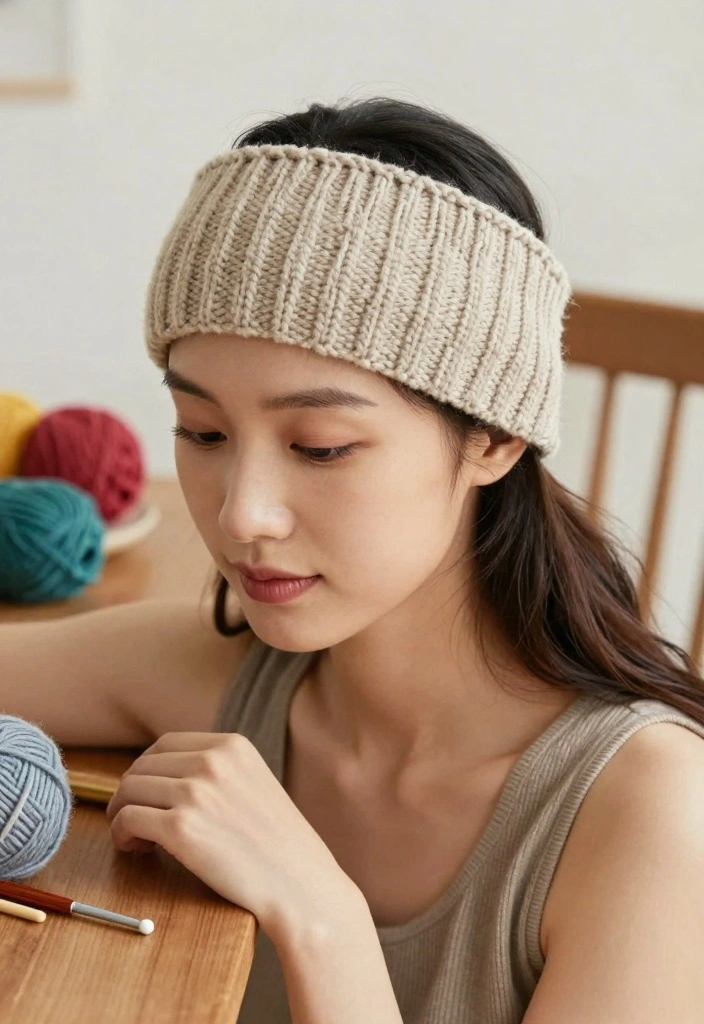
This timeless headband is an ideal first project for crochet newcomers. With its simple stitches, it offers a snug yet soft fit that feels gentle on your skin. Choose any color that matches your personality, and opt for thicker yarn for a cozy winter accessory that keeps you warm.
Outfit Pieces:
– 1 skein of worsted weight yarn (any color)
– Size H (5 mm) crochet hook
Instructions:
1. Start by chaining 10 stitches.
2. Work in double crochet until you reach your desired width, typically around 4 inches.
3. Chain 10 stitches again and join the ends to form a loop.
4. Weave in any loose ends to finish.
Ideal for everyday wear or spicing up a casual outfit, this headband lets you customize the width and length to your liking, making it great for beginners.
Tips:
– Experiment with varying yarn textures for unique looks.
– Add a cute flower or button for a charming embellishment.
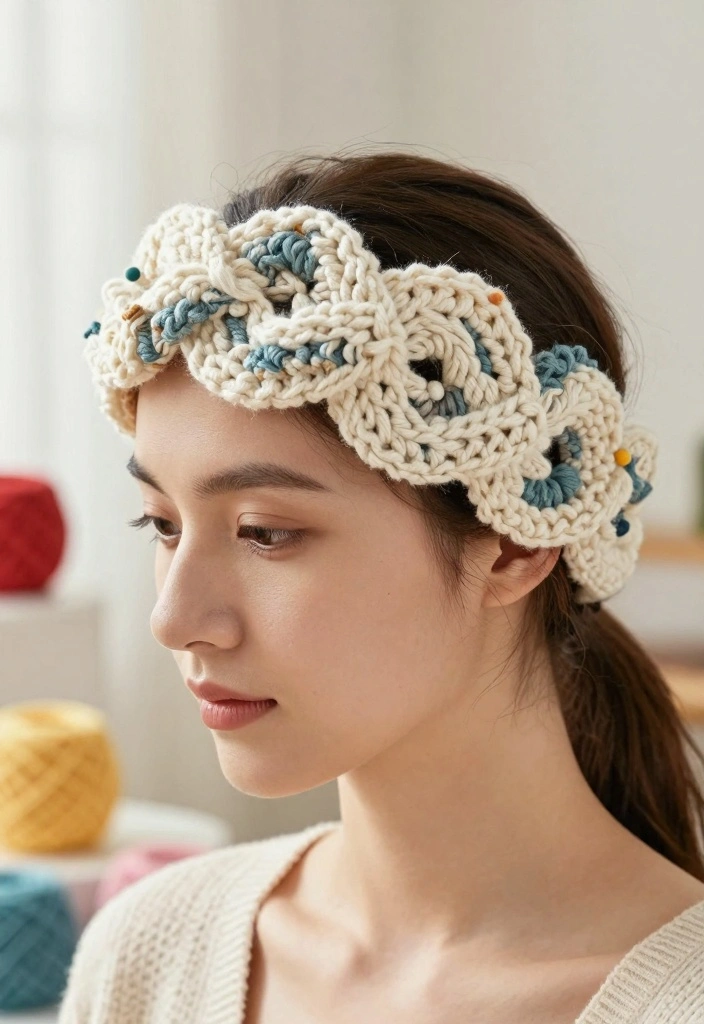
2. Twisted Headband
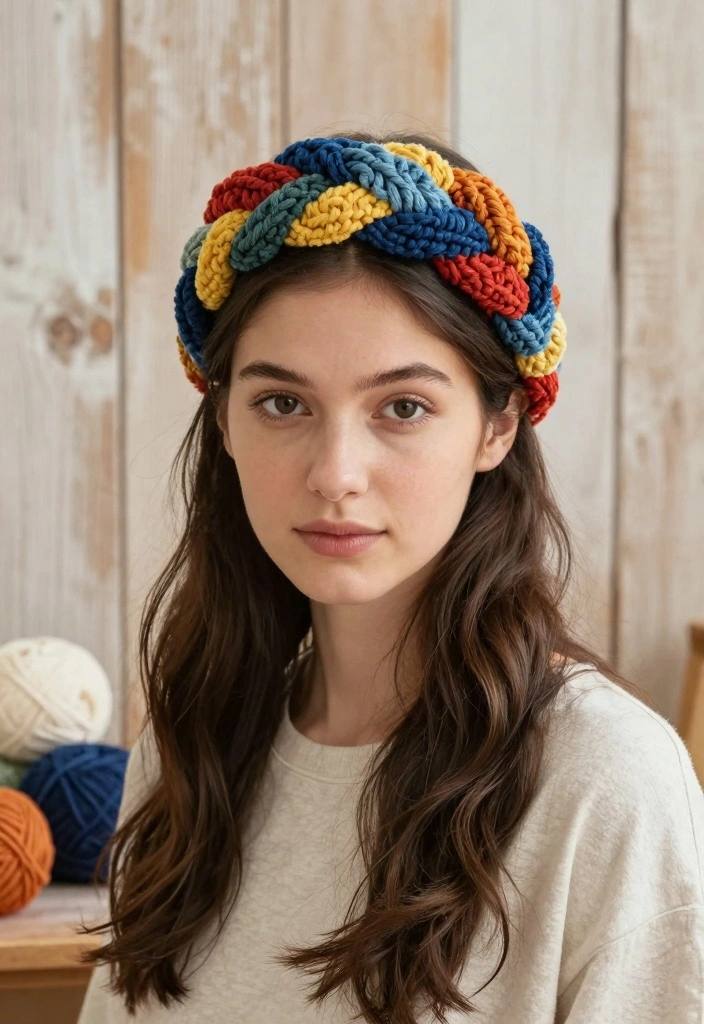
Twisted headbands bring a stylish twist to your crochet collection. They not only look chic but also keep your ears warm on brisk days. The twist adds a distinctive flair, making them stand out from standard designs.
Outfit Pieces:
– 1 skein of bulky yarn (any color)
– Size J (6 mm) crochet hook
Instructions:
1. Chain 16 and work in half double crochet for 8 rows.
2. Fold the piece in half, twist it, and stitch the ends together.
3. Ensure it’s secure and weave in any loose ends.
These headbands not only look fashionable but also showcase your crochet talents with ease!
Tips:
– Choose contrasting colors for the twist for a bold effect.
– Personalize with a decorative pin for extra charm.
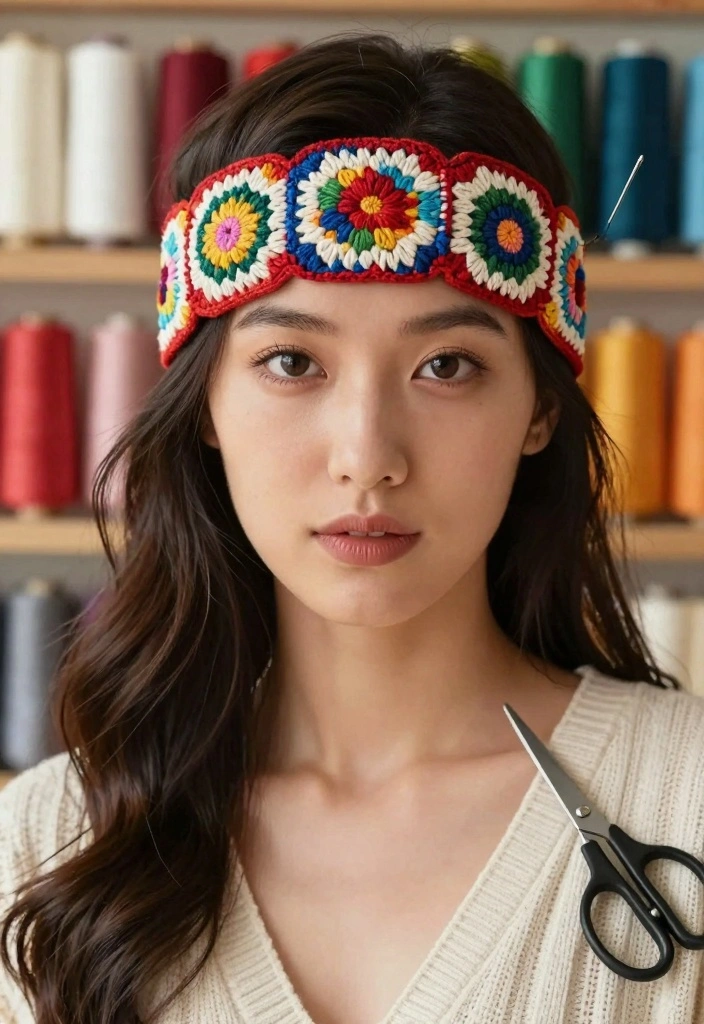
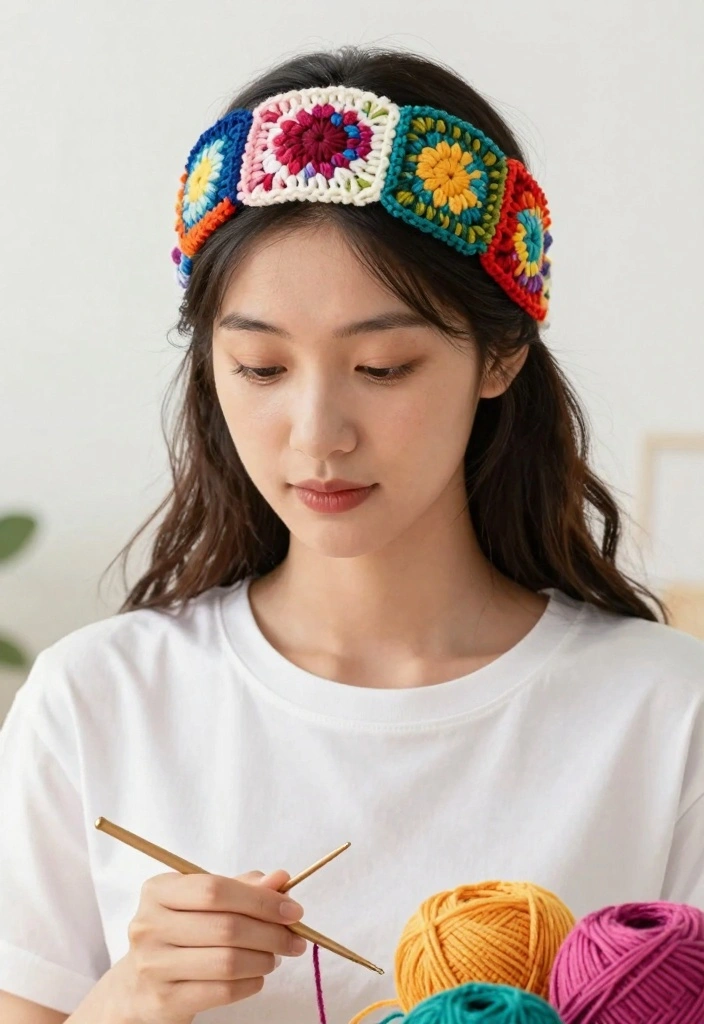
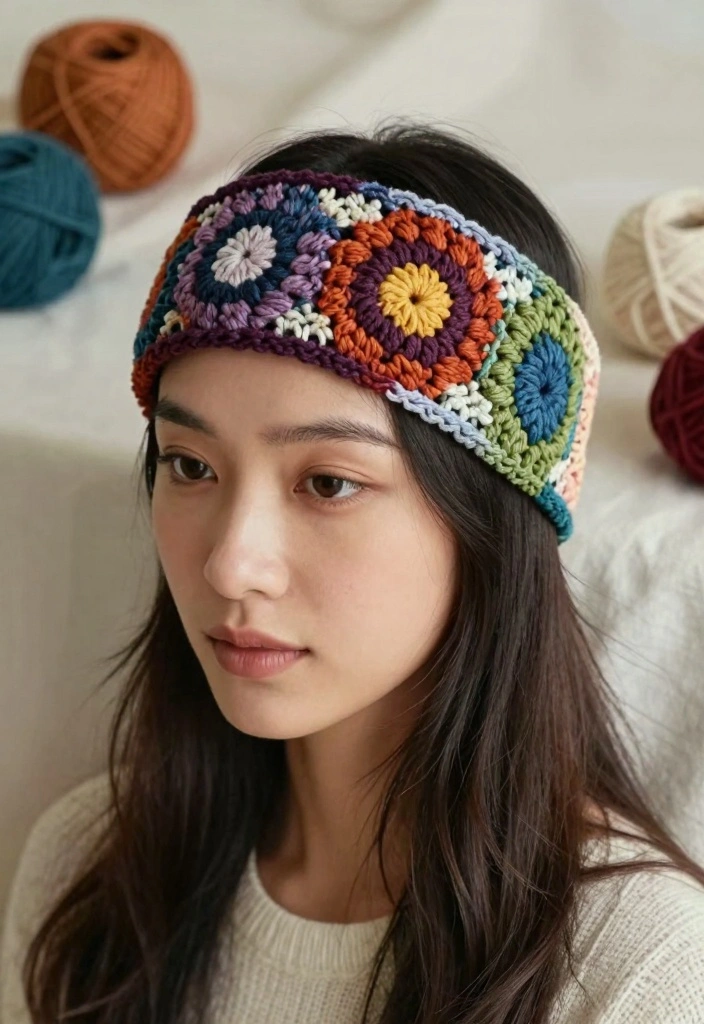
3. Flower Embellished Headband
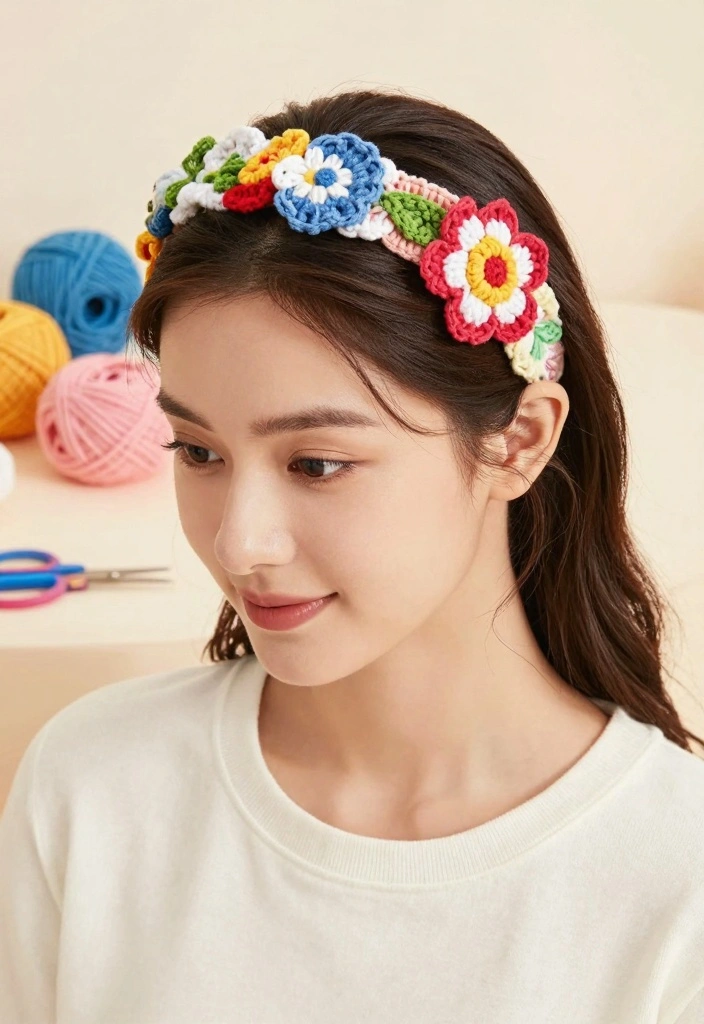
Who can resist a cute flower? This headband features delightful floral appliqués, adding a playful touch that’s perfect for spring and summer outfits. Its whimsical design brings a fun vibe to your accessory collection.
Outfit Pieces:
– 1 skein of medium weight yarn (any color)
– Size H (5 mm) crochet hook
Instructions:
1. Start with a basic headband pattern.
2. Create a flower appliqué using a simple crochet pattern.
3. Attach the flower to the headband and weave in the ends.
These flowers can be made in various colors to pair seamlessly with your wardrobe, making this headband a charming addition to any ensemble!
Tips:
– Use different sizes of flowers for a layered effect.
– Attach leaves for an added splash of color.
4. Lacy Crochet Headband
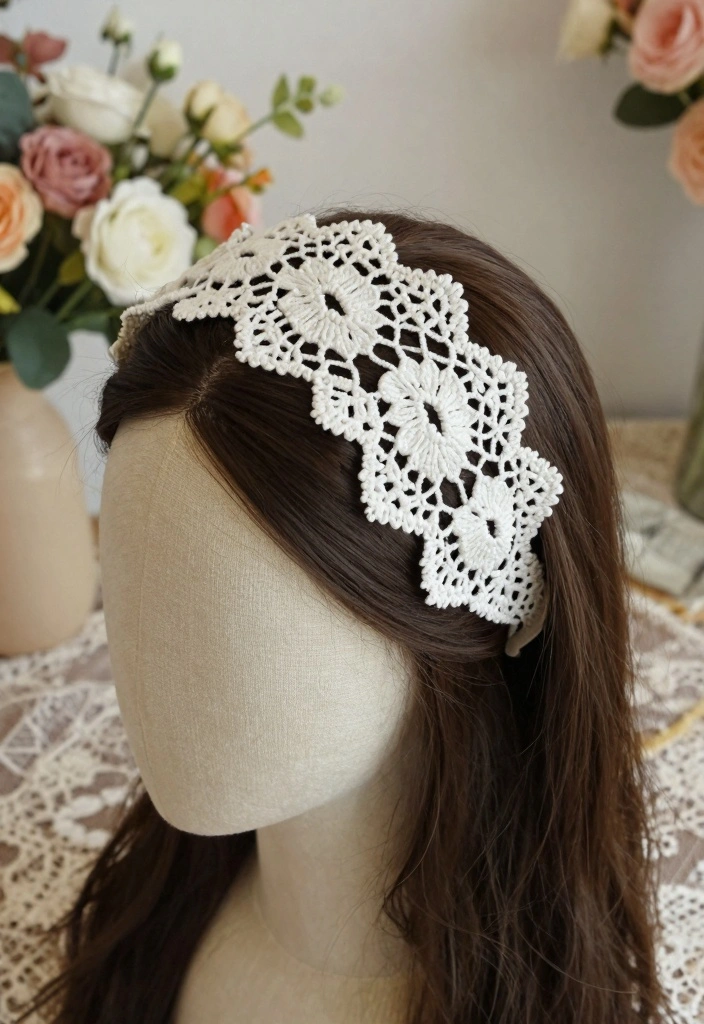
If you’re after elegance, a lacy headband is just the ticket. This design adds a touch of sophistication to any outfit and can be worn on special occasions like weddings or parties.
Outfit Pieces:
– 1 skein of lace weight yarn (light colors recommended)
– Size D (3 mm) crochet hook
Instructions:
1. Begin with a chain of 12 stitches.
2. Work in lace stitches to create a floral pattern throughout.
3. Continue until you reach the desired length and finish off.
This headband is not only beautiful but also incredibly light and comfortable to wear!
Tips:
– Opt for pastel colors for a soft, romantic touch.
– Use a shimmer yarn for an extra hint of elegance.
5. Chunky Knit Headband

Chunky knit styles are in vogue, and this headband is no exception. Crafted from thick yarn, it provides warmth and fashionable flair during the colder months.
Outfit Pieces:
– 1 skein of chunky yarn (any color)
– Size N (10 mm) crochet hook
Instructions:
1. Chain 12 stitches and work in double crochet for a super chunky appearance.
2. Continue until the piece measures about 20 inches.
3. Join the ends to form a circle and weave in any loose threads.
This stylish headband is not just trendy but also quick and easy to make!
Tips:
– Mix different colors for a fun and vibrant look.
– Consider adding a pom-pom on top for a playful touch.
6. Ribbed Crochet Headband
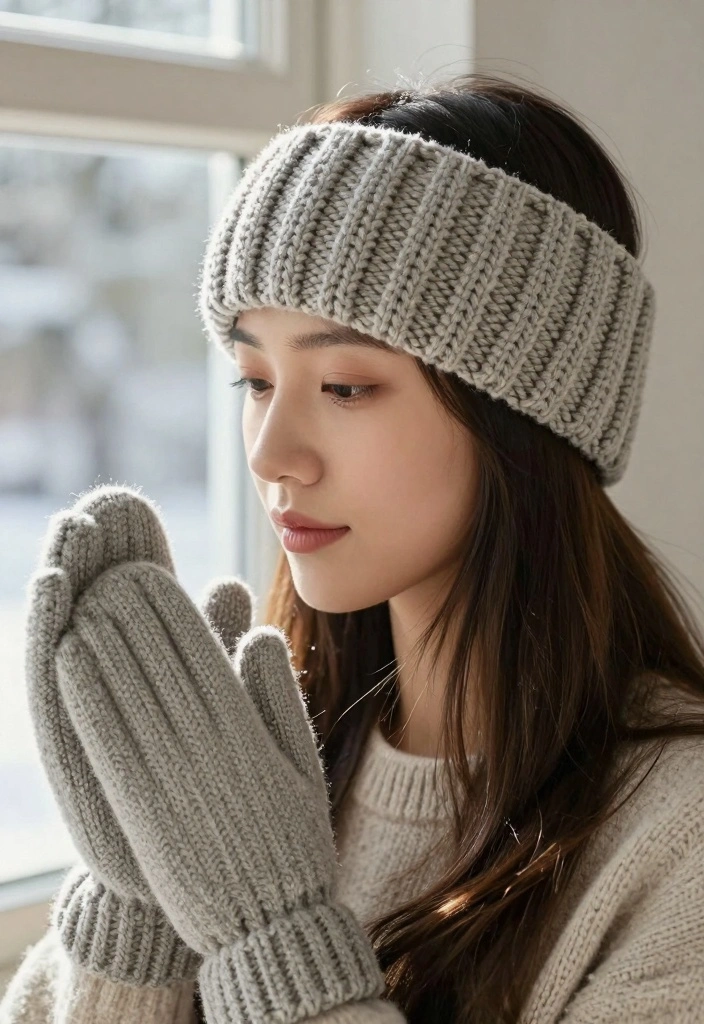
Ribbing adds a distinct texture to this headband, giving it a modern twist. It’s a refreshing change from standard designs, making it visually interesting.
Outfit Pieces:
– 1 skein of worsted weight yarn (any color)
– Size H (5 mm) crochet hook
Instructions:
1. Chain 10 stitches and work in front and back post double crochet.
2. Continue the pattern until you reach about 20 inches in length.
3. Join the ends and weave in loose threads.
This headband offers both comfort and style for everyday wear!
Tips:
– Use two colors to create a ribbing effect by alternating rows.
– Pair it with a matching scarf for a coordinated outfit.
7. Sporty Headband
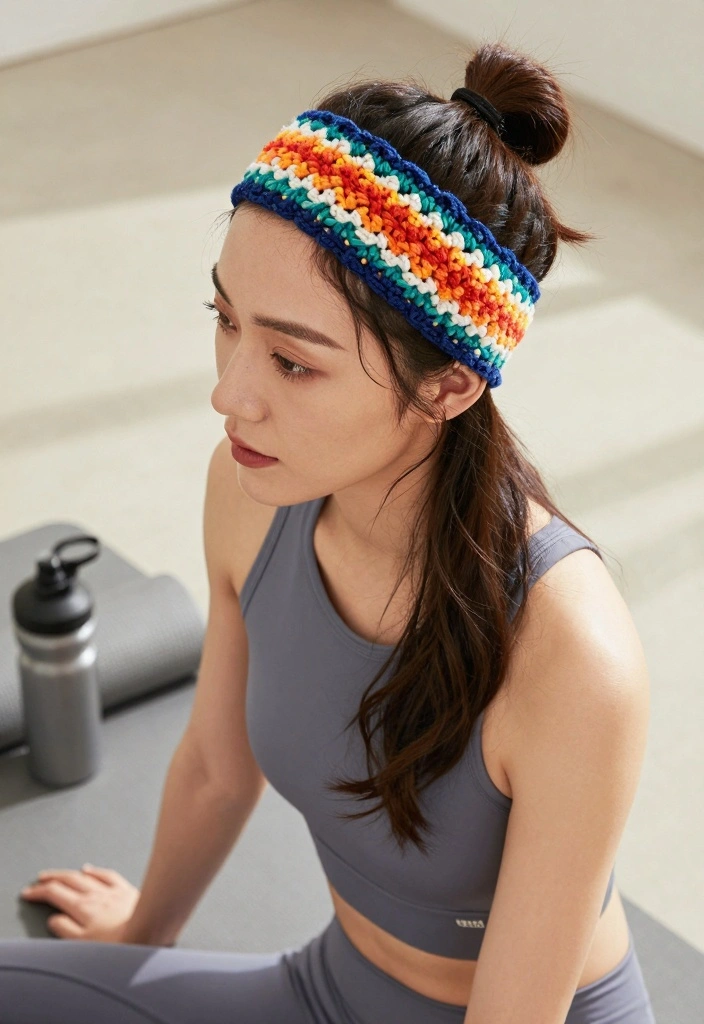
For the active individual, a sporty headband is a must-have. Designed to stay securely in place during workouts, it keeps hair out of your face.
Outfit Pieces:
– 1 skein of stretchy cotton yarn (any color)
– Size H (5 mm) crochet hook
Instructions:
1. Chain 20 stitches and work in a simple stitch of your choice (single or half double).
2. Continue until the piece measures about 18 inches.
3. Join the ends and weave in loose threads.
These headbands are practical yet stylish, available in a variety of colors to match your vibe.
Tips:
– Use moisture-wicking yarn for added comfort while exercising.
– Personalize your headband with initials or your favorite sports team colors!
8. Boho Chic Headband
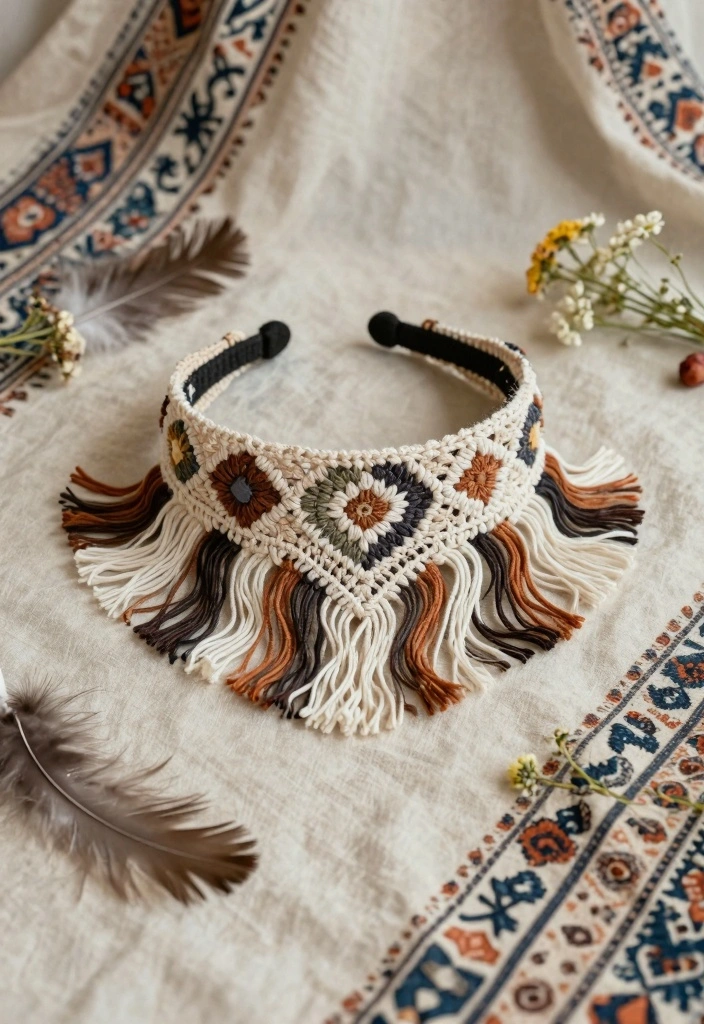
Embrace bohemian style with this free-spirited headband. The design features fringes and earthy tones, creating a relaxed and laid-back vibe.
Outfit Pieces:
– 1 skein of cotton yarn (natural colors)
– Size H (5 mm) crochet hook
Instructions:
1. Chain 15 and work in double crochet or shells for a soft texture.
2. Add fringes by chaining several stitches and attaching them along the bottom.
3. Finish and weave in any loose ends.
This headband is perfect for music festivals or casual outings, adding flair to your look!
Tips:
– Use earthy tones to enhance the boho aesthetic.
– Incorporate beads into the fringes for added flair.
9. Striped Crochet Headband

Stripes are always in style! Create a fun, eye-catching headband by alternating colors and stitches to showcase your personality.
Outfit Pieces:
– 3 small skeins of various colored yarn (bright colors recommended)
– Size H (5 mm) crochet hook
Instructions:
1. Start by chaining 10 stitches in the first color.
2. Alternate colors every few rows using single or double crochet stitches.
3. Join the ends and secure loose threads.
This playful headband is versatile, making it easy to mix and match with your outfits.
Tips:
– Experiment with different stitch patterns to add texture within the stripes.
– Opt for bold colors for a striking effect!
10. Textured Crochet Headband

This headband is distinguished by its rich textures. By mixing various stitches, you can create a unique accessory that draws attention.
Outfit Pieces:
– 1 skein of yarn in a neutral color (beige or gray)
– Size H (5 mm) crochet hook
Instructions:
1. Start with a chain of 12 stitches.
2. Alternate between single crochet, double crochet, and puff stitches for added texture.
3. Continue until you reach the desired length, then finish off.
The combination of stitches brings depth, making this headband both stylish and fun to wear!
Tips:
– Choose a yarn with varying thickness for even more texture.
– Experiment with color changes for a personalized design.
11. Headband with Bow
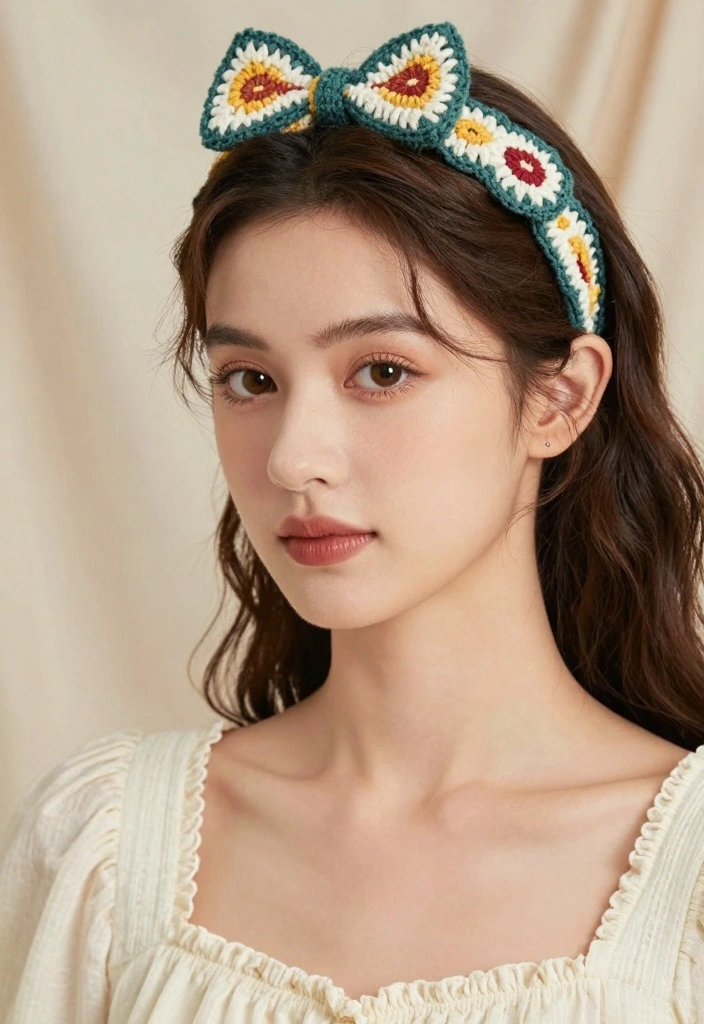
Adding a bow to your headband takes it to a whole new level of cuteness! This project is straightforward and adds a playful flair to any outfit.
Outfit Pieces:
– 1 skein of medium weight yarn (any color)
– Size H (5 mm) crochet hook
Instructions:
1. Create a basic headband using your preferred pattern.
2. For the bow, chain 8 and work in half double crochet for 4 rows.
3. Fold the bow piece in half and secure it to the headband.
This design works beautifully for both adults and children alike!
Tips:
– Experiment with different bow shapes and sizes for variety.
– Use contrasting colors to make your headband stand out.
12. Adult vs. Child Headband
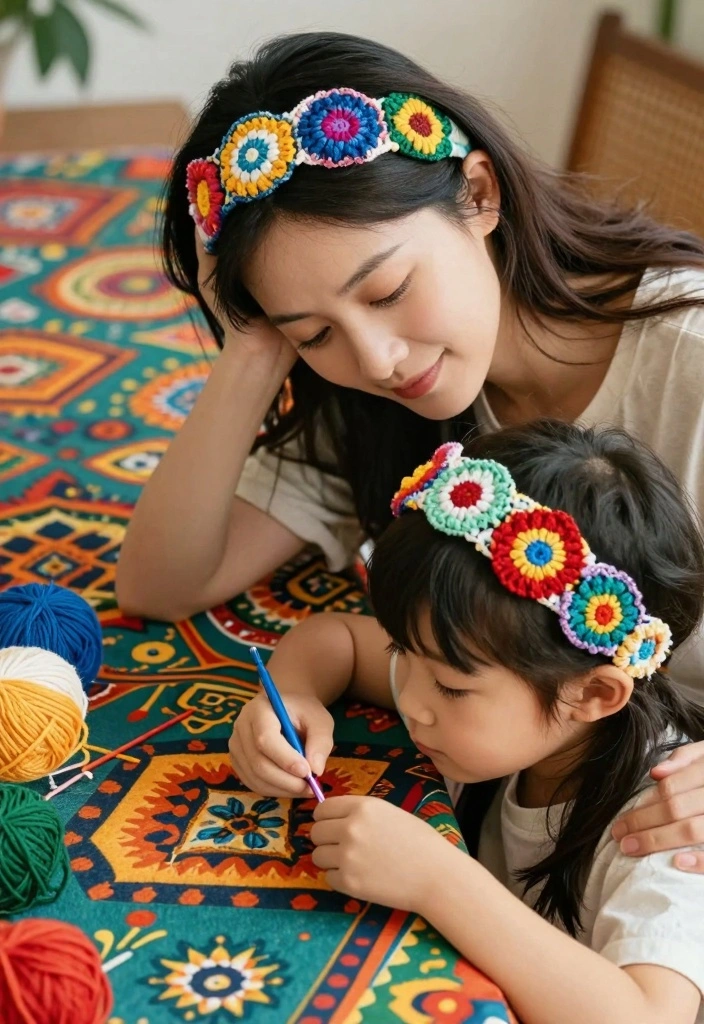
Making matching headbands for adults and kids is a fun family activity! Adjusting patterns to suit different sizes is an enjoyable challenge.
Outfit Pieces:
– 1 skein of your preferred yarn (any color)
– Size H (5 mm) crochet hook for adults, Size G (4 mm) for children
Instructions:
1. Create the adult headband using your chosen pattern.
2. Adjust the chain size for the child, reducing it by about 4-5 stitches.
3. Follow the same instructions to match both designs in style!
This project is a great way to bond with little ones while teaching them crafting skills.
Tips:
– Pick fun colors for the child’s version.
– Incorporate playful embellishments for the kid’s headband.
13. Seasonal Headbands

Craft headbands that celebrate the seasons! From floral designs in spring to cozy knits for winter, you can match your accessory to the time of year.
Outfit Pieces:
– 1 skein of cotton yarn for spring/summer (floral colors)
– 1 skein of chunky yarn for fall/winter (warm colors)
– Size H (5 mm) crochet hook
Instructions:
1. Plan your designs based on seasonal themes.
2. Create floral patterns for spring and warm, knitted styles for winter.
3. Weave in all loose ends to complete.
These headbands are functional and keep you stylish throughout the year!
Tips:
– Use seasonal colors to enhance the theme.
– Create a collection that can be mixed and matched easily.
14. Embroidered Headband
Add a special touch by incorporating embroidery into your crochet headband. This project allows for creative expression and guarantees a one-of-a-kind accessory!
Outfit Pieces:
– 1 skein of cotton yarn (any color)
– Size H (5 mm) crochet hook
– Embroidery floss (various colors)
Instructions:
1. Create a basic headband using your preferred stitch.
2. Once finished, use embroidery thread to stitch patterns onto the headband.
3. Secure any loose threads after completing.
Embroidered designs add flair and personality to your accessory!
Tips:
– Choose bold colors for your embroidery to make it pop.
– Try different stitches, like backstitch or satin stitch, for varied effects.
15. Solid Color Headband
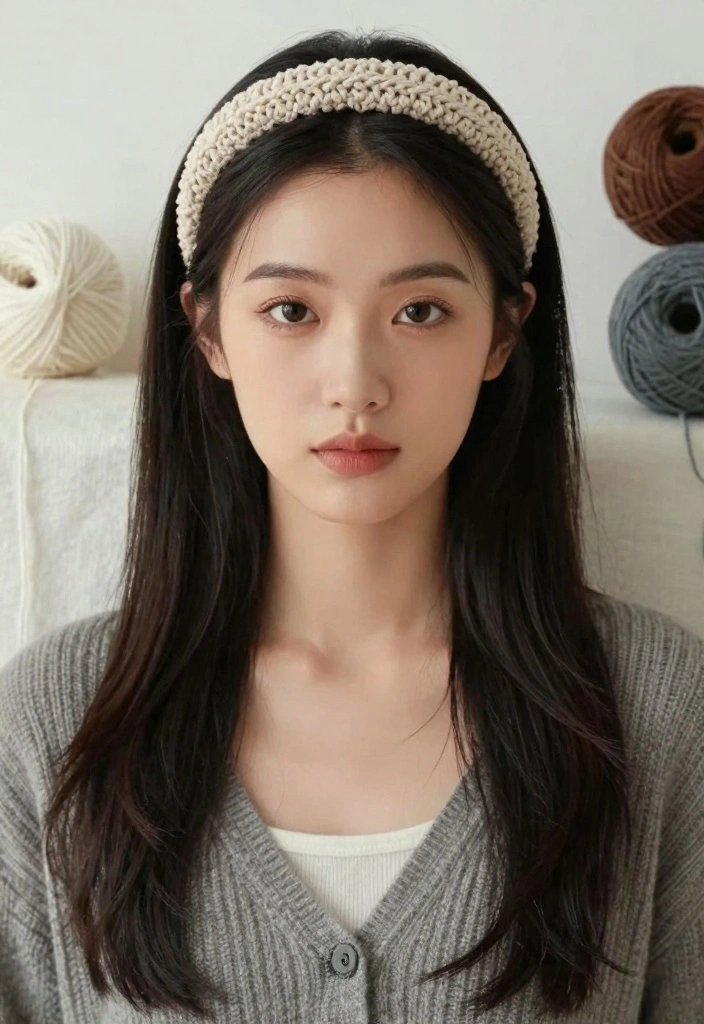
Sometimes, keeping it simple is best! A solid color headband is a timeless choice that remains stylish. This project is perfect for those seeking a quick and chic accessory.
Outfit Pieces:
– 1 skein of any color yarn (your choice)
– Size H (5 mm) crochet hook
Instructions:
1. Chain 10 stitches and work in single crochet to your desired width.
2. Continue until you reach about 18 inches, then join the ends.
This headband pairs well with almost anything and is suitable for all seasons!
Tips:
– Consider using gradient yarn for added visual interest.
– Create multiple colors for a versatile collection.
16. Personalized Initial Headband
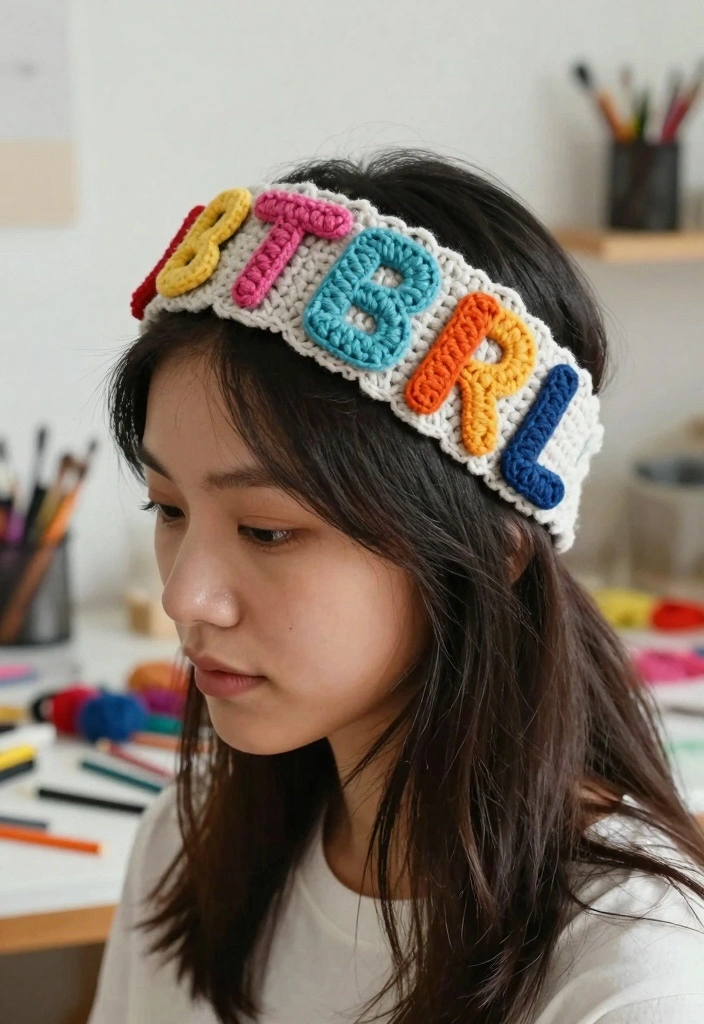
Creating personalized items adds a special touch! This headband features your initials, making it a unique accessory that truly reflects your personality.
Outfit Pieces:
– 1 skein of yarn of your choice (any color)
– Size H (5 mm) crochet hook
– Felt or fabric for initials (contrasting color)
Instructions:
1. Make a simple headband using your favorite pattern.
2. Cut out your initials from felt or fabric and attach them to the headband.
3. Weave in any loose ends to finish.
This design is not only adorable but also a fantastic conversation starter!
Tips:
– Use vibrant colors for your initials to make them stand out.
– Secure the fabric with glue or stitching for durability.
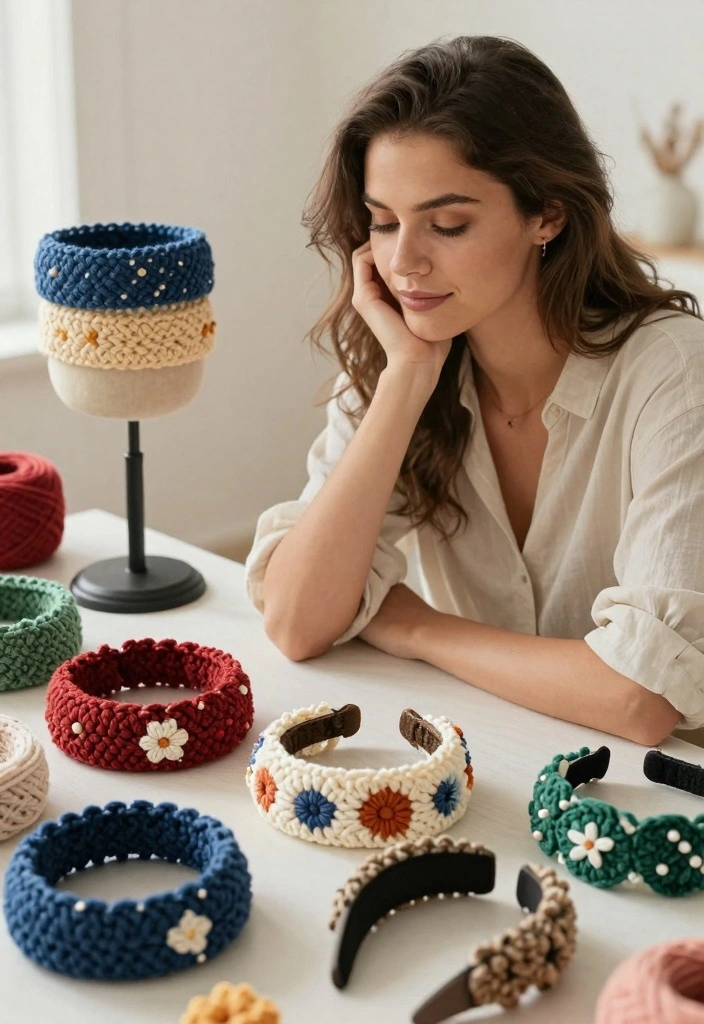
17. Patchwork Headband
For a creative twist, try a patchwork headband made from leftover yarn scraps. This method not only reduces waste but also showcases your artistic flair!
Outfit Pieces:
– Scraps of yarn in various colors (your choice)
– Size H (5 mm) crochet hook
Instructions:
1. Join different yarn scraps together, mixing stitches and colors.
2. Crochet until you reach your desired length and width.
3. Secure all loose ends before finishing.
This headband highlights your creativity and resourcefulness!
Tips:
– Create a cohesive color palette for a polished look.
– Experiment with different stitches to add even more character.
18. Infinity Headband
Infinity headbands are both trendy and functional! They can be worn in multiple ways – as a headband, neck warmer, or even a stylish wrist accessory.
Outfit Pieces:
– 1 skein of bulky yarn (any color)
– Size J (6 mm) crochet hook
Instructions:
1. Chain 40 for the foundation and work in half double crochet.
2. Continue until the piece measures around 20 inches long.
3. Join the ends securely and weave in loose threads.
This versatile piece is a must-have for your accessory collection!
Tips:
– Choose a soft yarn for added comfort around the neck.
– Make several in different colors to coordinate with your outfits.
19. Reversible Headband
Get two looks in one with a reversible headband! This pattern allows you to create two distinct styles with a single project, perfect for those who appreciate variety.
Outfit Pieces:
– 1 skein of yarn in two different colors (complementary colors)
– Size H (5 mm) crochet hook
Instructions:
1. Chain a length of 20 stitches in the first color.
2. Work double crochet for several rows before switching to the second color.
3. Keep alternating colors until you achieve the desired length, then join.
This design is ideal for those who want a touch of versatility!
Tips:
– Use contrasting colors to highlight the reversible feature.
– Experiment with different stitch patterns for each side for added interest.
Conclusion
Crochet headbands are not just easy to make; they are a canvas for creativity and expression. Each of these projects offers a chance to explore new techniques and styles, making them perfect for beginners and seasoned crafters alike. With so many variations, you can create a collection that suits every mood and occasion. So grab your yarn, spark your creativity, and start crocheting your own stylish headbands today!
You’ll not only enhance your accessory game but also develop your crafting skills along the way.
Frequently Asked Questions
What makes this crochet headband pattern free and beginner-friendly?
This guide features 19 easy headband projects that you can access for free crochet patterns and start right away.
Each pattern uses beginner-friendly stitches and clear crafting tutorials, so you can follow along even if you’re new to crochet.
Plus, these headbands are designed to be quick and stylish, perfect for a fast easy DIY project to refresh your look in a weekend.
Which stitches are best for beginners making stylish headbands?
Stick to basic stitches like chain stitch, single crochet, and half double crochet. They’re forgiving, quick to learn, and yield sturdy headbands. Start by choosing a soft yarn and a comfortable hook size to hit a good gauge. The free patterns in this guide usually include a basic starter pattern and tips on adjusting width and length, plus links to crafting tutorials for any tricky parts. You’ll get a chic result without advanced techniques.
How long does it typically take to crochet a headband from this collection?
Most beginner-friendly headbands take 30–60 minutes to complete, depending on pattern and yarn thickness. For a quick finish, choose bulky yarn and a simple repeat. Gather your supplies ahead: a crochet hook, yarn, scissors, and a tapestry needle for weaving ends. The 19 easy projects include resizing tips and quick-start patterns to help you finish faster and achieve a stylish result.
Can I customize the headbands for different head sizes and styles?
Yes. Measure your head or the intended wearer with a flexible tape measure, and plan for a bit of stretch. Use adjustable closures like a crochet tie, a small button, or a discreet chain for length. You can tweak width by adding or removing repeats, switch colors, or add decorative elements like bows or ribbing. The crafting tutorials in the collection offer resizing tips and styling ideas to keep your crochet accessories looking cohesive and chic.
Where can I find step-by-step crafting tutorials and free crochet patterns for these headbands?
You’ll find step-by-step crafting tutorials and many free crochet patterns right in the article, plus more through trusted crafting tutorials and free crochet pattern libraries. Look for clear crafting tutorials and video walkthroughs to follow along. Save and organize your favorites to explore more crochet accessories and other easy DIY projects from the collection.