You can bring 15+ cute crochet ideas That Are Almost Too Adorable to Handle to life with colorful accessories, soft miniatures, and cheerful home accents. Small projects give you that cozy handmade look while letting you try playful shapes without committing to a blanket-sized project.

You get plenty of room to make each design yours through pastel shades, embroidered faces, or a favorite scrap of yarn. Save the shapes you love, then choose a pattern that matches your stitch skills and the time you want to spend finishing.
1) Tiny Amigurumi Bee With Puffy Wings
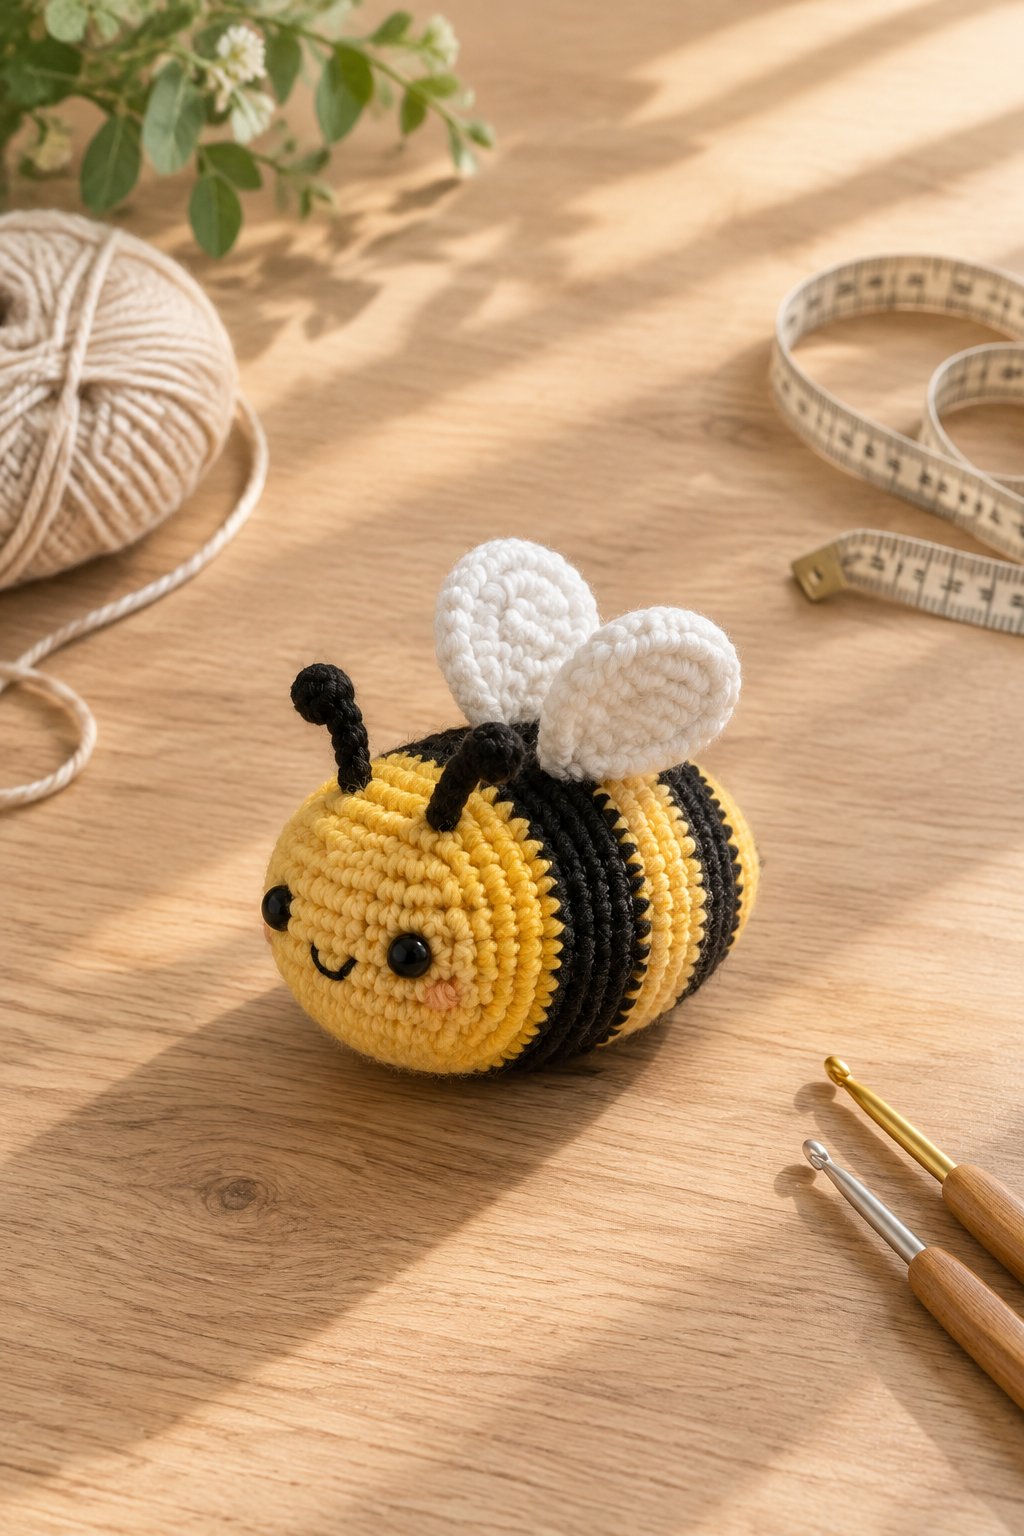
Your tiny bee gets its charm from a rounded striped body and two plump white wings. Choose buttery yellow with charcoal stripes for a softer look, then add a small embroidered smile below the eyes.
Start with worsted-weight cotton or acrylic and a 3.5 mm hook, adjusting to create tight fabric. You’ll practice single crochet in continuous rounds, increases, and invisible decreases. Mark the first stitch of each round so your stripe changes stay organized.
Choose this beginner project once you feel comfortable working in the round. Stuff the body gradually to keep its oval shape, and pin both wings before sewing. For a backpack charm, secure your hanging loop through several stitches near the top. A peach version gives you a sweet variation using the same basic shape.
|
Detail |
Specification |
|---|---|
|
Yarn Weight |
Worsted, #4 |
|
Skill Level |
Beginner |
|
Estimated Time |
2–3 hours |
2) Daisy Granny Square Drawstring Pouch

A daisy pouch gives you a useful little bag with a raised floral focal point. Pair a golden center with cream petals, then frame your flower in sage or dusty pink for a gentle vintage palette.
Use worsted-weight cotton with a 4 mm hook for a firm, washable fabric. Your pattern might combine a puff-stitch flower with double-crochet granny clusters. Check the finished square size before joining, especially when your front and back use different stitch designs.
You’ll find this an intermediate choice if puff stitches and joining are new to you. Add a top border with evenly spaced drawstring openings, then thread two cords in opposite directions. Slip a fabric lining inside if you plan to carry earrings or other tiny belongings. Keep the lining below the drawstring channel.
|
Detail |
Specification |
|---|---|
|
Yarn Weight |
Worsted cotton, #4 |
|
Skill Level |
Intermediate |
|
Estimated Time |
4–6 hours |
3) Strawberry-Shaped Bag Charm
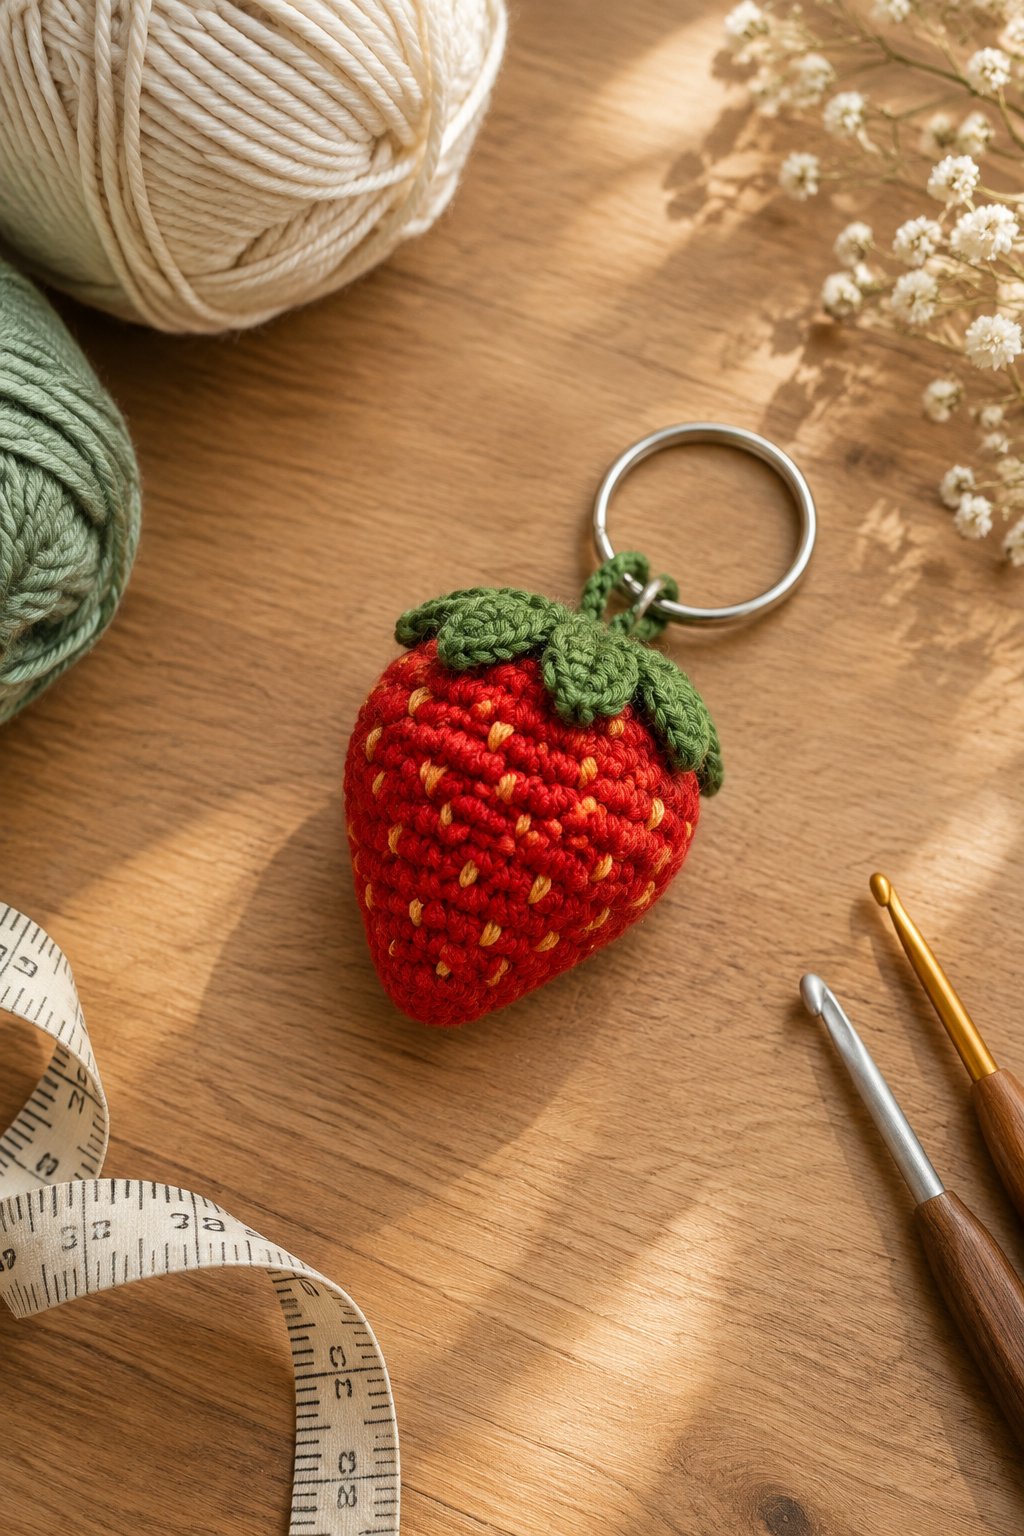
Your strawberry charm pairs a tapered berry shape with a leafy green crown. Try classic red for a picnic-inspired accessory, or choose blush pink with cream seeds for a softer finish on your everyday tote.
Pick sport-weight cotton and a 2.5–3 mm hook to keep the finished berry compact. Work single crochet in rounds, shaping the pointed end with increases and closing the top with decreases. Add embroidered seeds before stuffing if you want easy access to the inside.
This beginner-friendly design gives you practice with shaping and small attachments. Sew each leaf securely around the crown, and attach the charm loop through the berry’s body stitches. Keep your seed stitches short so they resist snagging. For a coordinated gift, match the green top to your recipient’s bag or zipper pull.
|
Detail |
Specification |
|---|---|
|
Yarn Weight |
Sport cotton, #2 |
|
Skill Level |
Beginner |
|
Estimated Time |
1–2 hours |
4) Smiling Flower Coasters With Scalloped Petals
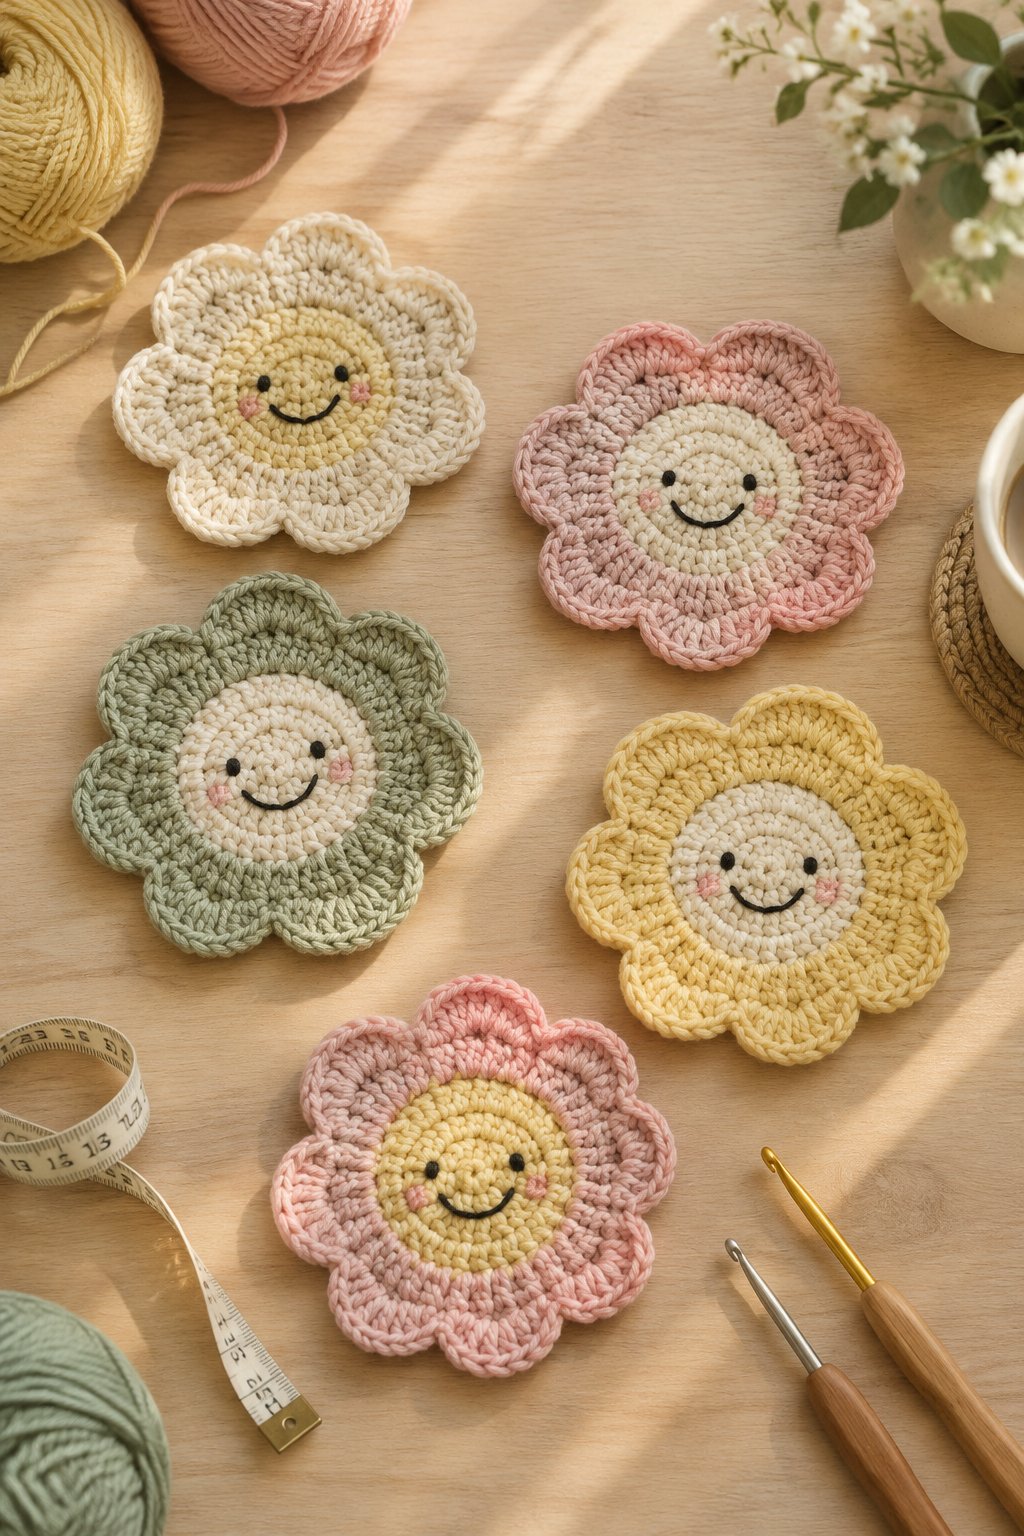
You get a cheerful tabletop accent when you frame a smiling center with scalloped petals. Mix lavender and butter yellow across a set, keeping the central circles consistent for a coordinated look.
Choose worsted-weight cotton with a 4 mm hook for absorbency and clear stitch definition. Build the center with evenly spaced increases, then follow your pattern’s shell or scallop repeat around the edge. Aim for a flat central area wide enough to support your mug’s base.
This beginner project suits you if you know single and double crochet. Embroider the face with short, flat stitches so your cup sits evenly. If the center ripples, check your stitch count before blocking. Make a matching stack as a housewarming gift, and include the yarn’s washing instructions with your finished set.
|
Detail |
Specification |
|---|---|
|
Yarn Weight |
Worsted cotton, #4 |
|
Skill Level |
Beginner |
|
Estimated Time |
1–2 hours each |
5) Chubby Pocket Frog With Raised Eyes

Your pocket frog gets an expressive face from two raised eye bumps and a wide, rounded body. Choose moss green for a woodland look, then add pale pink cheeks and a tiny cream belly pocket.
Use worsted-weight acrylic or cotton with a 3.5 mm hook for visible shaping stitches. You’ll work single crochet, increases, and decreases, then attach the eye pieces. Pin both eyes in place and check their height from the front before sewing.
Treat this as an intermediate project because the small attachments need careful placement. Keep the belly pocket shallow so it sits neatly against the stuffing. Tuck a folded message into it for a gift, or leave it empty as a decorative detail. Embroider the pupils with secure stitches if your frog is intended for a young child.
|
Detail |
Specification |
|---|---|
|
Yarn Weight |
Worsted, #4 |
|
Skill Level |
Intermediate |
|
Estimated Time |
3–5 hours |
6) Tiny Tulip Bouquet Keychain

A tiny tulip bouquet lets you carry a cluster of flowers on your keys or bag. Combine dusty rose buds with sage leaves, and wrap the stems in a cream crochet cone for a tidy gift-ready shape.
Choose sport-weight cotton and a 2.5–3 mm hook to keep the details crisp. Your pattern should explain the small rounded buds, folded petal tops, and narrow leaves. Use yarn-covered cord for flexible stems that fit inside the bouquet wrapper.
You’ll enjoy this intermediate project if you like detailed assembly. Make all the buds first, then arrange their heights before stitching the bundle together. Anchor your keychain loop through the wrapper and inner bundle so the flowers stay attached. Tie a short ribbon around the outside, keeping its ends clear of the keyring hardware.
|
Detail |
Specification |
|---|---|
|
Yarn Weight |
Sport cotton, #2 |
|
Skill Level |
Intermediate |
|
Estimated Time |
3–4 hours |
7) Mushroom Lip Balm Holder With a Spotted Cap
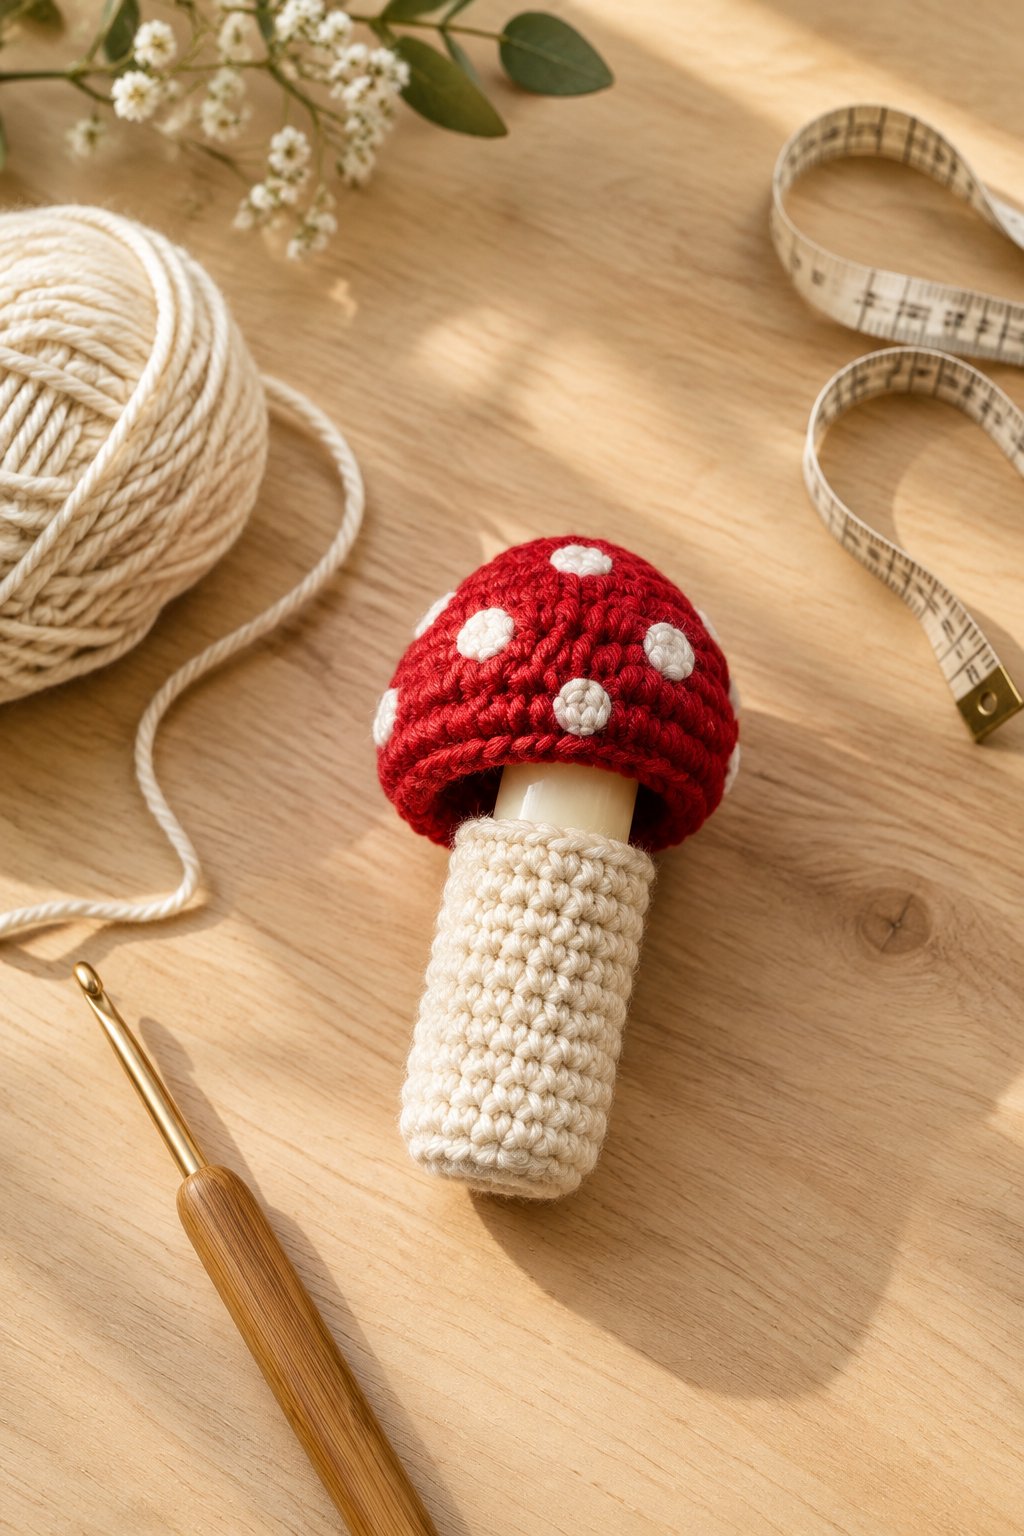
Your mushroom holder turns a lip balm tube into a woodland accessory with a cream stem sleeve and spotted cap. Choose brick red for a classic toadstool look, or try mauve with oatmeal spots.
Use sport-weight cotton and a 2.5–3 mm hook for a snug, compact cover. Work the sleeve in single crochet, checking its fit against your closed lip balm tube as you go. Follow a pattern with a removable cap and a tether that keeps both pieces connected.
This intermediate project needs careful sizing because lip balm tubes vary. Leave enough clearance to remove the tube for use, and keep yarn away from the product opening. Embroider the cap spots before finishing the inside. Attach the hanging loop to the sleeve, then test the closure over a soft surface before using it outside.
|
Detail |
Specification |
|---|---|
|
Yarn Weight |
Sport cotton, #2 |
|
Skill Level |
Intermediate |
|
Estimated Time |
2–3 hours |
8) Pastel Bow Hair Clips
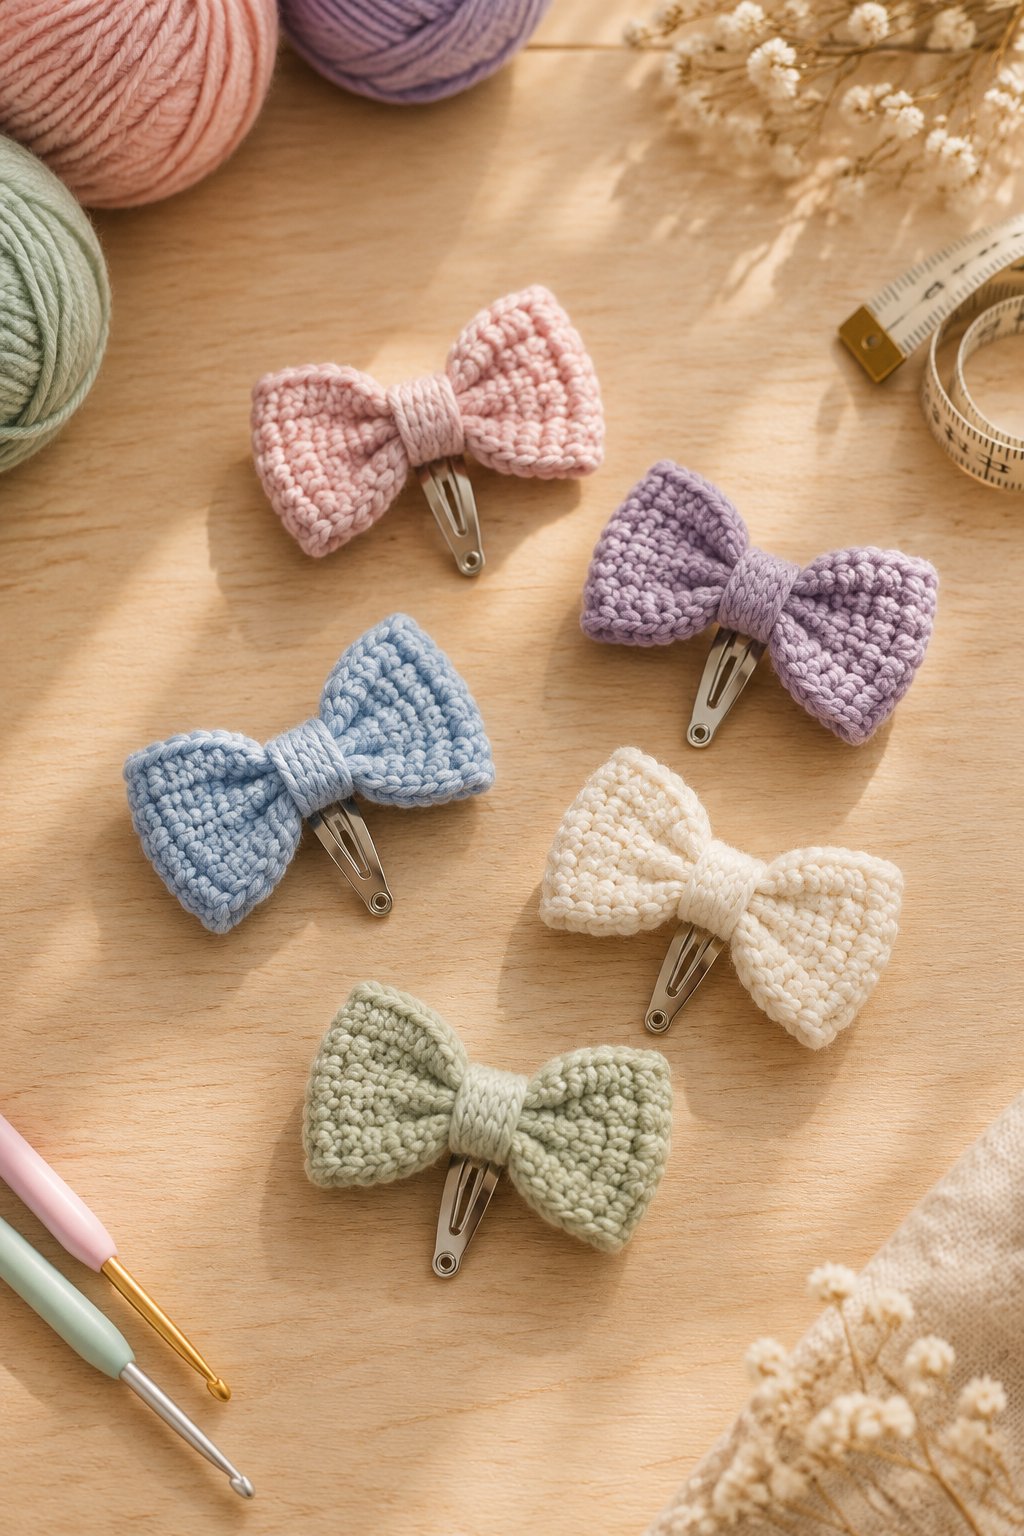
Pastel bow clips give you a wearable project with a clear shape and very little yarn. Choose lilac or pale peach, then cinch the center tightly to create two soft loops with a neat middle wrap.
Try sport-weight cotton and a 3 mm hook for a lightweight finish. Crochet a small rectangle in single crochet or half double crochet, join the short edges if your pattern calls for it, and wrap the center with yarn.
You’ll find this beginner project useful for practicing even edges. Check the bow against your clip before fastening it so the hardware opens freely. Sew the bow onto a fabric-covered clip base using several secure passes. For young children, supervise wear and store clips out of reach afterward. Make a matching pair from the same small yarn leftover.
|
Detail |
Specification |
|---|---|
|
Yarn Weight |
Sport cotton, #2 |
|
Skill Level |
Beginner |
|
Estimated Time |
30–60 minutes each |
9) Mini Granny Square Crossbody Bag
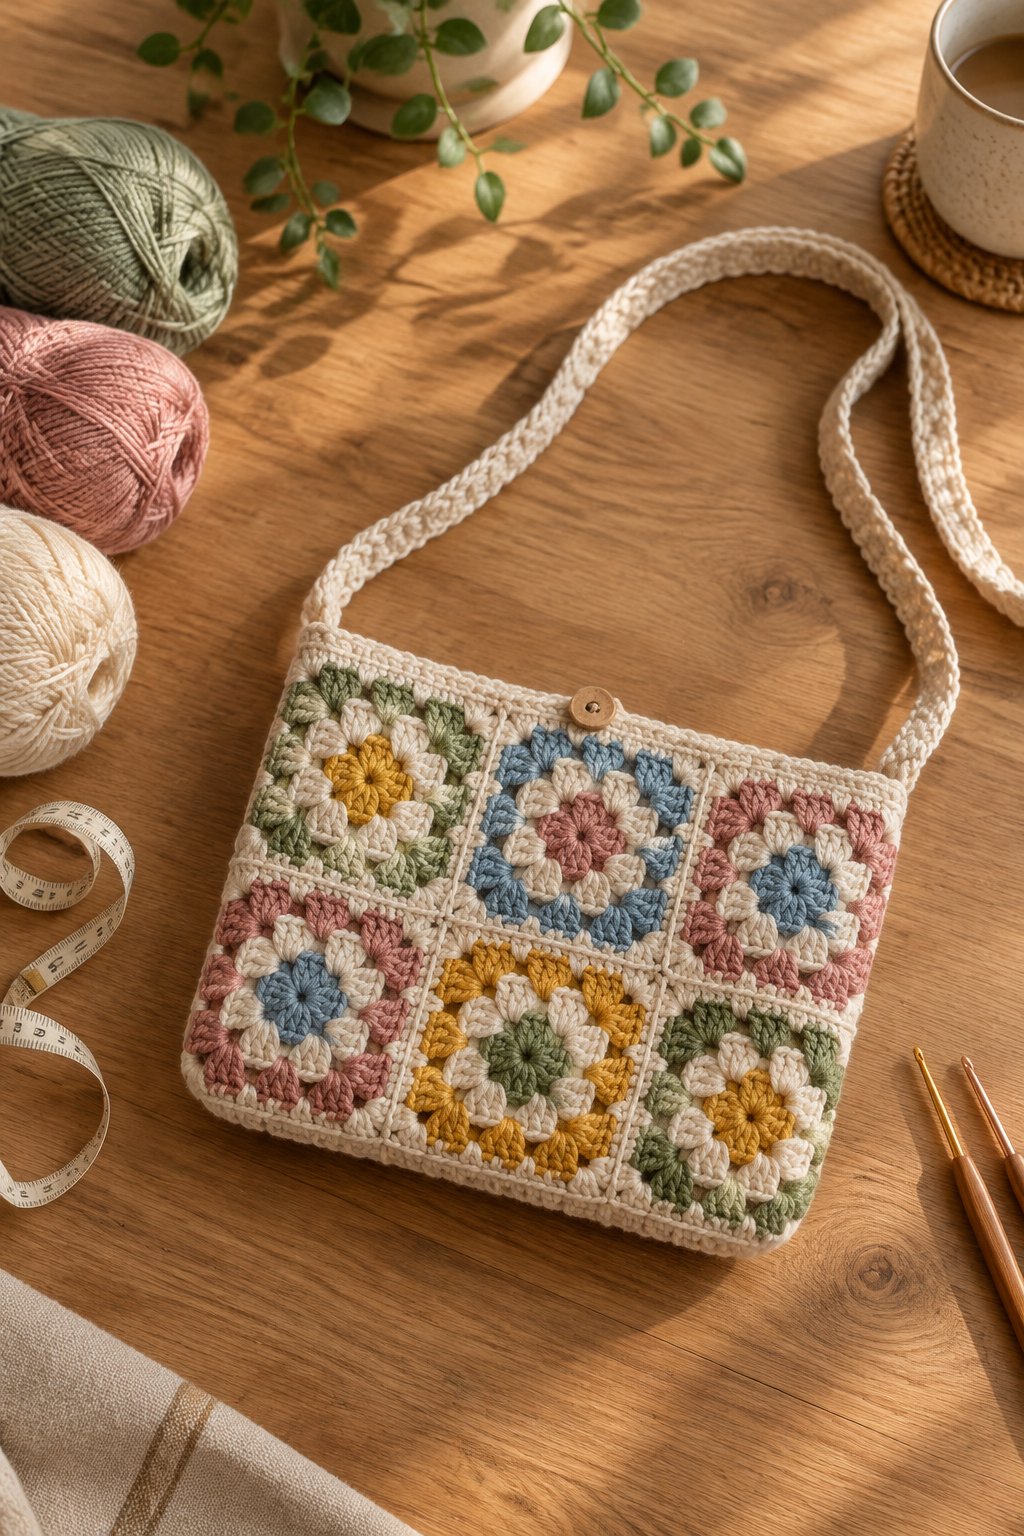
Your mini crossbody bag turns colorful granny squares into a practical accessory with a handmade feel. Repeat one border color around every square to tie peach, cream, and muted green centers together.
Choose worsted-weight cotton and begin with a 4 mm hook. Work double-crochet clusters and chain spaces, then join equal-sized squares using the method your pattern specifies. Block your squares before assembly so the corners meet cleanly.
This intermediate project includes joining and strap construction. Measure your phone with its case before choosing a finished bag size, and allow extra room for a lining. Make a firm strap with closely worked stitches, then reinforce its attachment points. A sewn lining helps keep small belongings inside and supports the crochet fabric. Test the loaded bag at home before deciding on your final strap length.
|
Detail |
Specification |
|---|---|
|
Yarn Weight |
Worsted cotton, #4 |
|
Skill Level |
Intermediate |
|
Estimated Time |
Weekend project |
10) Chunky Amigurumi Octopus With Curled Tentacles
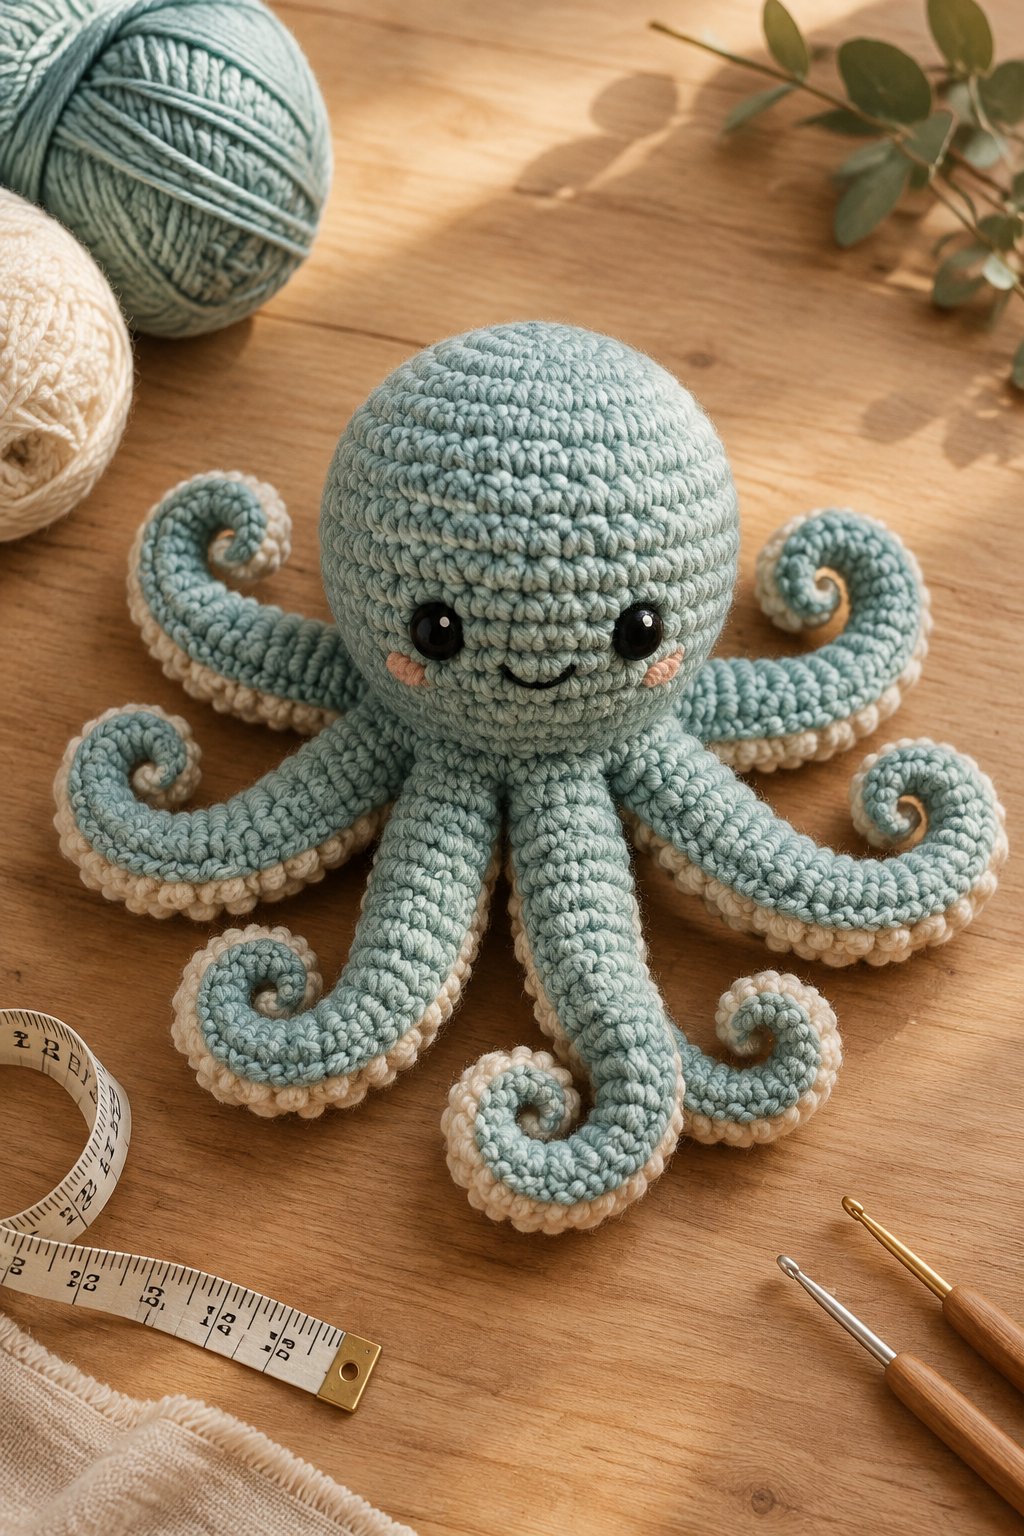
You get a plush, rounded octopus by pairing a soft dome with eight curled tentacles. Lavender chenille gives you a gentle pastel finish, while teal makes the spiral arms stand out against a pale shelf.
Choose bulky chenille and start with a 5 mm hook, checking your pattern’s fabric requirements. Shape the head with single crochet and use repeated increases along chains to form the curls. Count carefully because chenille’s pile hides stitch tops.
Pick an intermediate pattern if you’re new to plush yarn. Add a marker to each completed tentacle so you keep track of all eight during assembly. Stuff the head evenly without stretching open the stitches. Use your finished octopus as a shelf companion or supervised play item, and keep it out of infant sleep spaces.
|
Detail |
Specification |
|---|---|
|
Yarn Weight |
Bulky chenille, #5 |
|
Skill Level |
Intermediate |
|
Estimated Time |
3–5 hours |
11) Cat-Ear Mug Cozy With Embroidered Whiskers
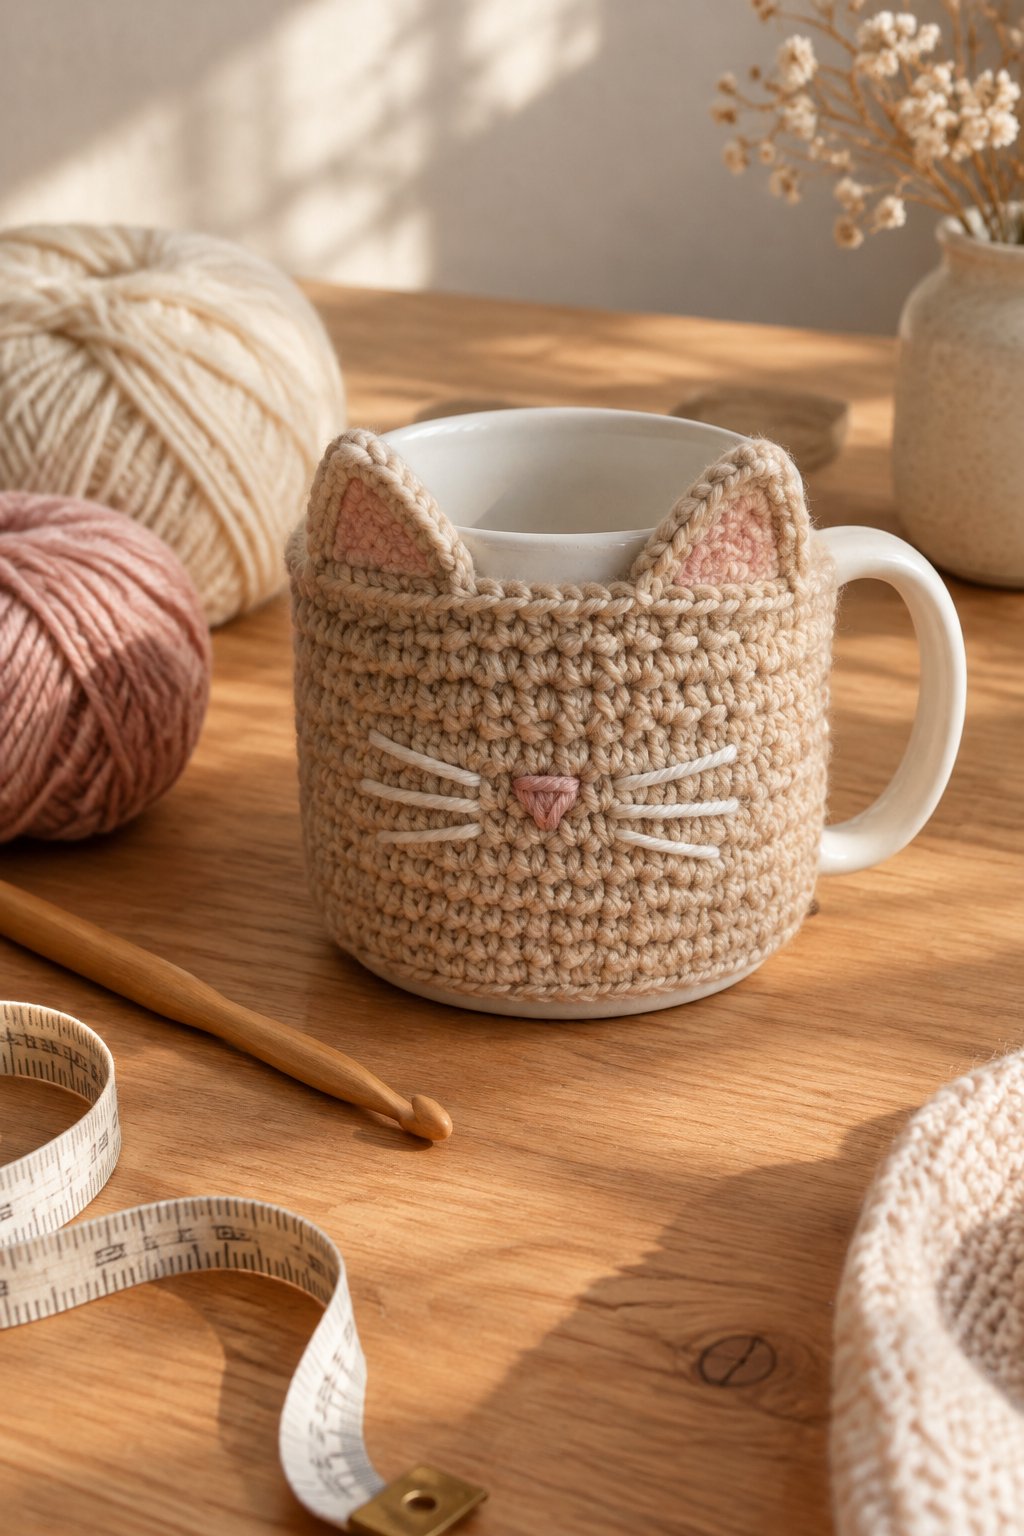
A cat-ear cozy gives your mug a playful face while leaving its handle easy to reach. Choose oatmeal with dark whiskers, or use gray yarn and a pink embroidered nose for a soft tabby-inspired palette.
Work with worsted-weight cotton and a 4 mm hook. Measure around your mug below the rim, then follow a pattern with a handle opening. Single crochet creates a firm band, while small shaped triangles form the ears.
This beginner project suits you once you’re comfortable keeping straight edges. Fit the cozy on an empty, cool mug before adding its closure. Keep the top edge below the drinking rim and the bottom clear of the mug’s base. Embroider whiskers with short stitches, and remove the cozy before microwaving or washing the mug in a dishwasher.
|
Detail |
Specification |
|---|---|
|
Yarn Weight |
Worsted cotton, #4 |
|
Skill Level |
Beginner |
|
Estimated Time |
2–3 hours |
12) Ruffled Gingham Scrunchie

Your gingham scrunchie gets its cottage-style appeal from small checks and a full ruffled edge. Use cream with light and medium pink to create the checked effect, keeping the color blocks equal in width.
Choose DK-weight cotton or a smooth cotton blend and a 3.5 mm hook. Follow a gingham pattern that explains its color changes and carried strands. Build the crochet around a sturdy hair elastic, allowing enough fabric for the elastic to stretch comfortably.
This intermediate accessory gives you focused practice with tension during colorwork. Keep carried yarn relaxed so your checks lie flat when the scrunchie expands. Secure every color change and weave in the ends before closing any seam. Try the finished piece around your wrist first to check for tight spots or rough joins against your skin.
|
Detail |
Specification |
|---|---|
|
Yarn Weight |
DK, #3 |
|
Skill Level |
Intermediate |
|
Estimated Time |
2–4 hours |
13) Mini Potted Cactus With a Crochet Blossom
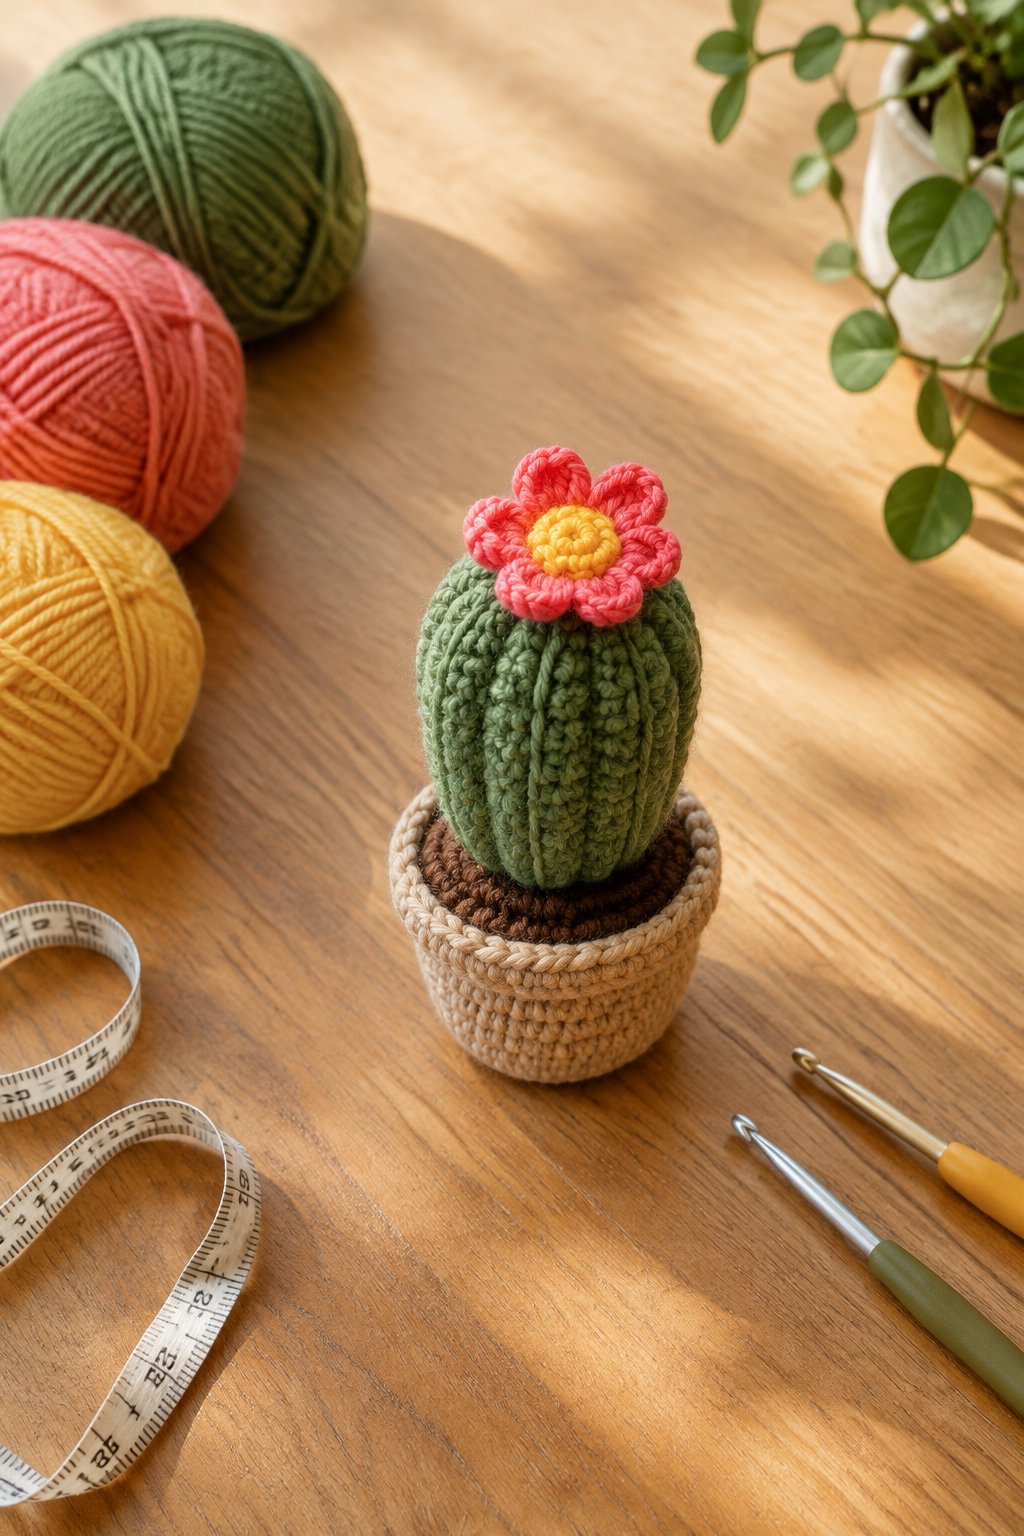
Your mini cactus adds a soft green accent to a desk, with ribbed sides and a bright crochet blossom. Pair olive yarn with a coral flower, then choose a terracotta-colored crochet pot or a small ceramic container.
Use worsted-weight cotton or acrylic with a 3.5 mm hook. Back-loop single crochet creates ridges when you work the cactus as a rectangle, seam the edges, and gather the top. Follow your pattern for a matching soil circle.
Choose this beginner project if you want shaping practice with limited parts. Stuff the cactus firmly enough to hold its upright form, then sew it securely to the soil insert. Fit the insert snugly inside your container and check its balance. Keep the blossom small so its weight won’t pull your cactus to one side.
|
Detail |
Specification |
|---|---|
|
Yarn Weight |
Worsted, #4 |
|
Skill Level |
Beginner |
|
Estimated Time |
2–4 hours |
14) Cloud Wall Hanging With Rainbow Raindrops
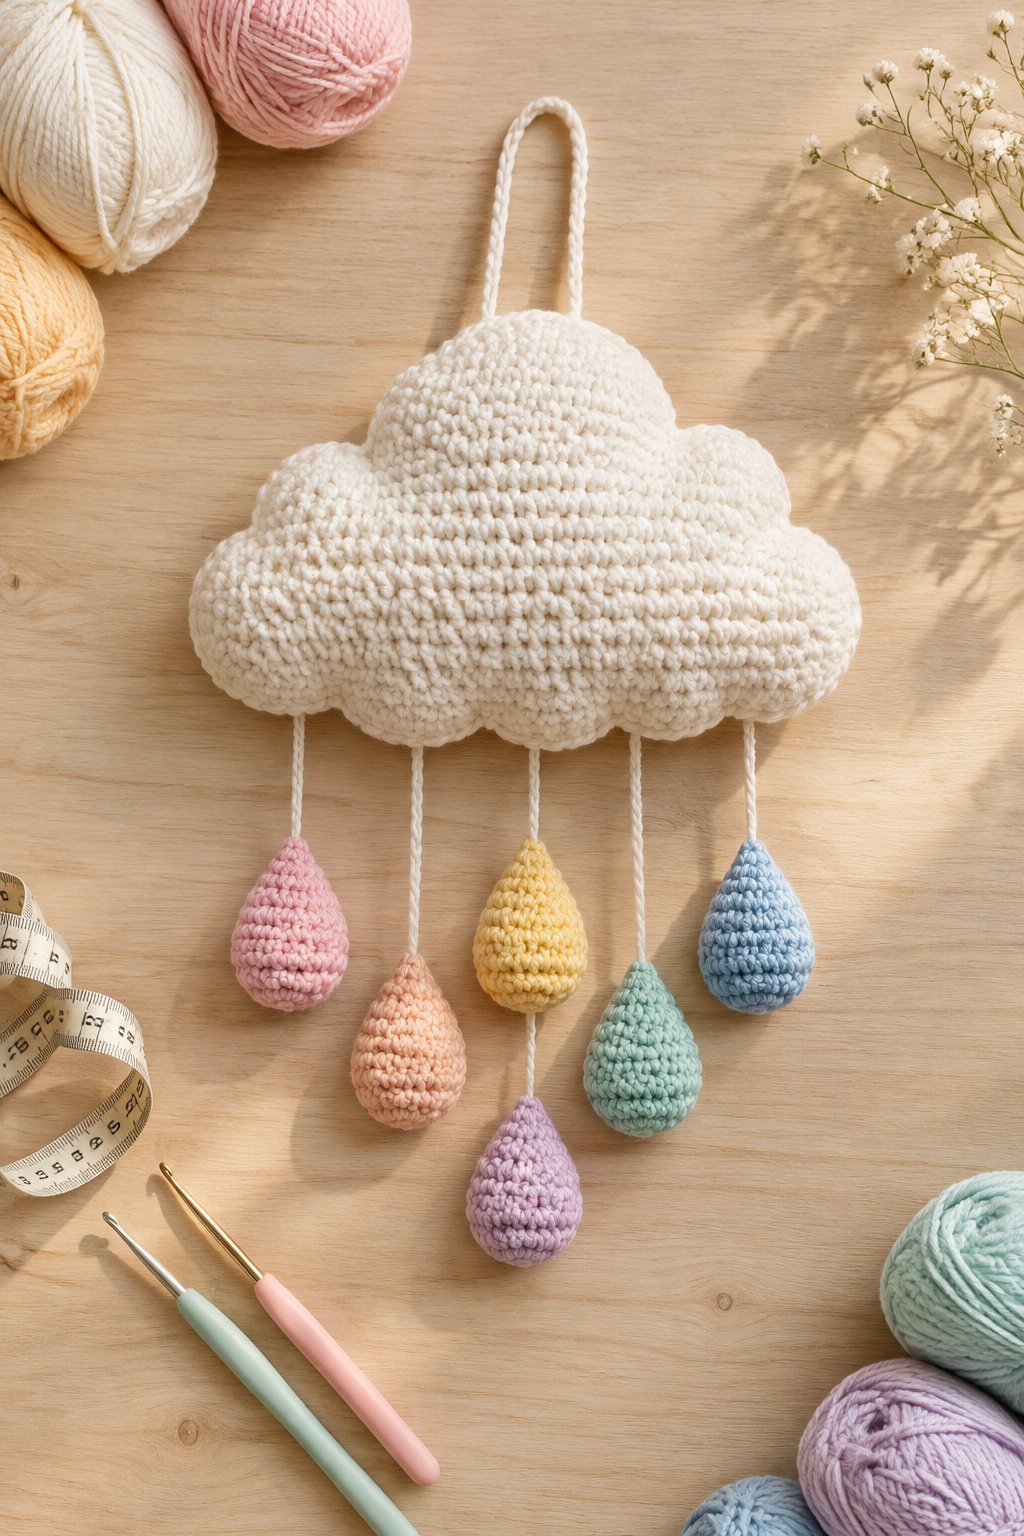
A cloud wall hanging gives you a soft scalloped shape with colorful drops suspended underneath. Choose a warm white cloud and muted rainbow shades for a gentle look, or use brighter drops against a plain wall.
Try worsted-weight cotton or acrylic with a 3.5–4 mm hook. Crochet two matching cloud panels using single crochet with shaped increases and decreases. Join the edges with a small amount of stuffing, then add separately worked raindrops.
This intermediate project needs balanced shaping and secure assembly. Lay everything flat before attaching the hanging strands so you can adjust spacing and drop length. Use several stitches to anchor each strand to the cloud. Display your finished hanging securely on a wall, beyond children’s reach, and keep every cord away from cribs, beds, and changing areas.
|
Detail |
Specification |
|---|---|
|
Yarn Weight |
Worsted, #4 |
|
Skill Level |
Intermediate |
|
Estimated Time |
5–7 hours |
15) Bunny Basket With Floppy Ears
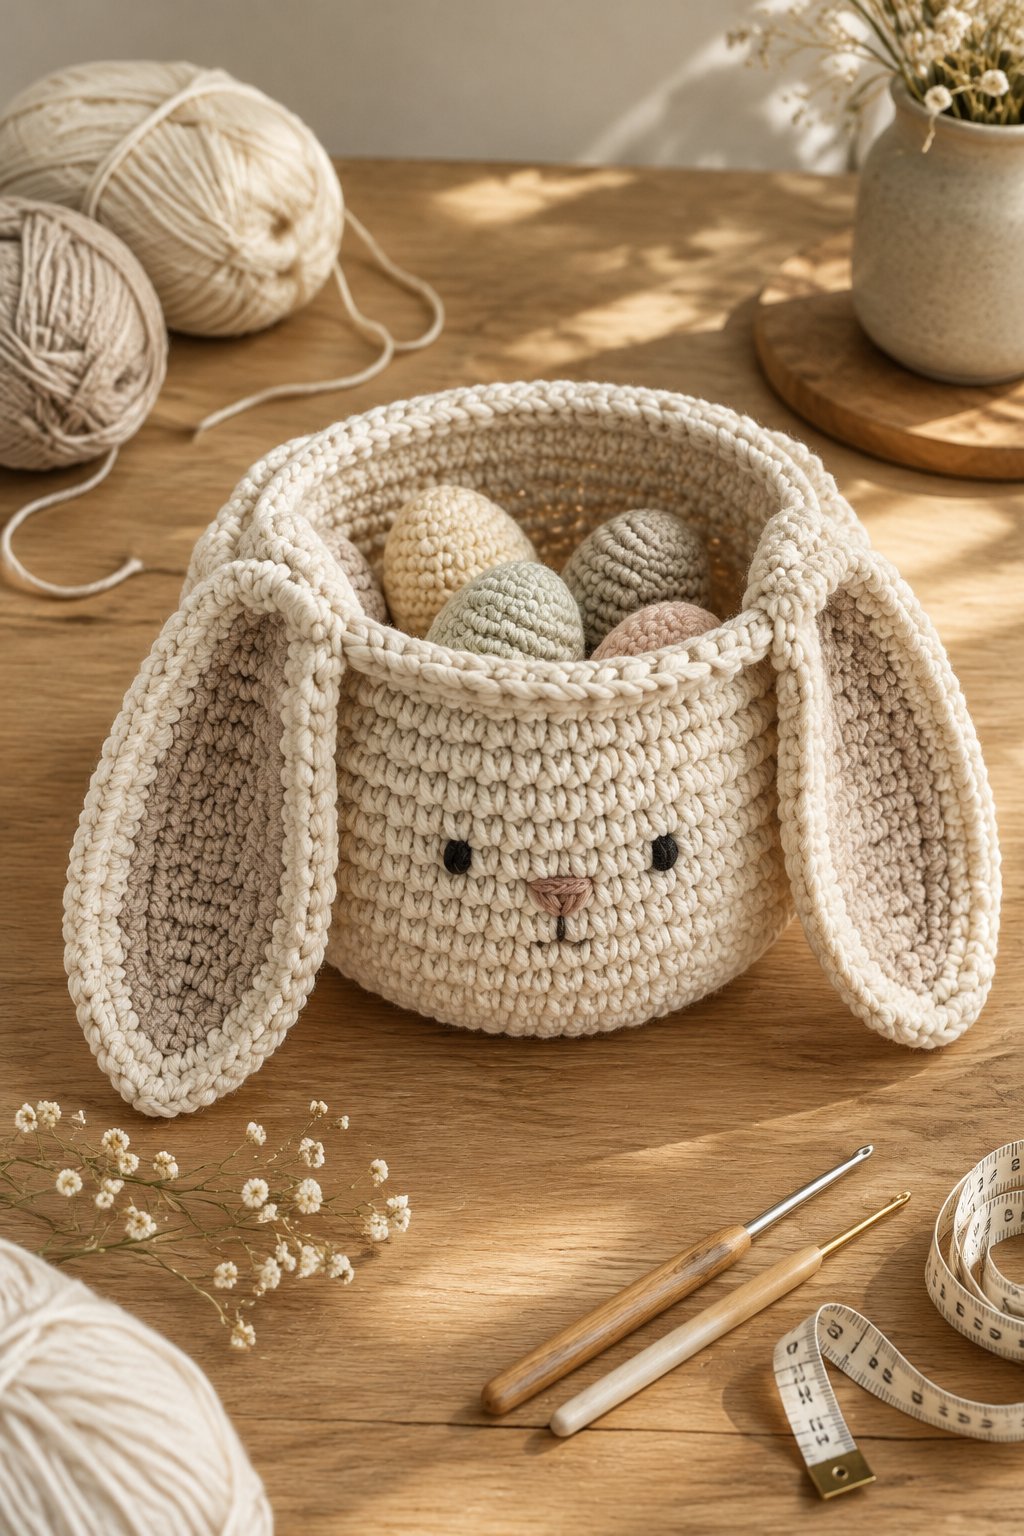
Your bunny basket combines a useful open container with long floppy ears and an embroidered face. Choose cream yarn with dusty pink ear centers for a soft look that works for spring gifts or year-round storage.
Use bulky cotton cord with a 6 mm hook, checking that your chosen pattern supports this yarn. Start with a flat circular base, then build firm single-crochet walls. A back-loop round at the base helps define the turn upward.
Treat this as an intermediate project because stiff fabric takes steady tension. Make both ears before attaching them so you can compare their lengths. Sew each ear across a wide base to reduce pulling at the rim. Fill your basket with yarn scraps or wrapped treats, keeping heavy contents low to help it stand upright.
|
Detail |
Specification |
|---|---|
|
Yarn Weight |
Bulky cotton cord, #5 |
|
Skill Level |
Intermediate |
|
Estimated Time |
4–6 hours |
How to Choose Your Next Crochet Project
Choose your next project by matching its main technique to something you already know, then allowing room for one new skill. You’ll have a clearer starting point when you check the pattern’s construction before buying yarn.
Which Projects Match Your Current Stitch Skills?
Start with bow clips if you’re practicing rows, or choose flower coasters when you’re ready for flat rounds. A small bee introduces stuffed shaping once you know how to increase and decrease.
Move toward the daisy pouch or crossbody bag when you feel comfortable joining pieces. For colorwork practice, choose the gingham scrunchie and work a small sample first. Read the full pattern to identify unfamiliar steps before starting the finished piece.
What Can You Make With Leftover Yarn?
Use small cotton leftovers for strawberry seeds, flower centers, or embroidered faces. For a larger scrap, choose a complete bow or one coaster so you have fewer ends to secure.
Match yarn weight and fiber within pieces that need consistent sizing. Weigh your leftovers and compare them with the pattern’s listed yardage or weight. If your supply is limited, reserve the main body color first and use contrast scraps for small details.
How Much Time Should You Allow for Assembly?
Reserve roughly a quarter of your project session for finishing when you’re planning a gift. Use the listed times as planning estimates for the suggested sizes; your pace and chosen pattern will change them.
Budget extra time for the tulip bouquet and cloud hanging because their small parts need arranging. Pin pieces in position before sewing, then leave time to weave in ends and check every attachment. Block flat pieces early enough for them to dry fully before gifting.
Yarn, Hook, and Finishing Essentials
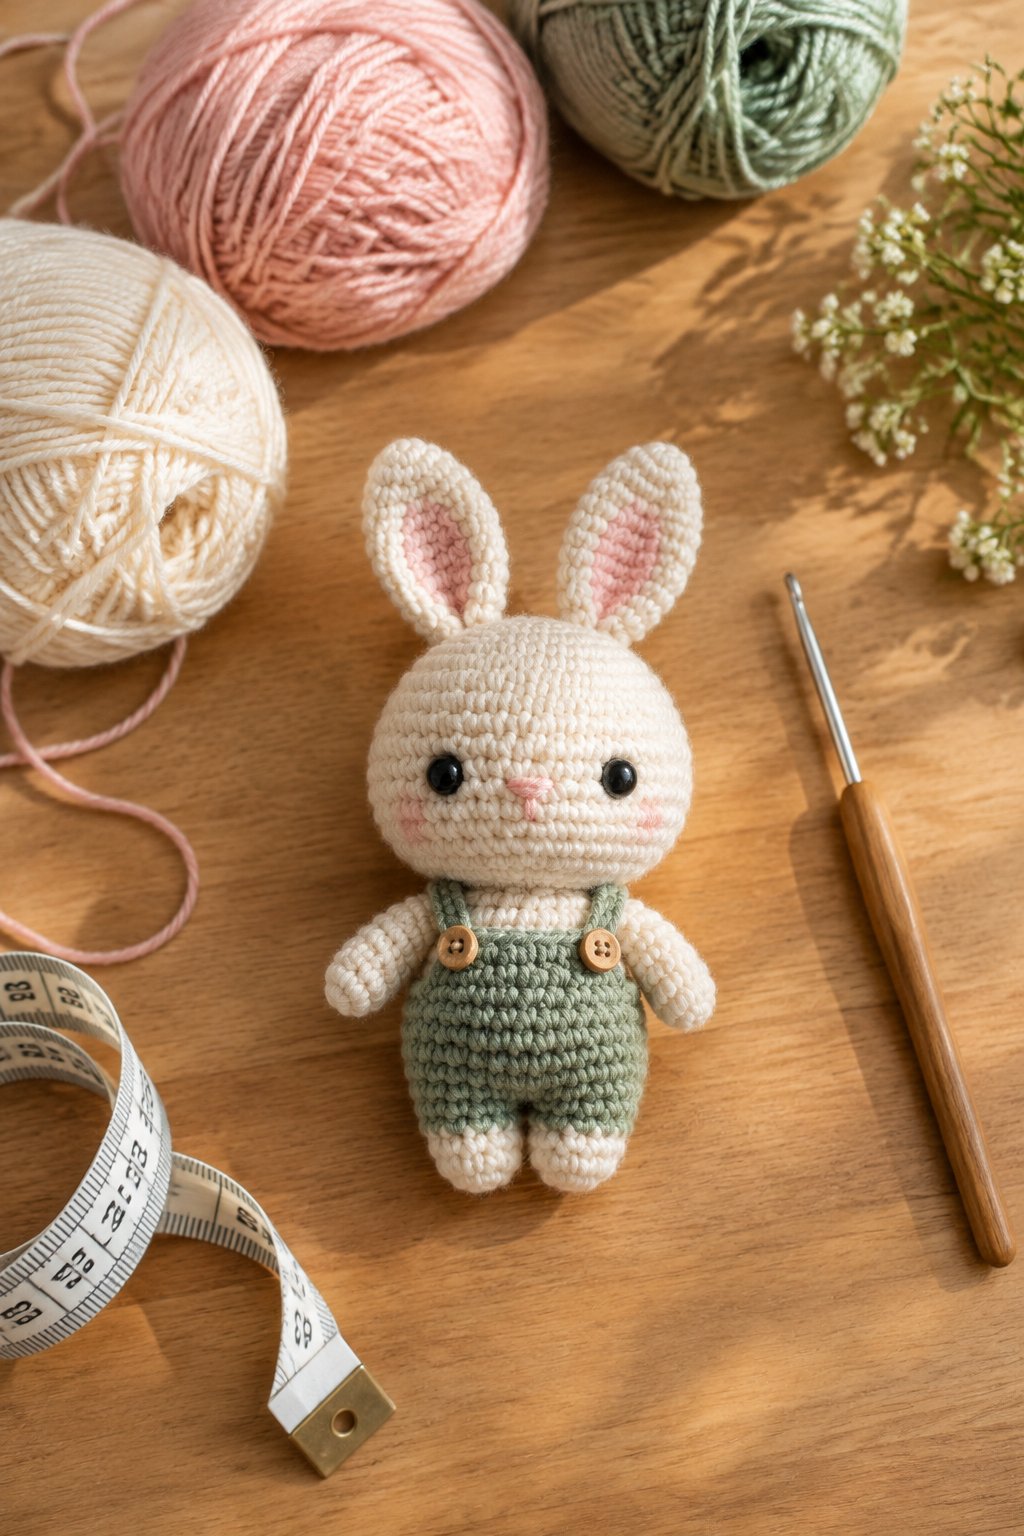
Match your yarn and hook to the finished item’s job, then use secure finishing to keep its shape and details intact. Treat the hook sizes above as starting points, with your chosen pattern’s gauge and construction guiding the final choice.
When Should You Choose Cotton, Worsted Acrylic, or Chunky Yarn?
Choose cotton for coasters and accessories that need clear stitches and regular washing. Remember that cotton describes the fiber, while worsted and chunky describe thickness.
Use worsted acrylic for lightweight decorative figures with easy-to-see stitches. Pick chunky yarn when you want a larger, plush result, and check the finished dimensions before switching weights. Follow the yarn label’s care instructions, especially when your project combines different fibers.
How Do You Match Hook Size to the Pattern and Fabric?
Start with the pattern’s recommended hook and make its gauge sample when size affects fit. Check lip balm sleeves and mug cozies against the objects they will hold as you work.
For stuffed figures, look for firm fabric with no visible stuffing between stitches. If gaps remain, try a smaller hook and check again. Keep your stitches loose enough to work comfortably without forcing the hook through each loop.
What Should You Check Before Following a Free Pattern?
Read the materials list and full instructions before you begin. Confirm whether you’re using US or UK crochet terms, since the same stitch names describe different stitches.
Check finished measurements, yarn quantity, and assembly directions. Look for stitch counts at the end of rounds so you can catch errors early. For fitted accessories, choose instructions with a clear sizing method, and check for corrections posted by the designer.
When Are Embroidered Features Safer Than Plastic Eyes?
Choose embroidered features for projects intended for children under three or anyone who mouths toys. Plastic “safety eyes” are small components that present a choking risk if they come loose.
Keep embroidery stitches short and secure the ends inside the work before closing it. Check wings, ears, and hanging loops with a firm pull during finishing. Keep keyrings and detachable charms on adult accessories, and leave handmade plush items out of infant sleep spaces.