Start with small, flat crochet projects that help you practice basic stitches while making something cute and useful. Your next crochet tutorial for beginners feels more rewarding when you love the finished colors, cozy texture, and handmade details enough to save the idea for later.
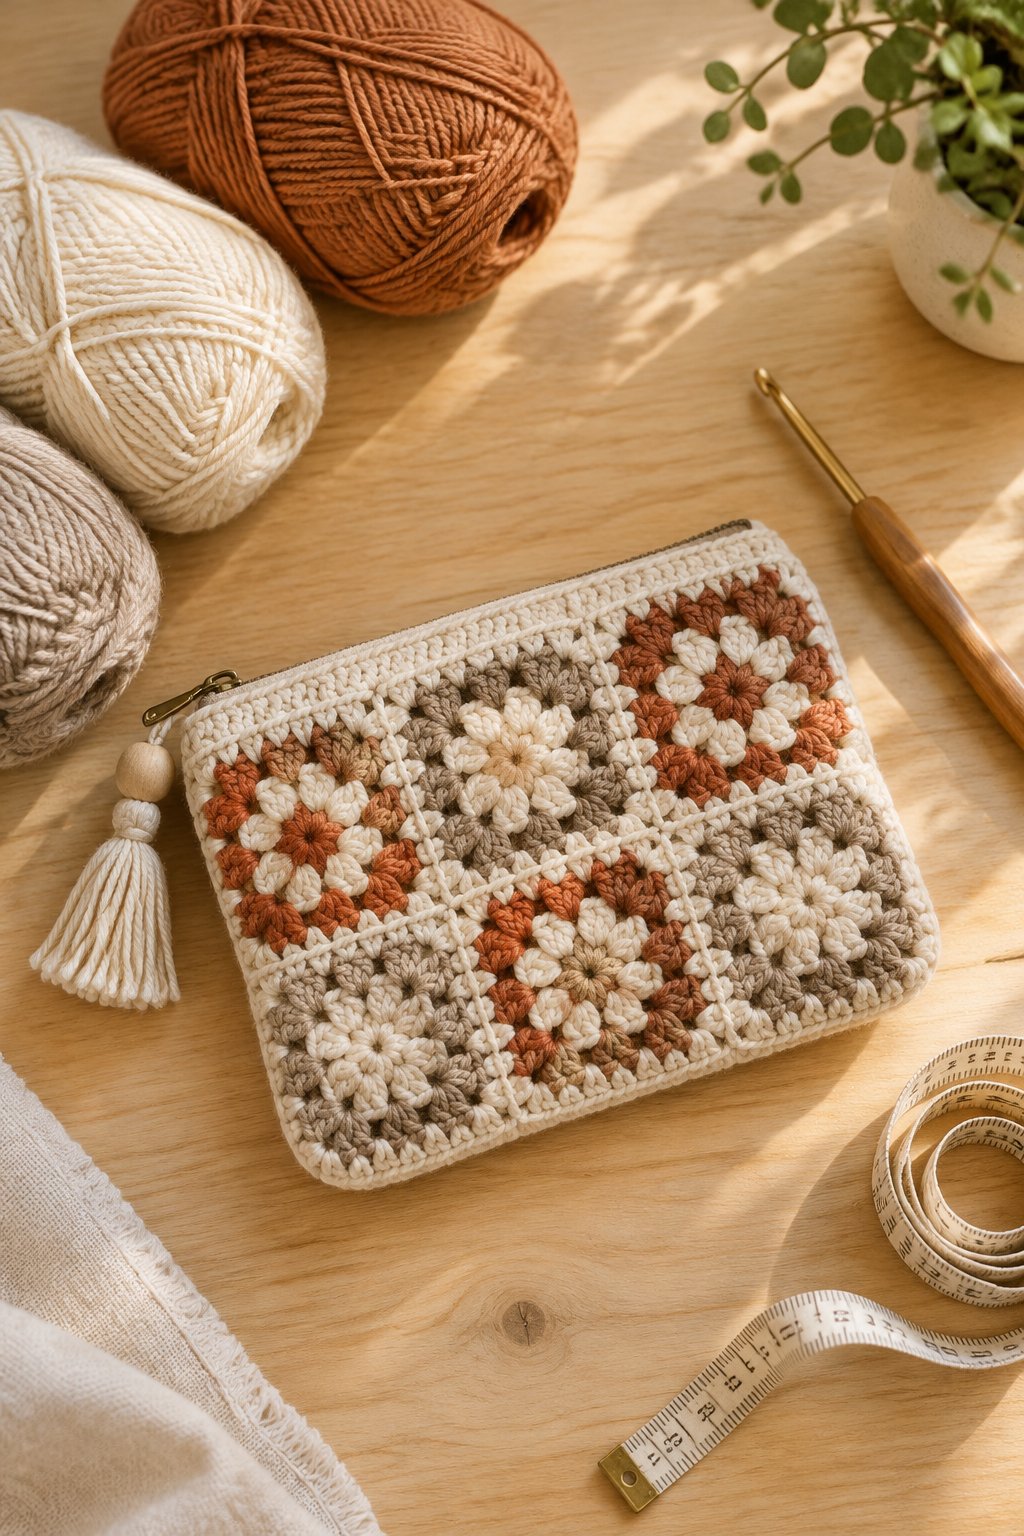
You’ll find plenty of room for your own style through soft pastels, bold borders, or playful stripes. Choose a manageable size for your first make, and give yourself time to practice each new stitch before working the full piece.
1) Single Crochet Cotton Coasters With Contrast Borders
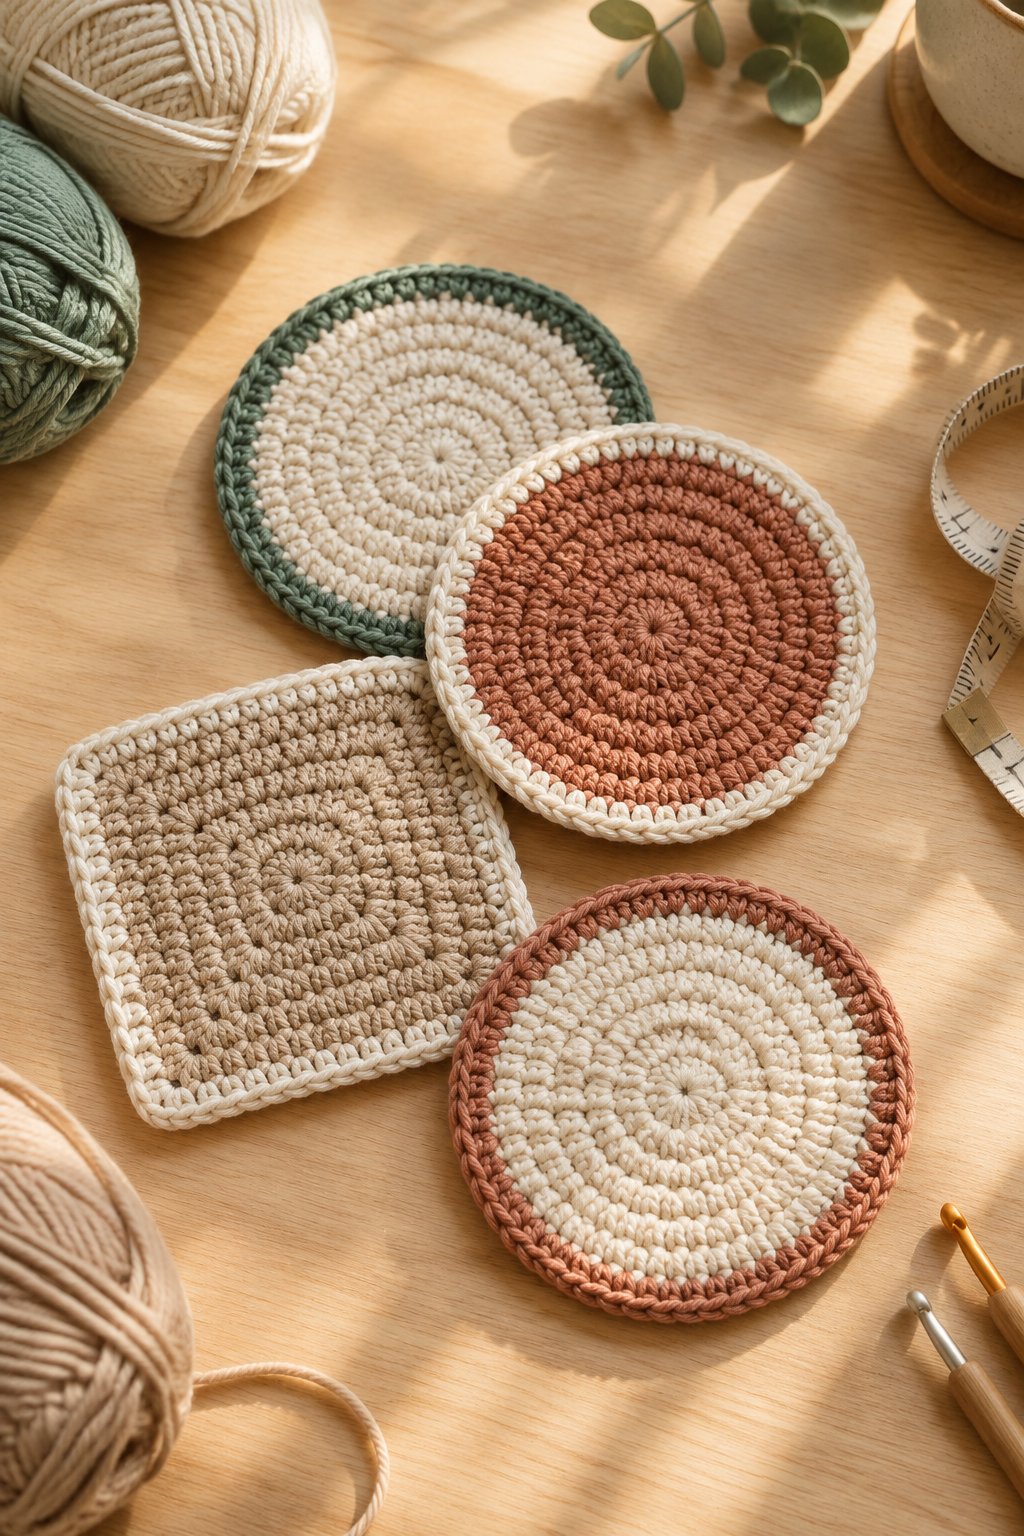
You’ll get useful stitch practice from square cotton coasters with a crisp contrast border. Try cream centers edged in rust for a warm look, or pair pale blue with navy. A finished width of about 4 inches gives your mug a comfortable landing spot while keeping your first project manageable.
Choose worsted-weight cotton and begin with a 4–5 mm hook. Make a foundation chain slightly wider than your target size, then work single crochet rows until your piece is square. Single crochet is abbreviated sc in US patterns.
For your border, join the second color and work around all four sides, adding extra stitches at each corner so the fabric stays flat. Weave your ends through several stitches before trimming. You’ll have an easy beginner gift when you tie four matching coasters together.
|
Detail |
Specification |
|---|---|
|
Yarn Weight |
Worsted, #4 cotton |
|
Skill Level |
Beginner |
|
Estimated Time |
1–2 hours each |
2) Textured Cotton Dishcloth With a Hanging Loop

A textured dishcloth gives you a practical way to learn an easy repeating stitch pattern. Choose sage green, oatmeal, or butter yellow for a soft kitchen palette. Aim for an approximately 8-inch square so you have enough fabric for wiping counters without creating a bulky cloth.
Use worsted-weight cotton with a 4.5–5 mm hook, adjusting your hook if the fabric feels stiff. Alternate single crochet and double crochet across each row, following a beginner pattern that explains how to keep the texture aligned. Your raised stitches create a gently pebbled surface.
Add a hanging loop by chaining from one corner and securing the chain back into the same corner. Check that your loop fits your kitchen hook before fastening off. Wash and dry your finished cloth according to the yarn label before gifting.
|
Detail |
Specification |
|---|---|
|
Yarn Weight |
Worsted, #4 cotton |
|
Skill Level |
Beginner |
|
Estimated Time |
2–4 hours |
3) Slim Crochet Bookmark With a Tassel
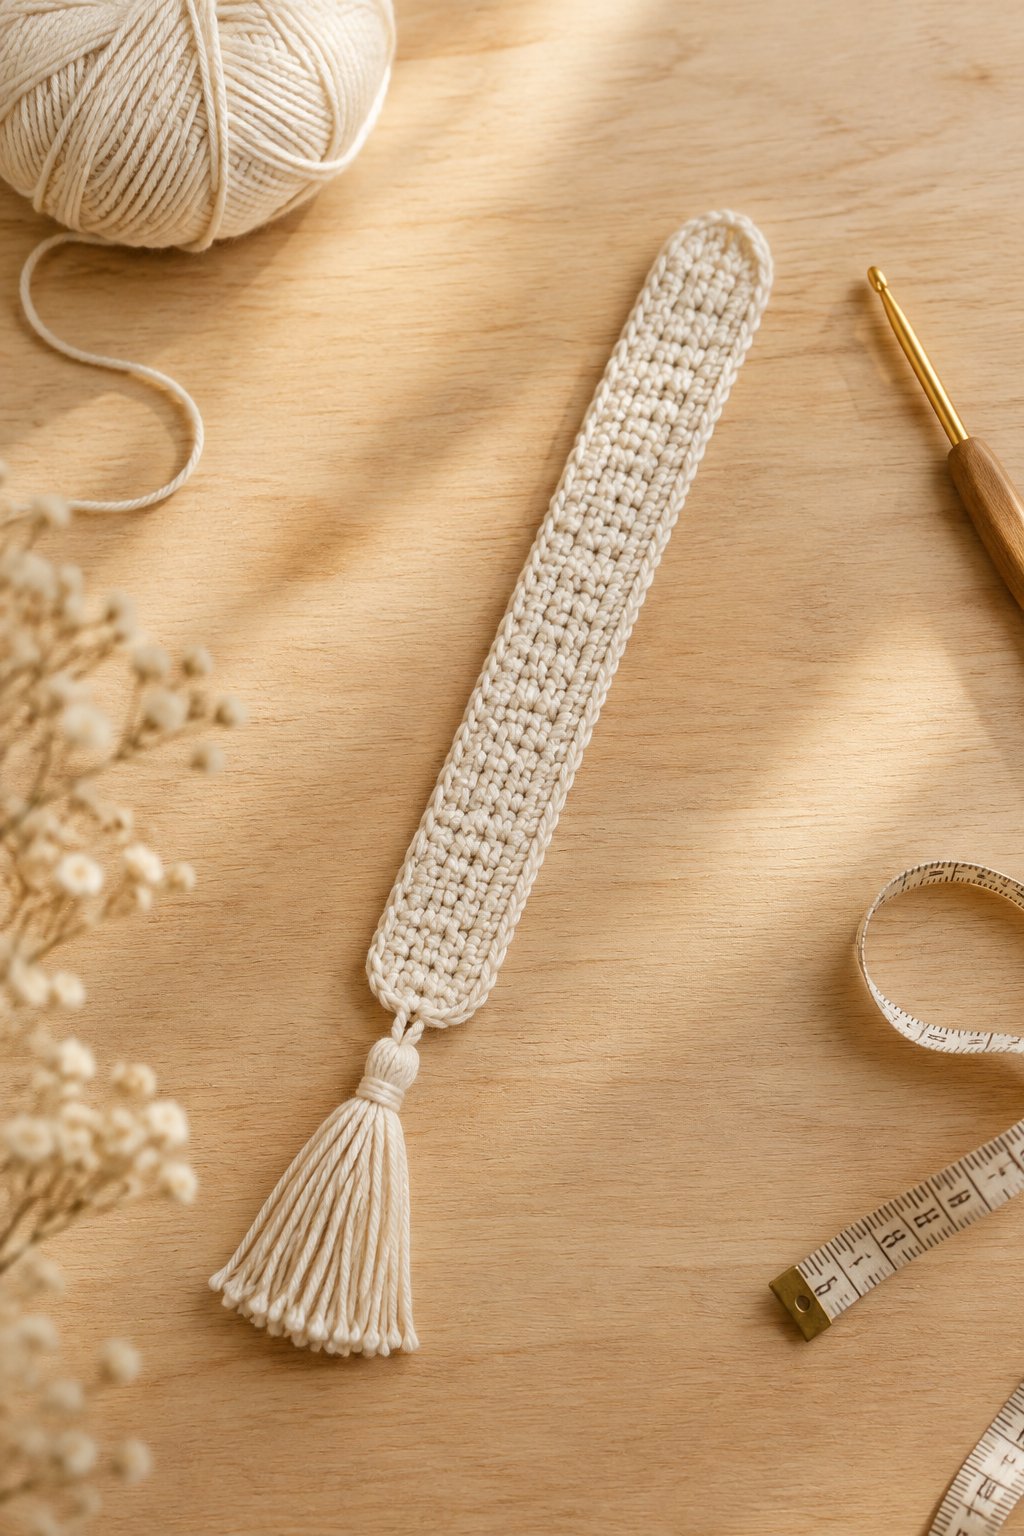
Your bookmark stays neat between pages when you keep the crochet narrow and lightweight. A cream strip with a dusty rose tassel has a soft vintage feel, while emerald or burgundy adds richer color. Make your strip about 1 inch wide and size its length to your favorite book.
Choose fingering-weight cotton and a 2.5–3.25 mm hook for thin, clear stitches. Work short rows of single crochet, checking your width after the first few rows. You’ll practice turning without committing to a large project, making this a friendly beginner option.
For the tassel, fold several equal yarn strands through one end and secure them with a wrapping strand. Keep the tassel outside the pages to reduce bulk. Lightly dampen and shape your bookmark, then let it dry flat before slipping it into a gift book.
|
Detail |
Specification |
|---|---|
|
Yarn Weight |
Fingering, #1 cotton |
|
Skill Level |
Beginner |
|
Estimated Time |
1–2 hours |
4) Twisted Ear Warmer Worked as a Simple Rectangle

You create the twist in this ear warmer through a folded seam after crocheting one rectangle. Muted plum, camel, or charcoal gives the gathered front a cozy look. Choose a width around 4 inches for comfortable ear coverage, then adjust it to your preference.
Use soft worsted-weight acrylic or a wool blend with a 5–5.5 mm hook. Half double crochet worked through the back loop creates flexible ridges. Measure around your head where you’ll wear the band, and check your rectangle’s fit with a gentle stretch before finishing.
For the twist, fold each short end into a U shape and interlock the folds. Sew through all four layers, then turn the seam inward. You’ll want a beginner tutorial with clear photos for this finishing step, especially when checking the folded layers before stitching.
|
Detail |
Specification |
|---|---|
|
Yarn Weight |
Worsted, #4 |
|
Skill Level |
Easy |
|
Estimated Time |
2–4 hours |
5) Button-Closure Mug Cozy With Ribbed Texture
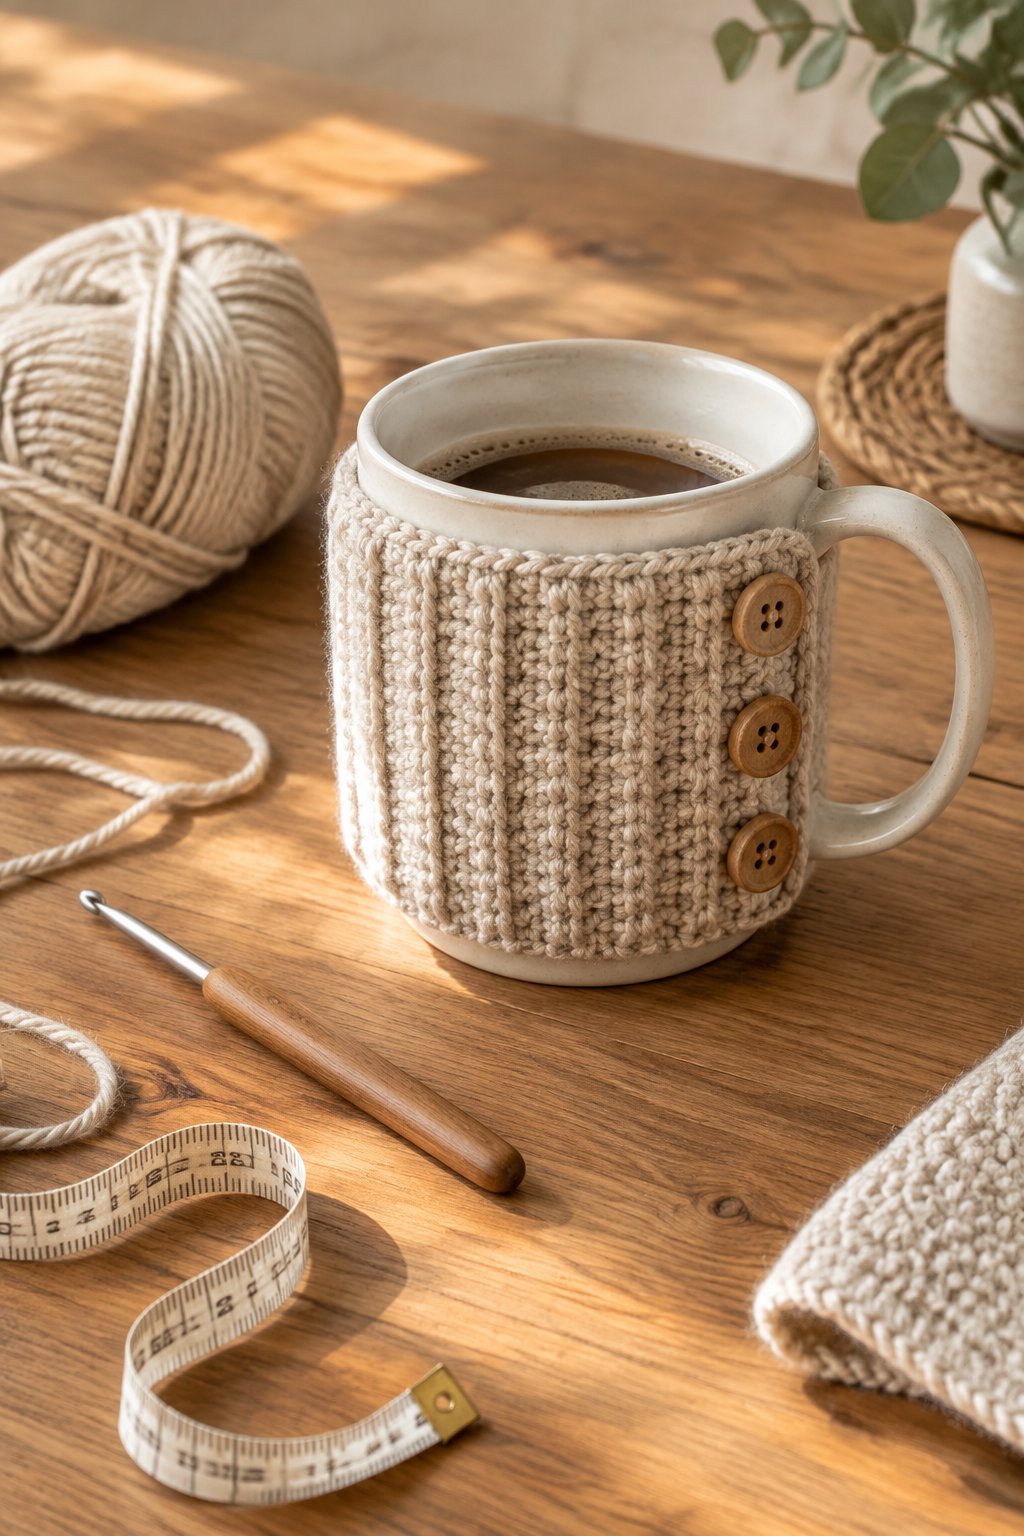
A buttoned mug cozy lets you practice ribbing on a small rectangle with an adjustable closure. Choose cinnamon cotton with a wooden button for a warm café look. Keep your cozy below the drinking rim, with its ends meeting near the handle so you have space to grip your mug.
Start with worsted-weight cotton and a 4–4.5 mm hook. Work single crochet through the back loop to form narrow ribs, measuring the fabric around your mug as you go. Your finished rectangle should sit snugly without stretching enough to pull the stitches open.
Add a chain loop at one end, then sew your button securely to the other. Test the closure before weaving in the last ends. You’ll get a useful beginner gift when you pair your finished cozy with a mug and tea.
|
Detail |
Specification |
|---|---|
|
Yarn Weight |
Worsted, #4 cotton |
|
Skill Level |
Beginner |
|
Estimated Time |
1–2 hours |
6) Ruffled Crochet Scrunchie Around a Hair Elastic
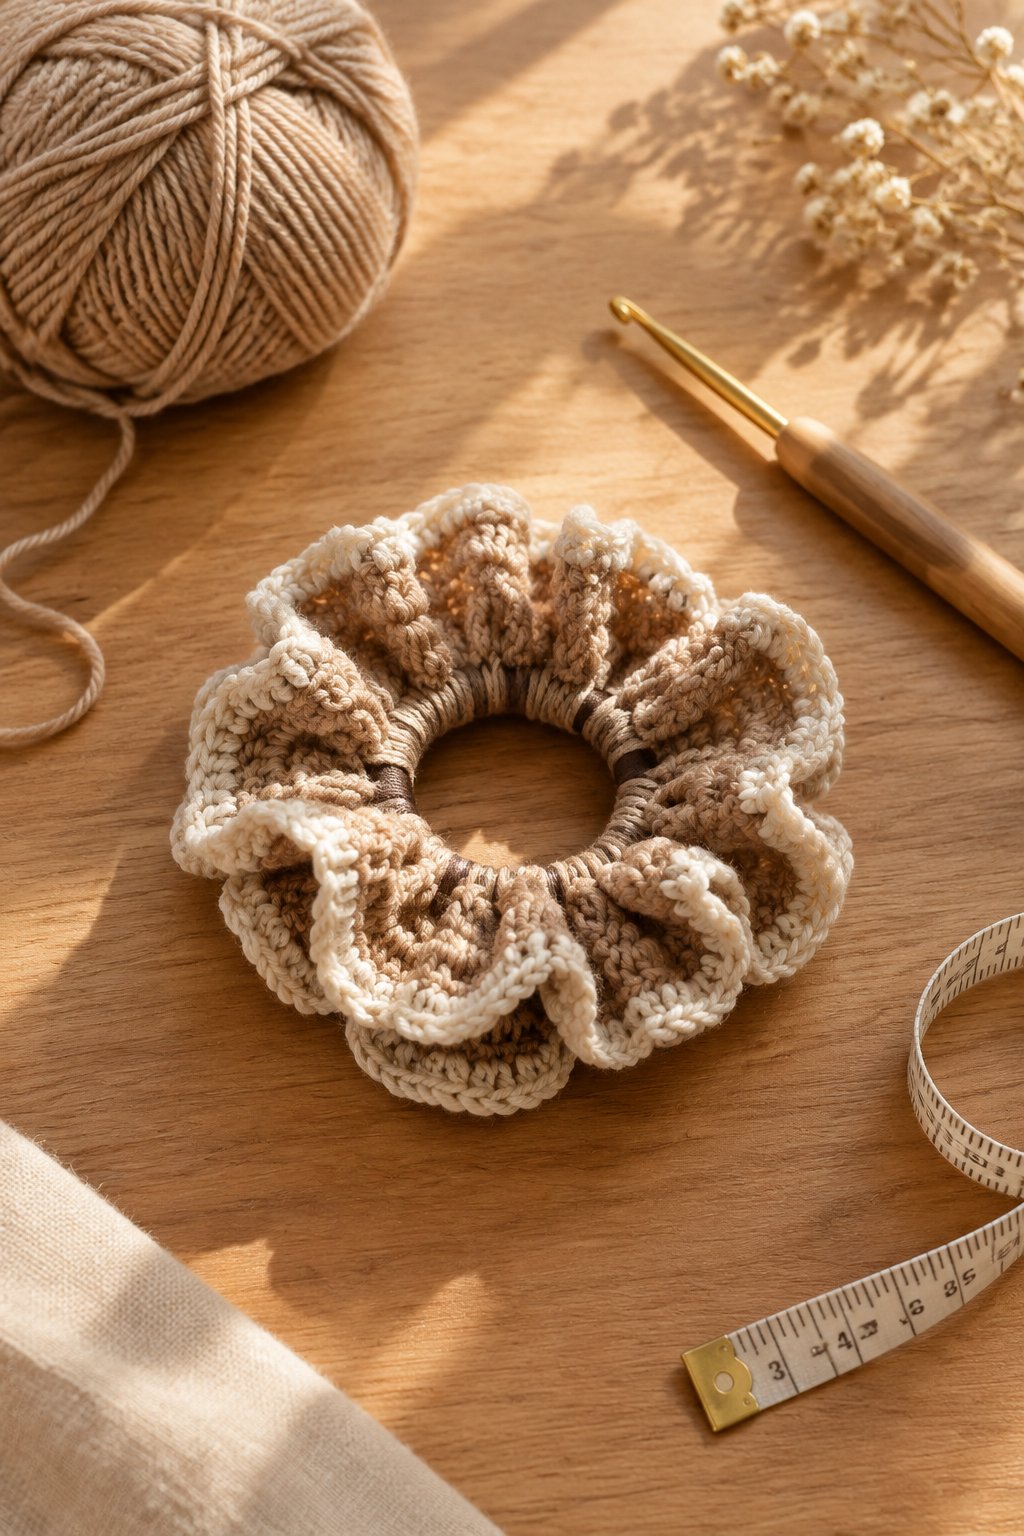
You build a full, ruffled scrunchie by placing extra stitches around a covered hair elastic. Lavender, peach, or a bright cherry shade makes the gathered edge playful. Choose a smooth yarn if you want the folds to show clearly and your stitches to stay easy to see.
Try DK-weight cotton or a soft acrylic blend with a 4 mm hook. Begin by working single crochet around the elastic, sliding the stitches together until you cover it evenly. Keep the elastic relaxed while checking coverage, then test that it still stretches comfortably.
Work a second round with several double crochet stitches in each base stitch, following your chosen pattern’s increase rate. More increases give you fuller ruffles. Secure and bury your ends carefully, since you’ll stretch the fabric each time you put your hair up.
|
Detail |
Specification |
|---|---|
|
Yarn Weight |
DK, #3 |
|
Skill Level |
Beginner |
|
Estimated Time |
1–2 hours |
7) Striped Phone Sleeve With a Fold-Over Flap

Your phone sleeve becomes an easy custom-fit project when you measure your phone with its case attached. Try cream and denim stripes for a casual look, or alternate two bright colors. A fold-over flap gives the rectangular pouch a tidy finish and helps keep your phone inside.
Choose DK-weight cotton and a 3.5–4 mm hook for a firm fabric. Crochet one long single crochet rectangle wide enough to wrap around your phone with room for side seams. Change colors at row ends, leaving tails long enough to weave securely into matching stripes.
Fold the lower portion upward and seam both sides, leaving the extra length free for your flap. Check the fit before closing the second seam. You’ll have light scratch protection for carrying your phone inside a bag; use your regular case for impact protection.
|
Detail |
Specification |
|---|---|
|
Yarn Weight |
DK, #3 cotton |
|
Skill Level |
Easy |
|
Estimated Time |
3–5 hours |
8) Oversized Granny Square Cotton Trivet
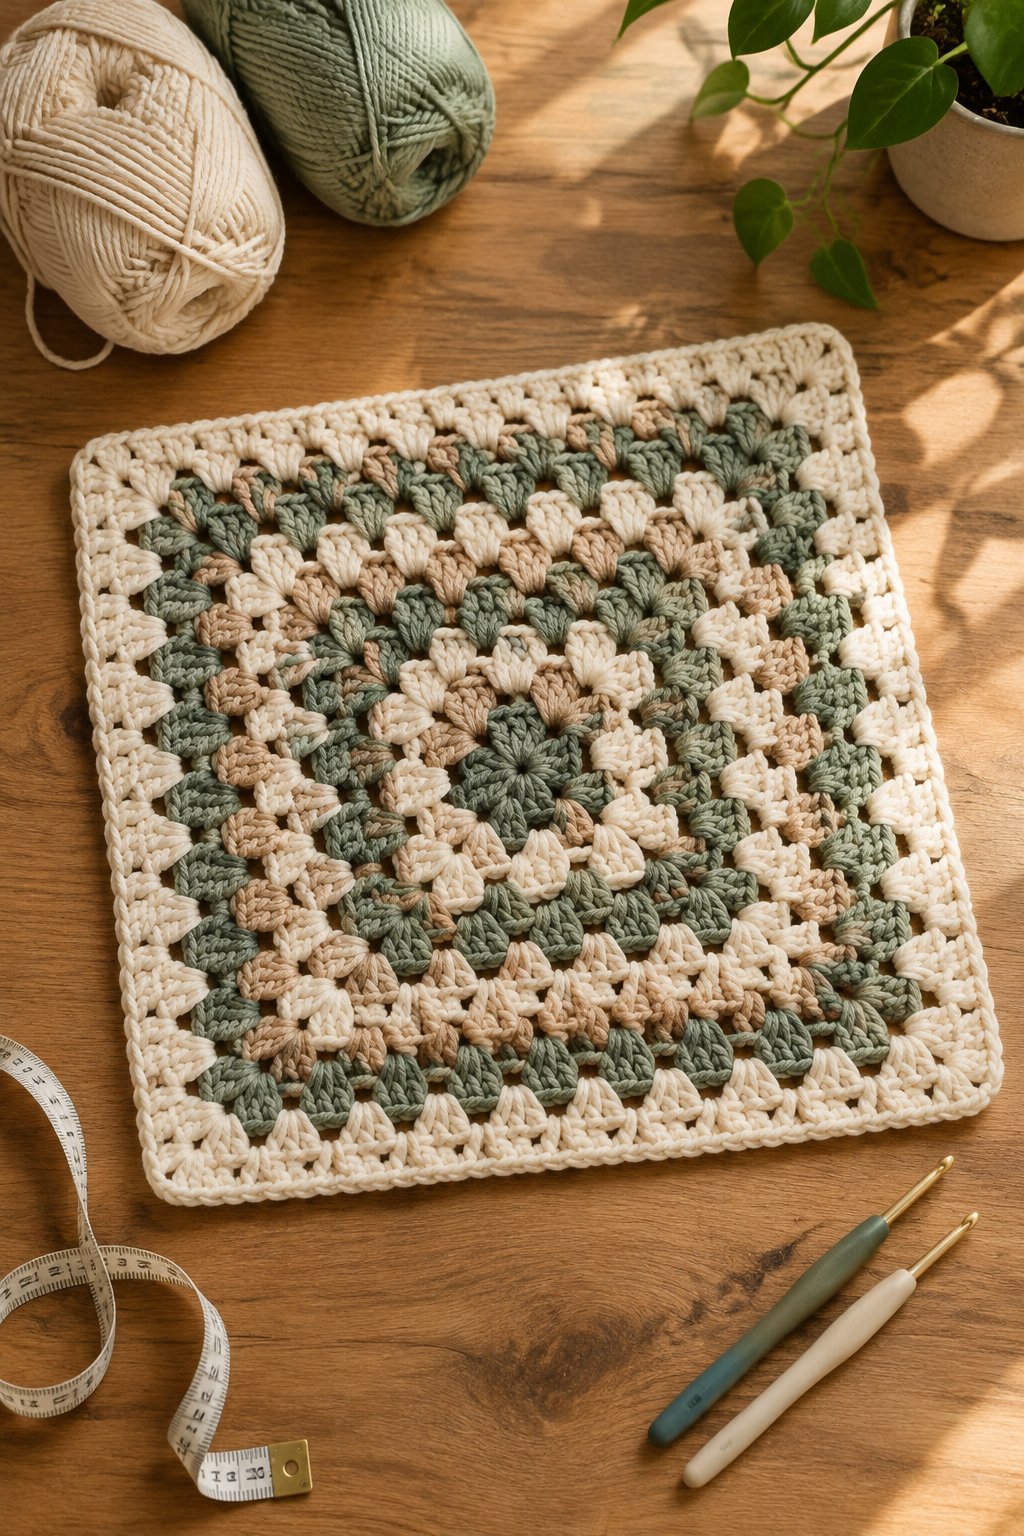
An oversized granny square gives you a cheerful table mat while introducing crochet worked in rounds. Try a mustard center surrounded by cream and forest green, keeping the square shape clear with a solid border. You’ll get a generous surface for a teapot or a warm serving bowl.
Use worsted-weight 100% cotton and a 4.5–5 mm hook. Follow a classic granny square pattern with groups of three double crochet stitches and chain spaces at the corners. Mark your starting corner so you recognize where each round ends.
For extra thickness, crochet two matching squares and join their edges with single crochet. Keep your stitches even so both layers lie flat. Treat your finished piece as protection for warm dishes, and use a purpose-made heat-resistant trivet under cookware coming directly from the stove or oven.
|
Detail |
Specification |
|---|---|
|
Yarn Weight |
Worsted, #4 cotton |
|
Skill Level |
Easy |
|
Estimated Time |
3–5 hours |
9) Chunky Catchall Basket With a Folded Rim
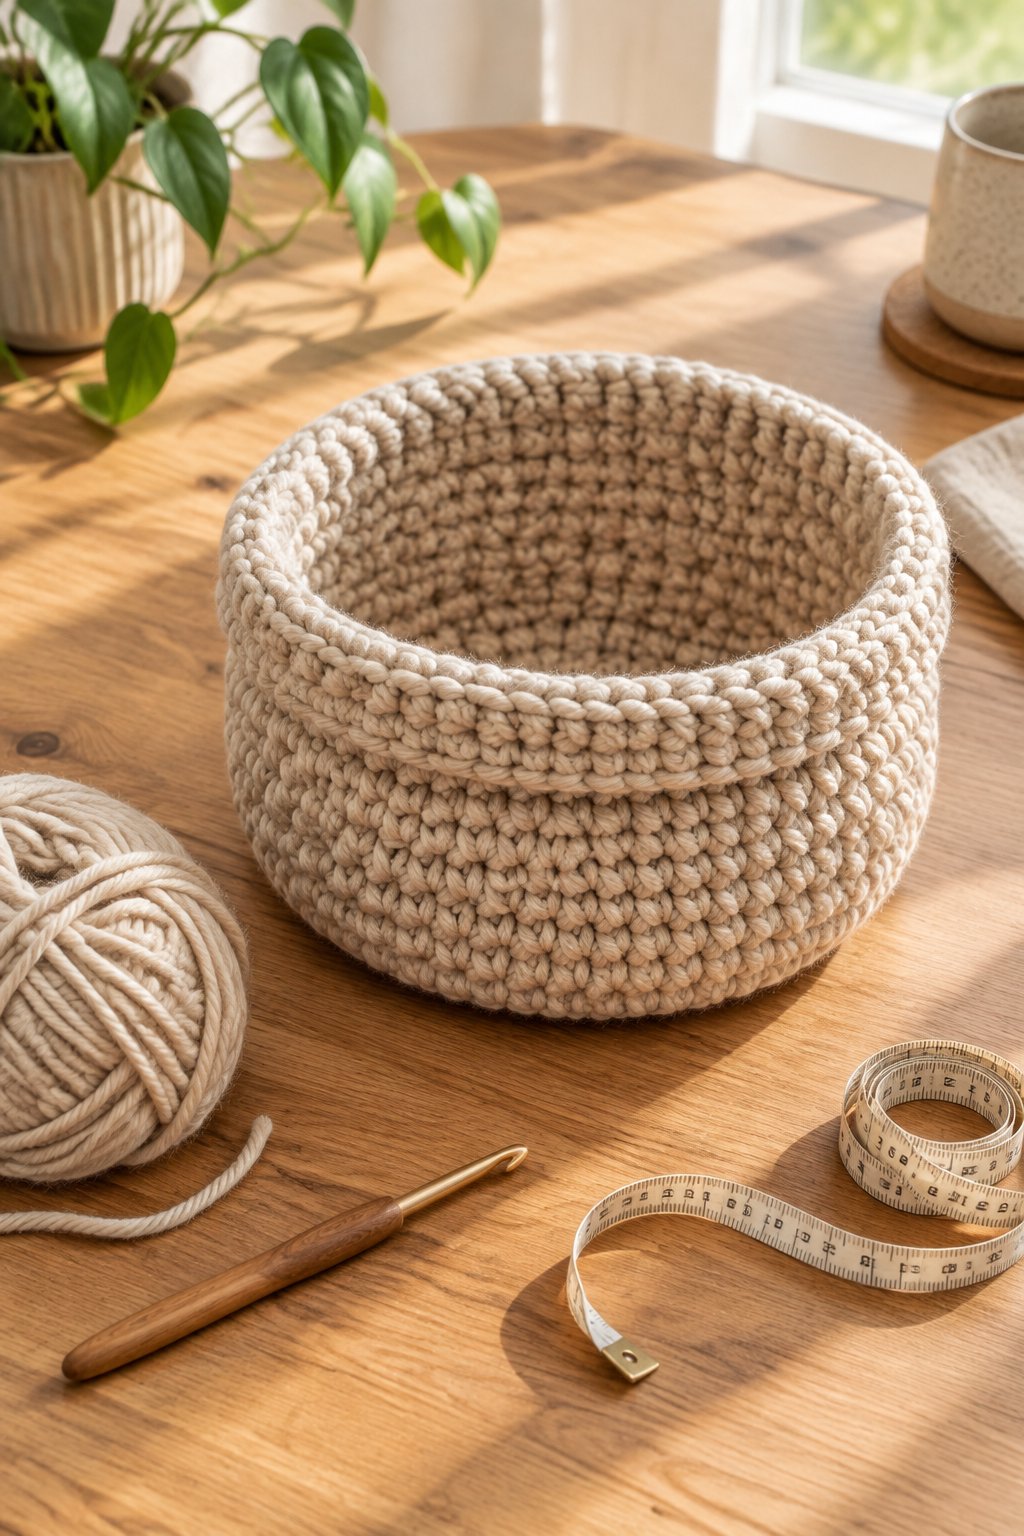
You’ll get a sturdy little organizer from a basket worked with dense stitches and a folded rim. Natural cream or warm gray highlights its rounded shape and chunky texture. Keep your first basket small enough for stitch markers or hair accessories so you finish the base without losing track of increases.
Choose super bulky cotton cord or firm basket yarn, starting with a 6–8 mm hook. Use the yarn label as a guide, then check that your single crochet fabric holds its shape. Your circular base needs evenly spaced increases and a marker in the first stitch.
Once the base reaches your chosen width, work even rounds to build the walls. Add enough height to turn the top edge outward. Follow an easy shaping tutorial, and count every round before moving your marker to its next position.
|
Detail |
Specification |
|---|---|
|
Yarn Weight |
Super bulky, #6 |
|
Skill Level |
Easy |
|
Estimated Time |
3–5 hours |
10) Fingerless Mitts Made From Two Ribbed Rectangles

Two ribbed rectangles give you fingerless mitts with a thumb opening formed during seaming. Choose heather gray, cranberry, or moss green for an easy-to-wear pair. You’ll keep your fingers free for typing while adding a soft layer around your palms and wrists.
Work with soft worsted-weight yarn and a 4.5–5 mm hook. Single crochet through the back loop produces stretchy ribs, with your foundation chain setting the mitt’s length. Crochet enough rows to wrap comfortably around your hand, then record that row count for the second rectangle.
Fold each piece lengthwise and seam the side, leaving a gap where your thumb rests. Try on the first mitt before securing the seam ends. Match the second opening to the first, checking that both mitts slide over your knuckles without forcing the fabric to stretch sharply.
|
Detail |
Specification |
|---|---|
|
Yarn Weight |
Worsted, #4 |
|
Skill Level |
Easy |
|
Estimated Time |
4–6 hours per pair |
11) Color-Block Half Double Crochet Scarf
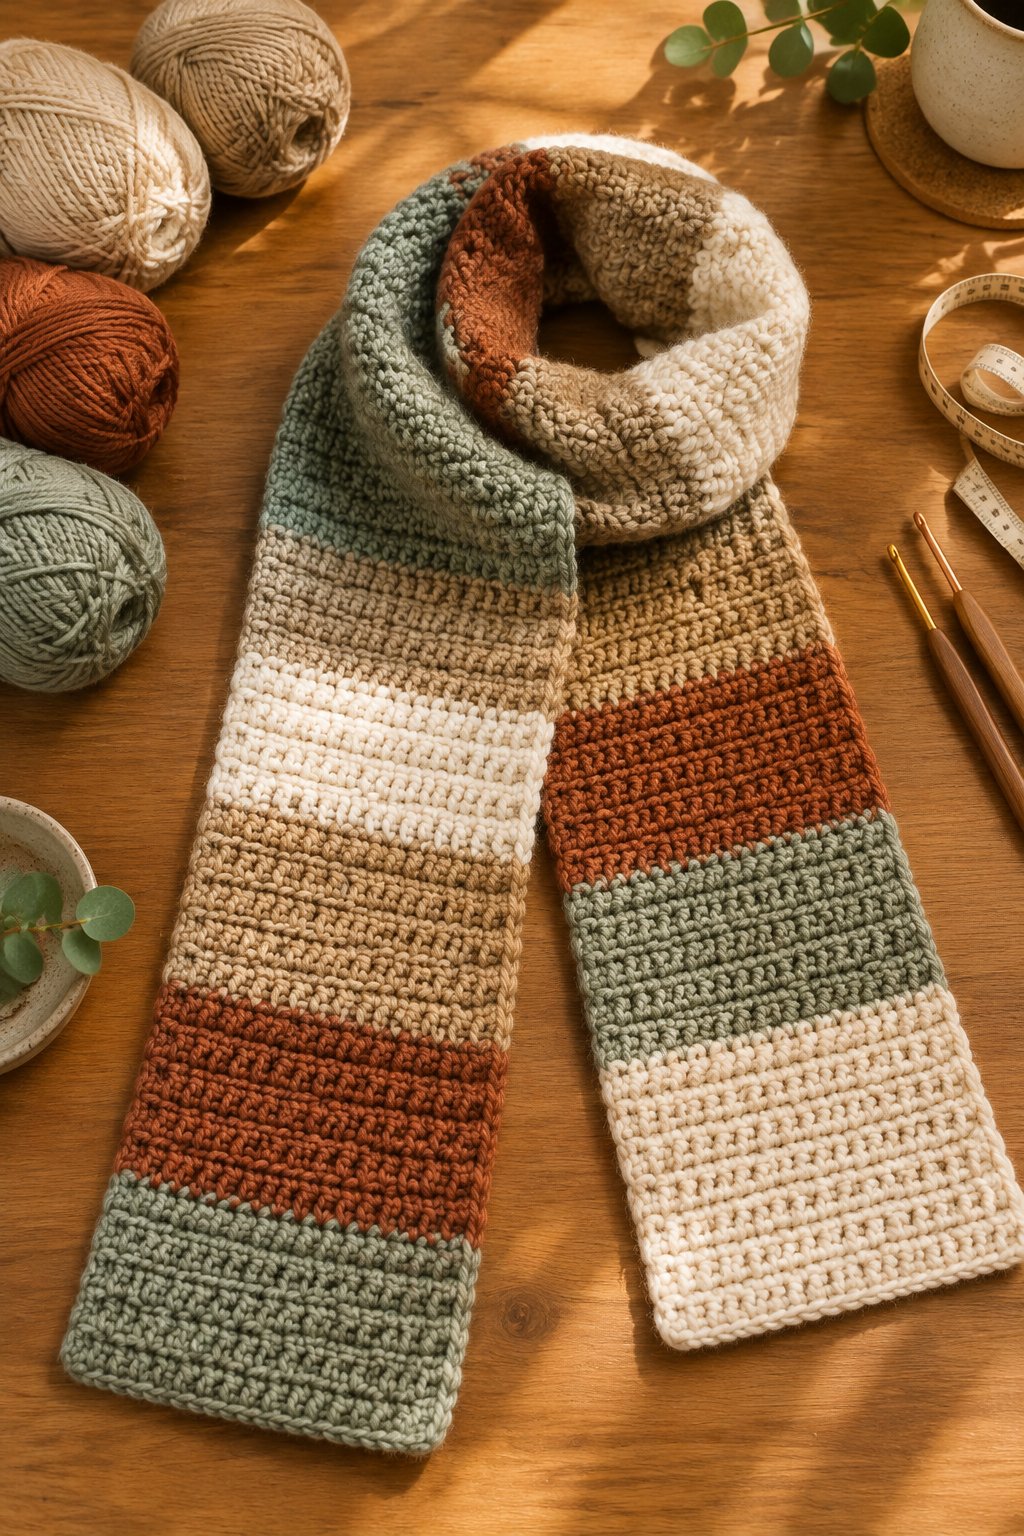
A color-block scarf gives you plenty of space to settle into the rhythm of half double crochet. Use wide sections of oatmeal and terracotta for a warm palette, adding a smaller dusty blue block if you want contrast. Your straight rectangle shows the color changes clearly without extra shaping.
Pick soft worsted-weight acrylic or a washable wool blend with a 5–6 mm hook. Make a small sample first to check that you like the drape. A width of roughly 6–8 inches makes a useful starting point, with length adjusted to your preferred wrap.
Change colors during the final yarn-over of the last stitch in a row for a cleaner transition. Keep the same stitch count throughout each block. You’ll practice consistent edges on this beginner project, so mark the first and last stitch of every row.
|
Detail |
Specification |
|---|---|
|
Yarn Weight |
Worsted, #4 |
|
Skill Level |
Beginner |
|
Estimated Time |
8–14 hours |
12) Two-Panel Crochet Tote With Sturdy Handles
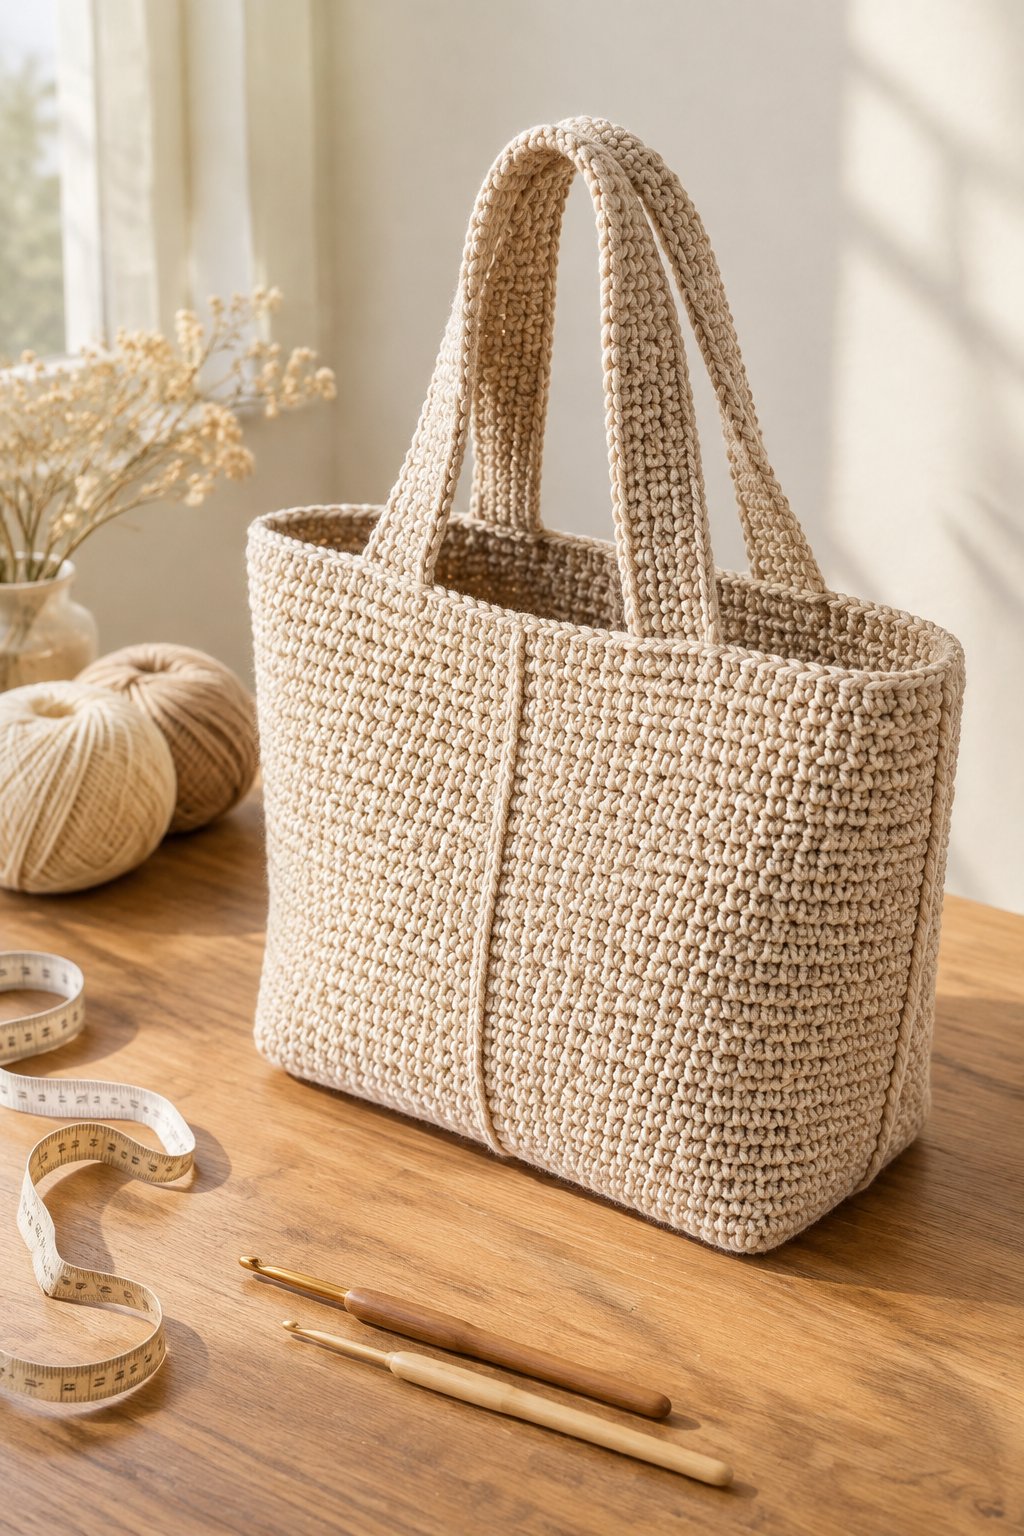
You make this tote from two matching panels, keeping the main construction approachable while practicing strong seams. Natural cotton with a navy lower block gives the bag a clean everyday look. Choose a modest size for your first version so you have fewer rows and a lighter finished bag.
Use worsted-weight cotton and a 4–4.5 mm hook for close single crochet stitches. Crochet two rectangles with identical stitch and row counts, then join their sides and bottom. Check that your seams feel firm before turning the bag right side out.
Make each handle as a broad crocheted strip and attach its ends across several rows of the panel. Reinforce each attachment with a securely sewn rectangle. This easy project suits light errands or carrying your crochet supplies; add a fabric lining when you want extra support.
|
Detail |
Specification |
|---|---|
|
Yarn Weight |
Worsted, #4 cotton |
|
Skill Level |
Easy |
|
Estimated Time |
10–16 hours |
13) Granny Square Cushion Cover With a Solid Back
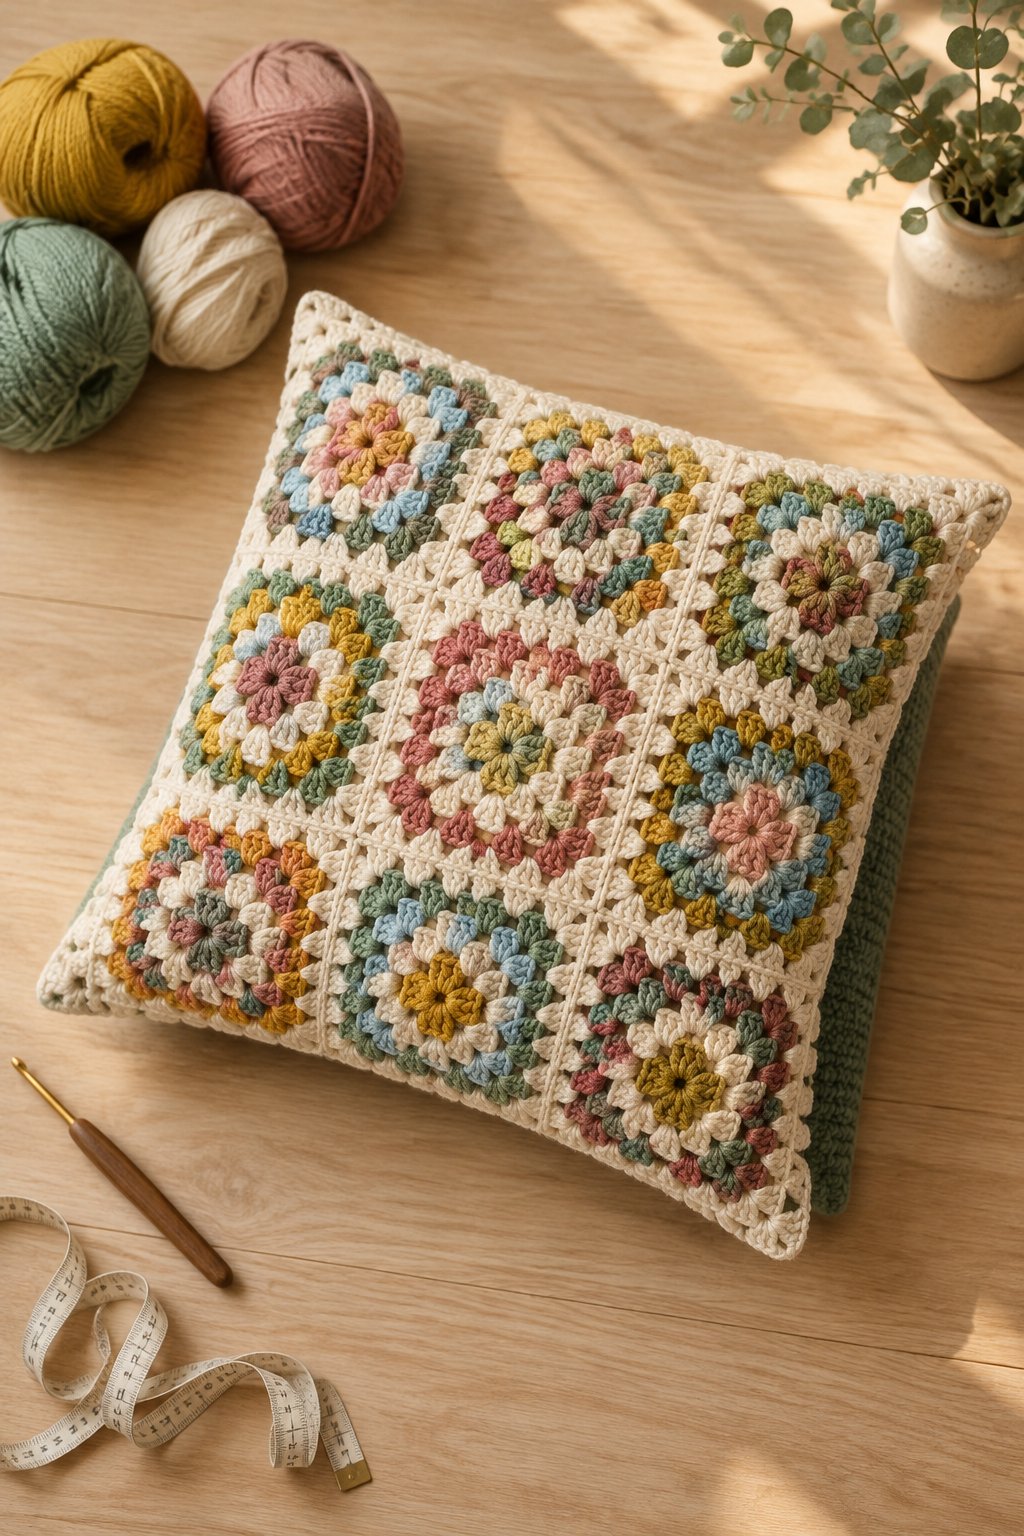
Your granny square cushion cover combines a colorful front with a calm, solid back. Try dusty pink and olive against cream for a soft vintage style. One large square keeps your joining work manageable while giving you plenty of practice with repeated rounds and even corners.
Choose washable worsted-weight acrylic or cotton with a 4.5–5.5 mm hook. Work your granny square to suit your cushion insert, then make a single crochet back panel to match its finished dimensions. Check both pieces flat before joining, since different stitch patterns produce different amounts of stretch.
Join three sides with single crochet or a sewn seam, and fit your insert before closing the fourth. For a removable cover, follow a pattern with a planned closure. You’ll find this an easy next step after making a smaller granny square successfully.
|
Detail |
Specification |
|---|---|
|
Yarn Weight |
Worsted, #4 |
|
Skill Level |
Easy |
|
Estimated Time |
10–18 hours |
14) Moss Stitch Baby Blanket With Pastel Stripes
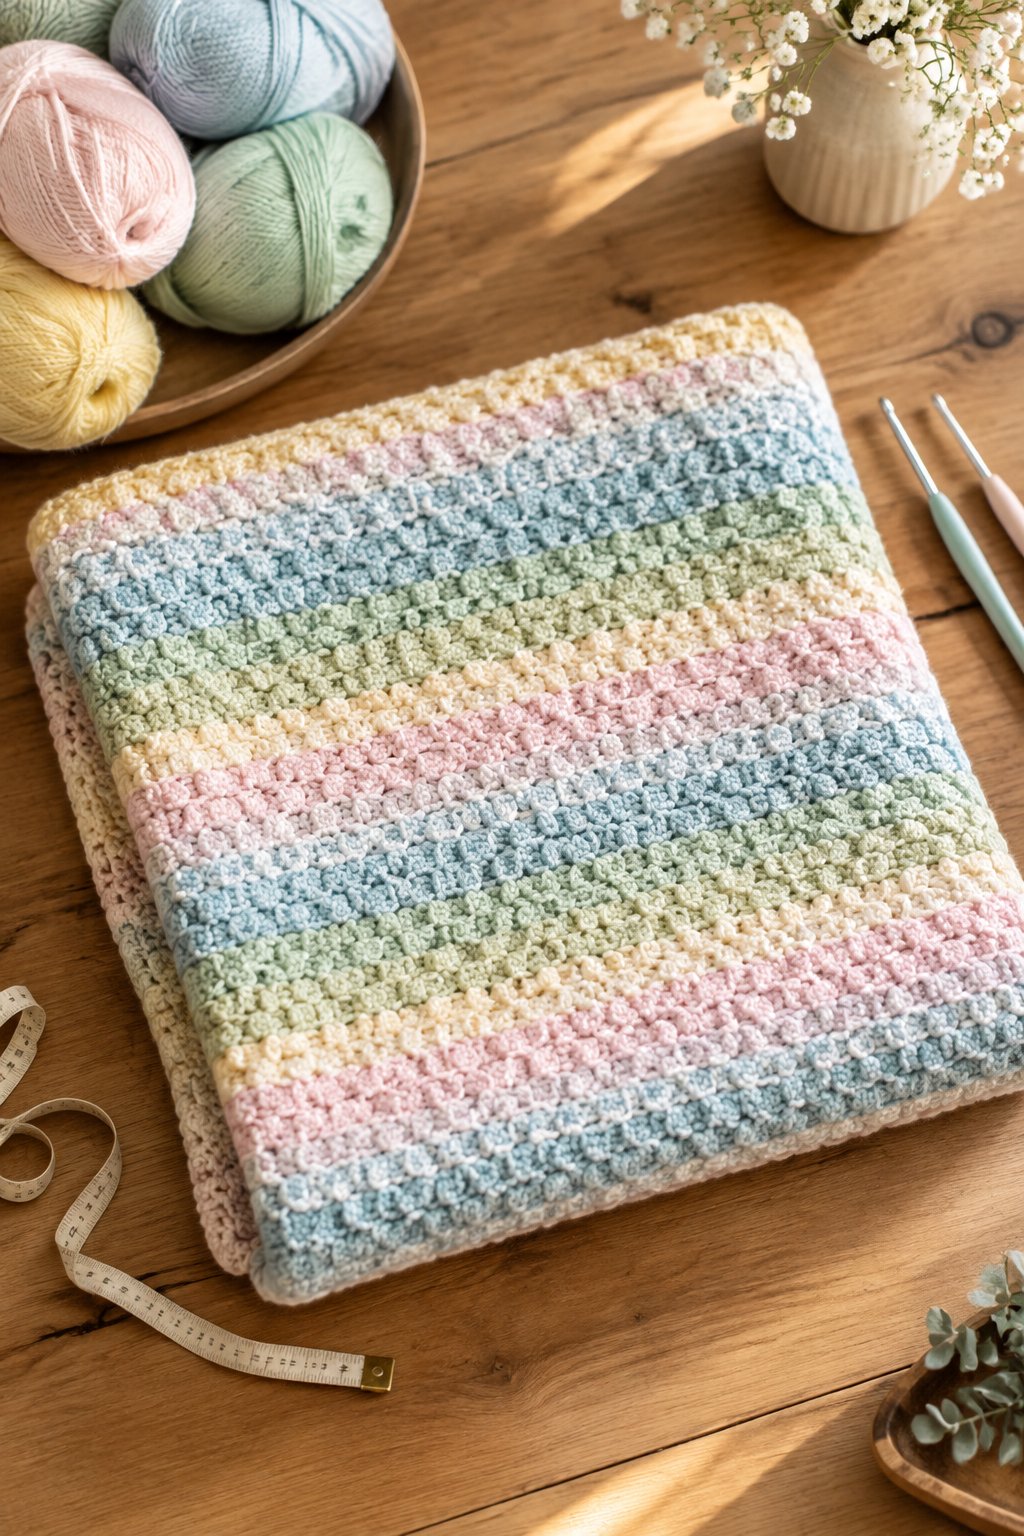
Moss stitch gives your striped baby blanket a soft, lightly woven texture with a short repeat. Combine pale peach and mint with cream for gentle color changes. Start with a stroller-size rectangle around 28 by 34 inches if you want a smaller commitment than a full-size throw.
Use smooth, machine-washable DK yarn and a 4–4.5 mm hook. Follow a moss stitch pattern that alternates single crochet with chain-one spaces, working into the spaces on later rows. Your pattern’s starting chain and edge directions keep the sides straight.
Change colors at row ends and weave every tail securely through the fabric. Keep your finished blanket free of tassels and loose decorations. Use it for supervised cuddles or floor time, and keep blankets outside your baby’s crib or bassinet during sleep.
|
Detail |
Specification |
|---|---|
|
Yarn Weight |
DK, #3 |
|
Skill Level |
Easy |
|
Estimated Time |
15–25 hours |
15) Ribbed Rectangle Beanie With a Cinched Crown

You turn one ribbed rectangle into a beanie by joining its short ends and gathering the top. A solid oatmeal or deep teal shade shows off the vertical ridges. Add extra length along your foundation chain when you want a folded brim for a thicker edge around your ears.
Choose soft bulky yarn and a 6–6.5 mm hook, checking the yarn label before starting. Work half double crochet through the back loop in rows. Your foundation chain sets the hat’s height, while your completed rows determine the circumference around your head.
Check the rectangle around your head with a gentle stretch before seaming. Sew the side closed, then run a strong yarn strand through the top edge and pull it inward. Secure the gathered opening with several stitches, keeping the crown comfortable against your head.
|
Detail |
Specification |
|---|---|
|
Yarn Weight |
Bulky, #5 |
|
Skill Level |
Easy |
|
Estimated Time |
3–5 hours |
16) Mini Amigurumi Whale With Embroidered Eyes
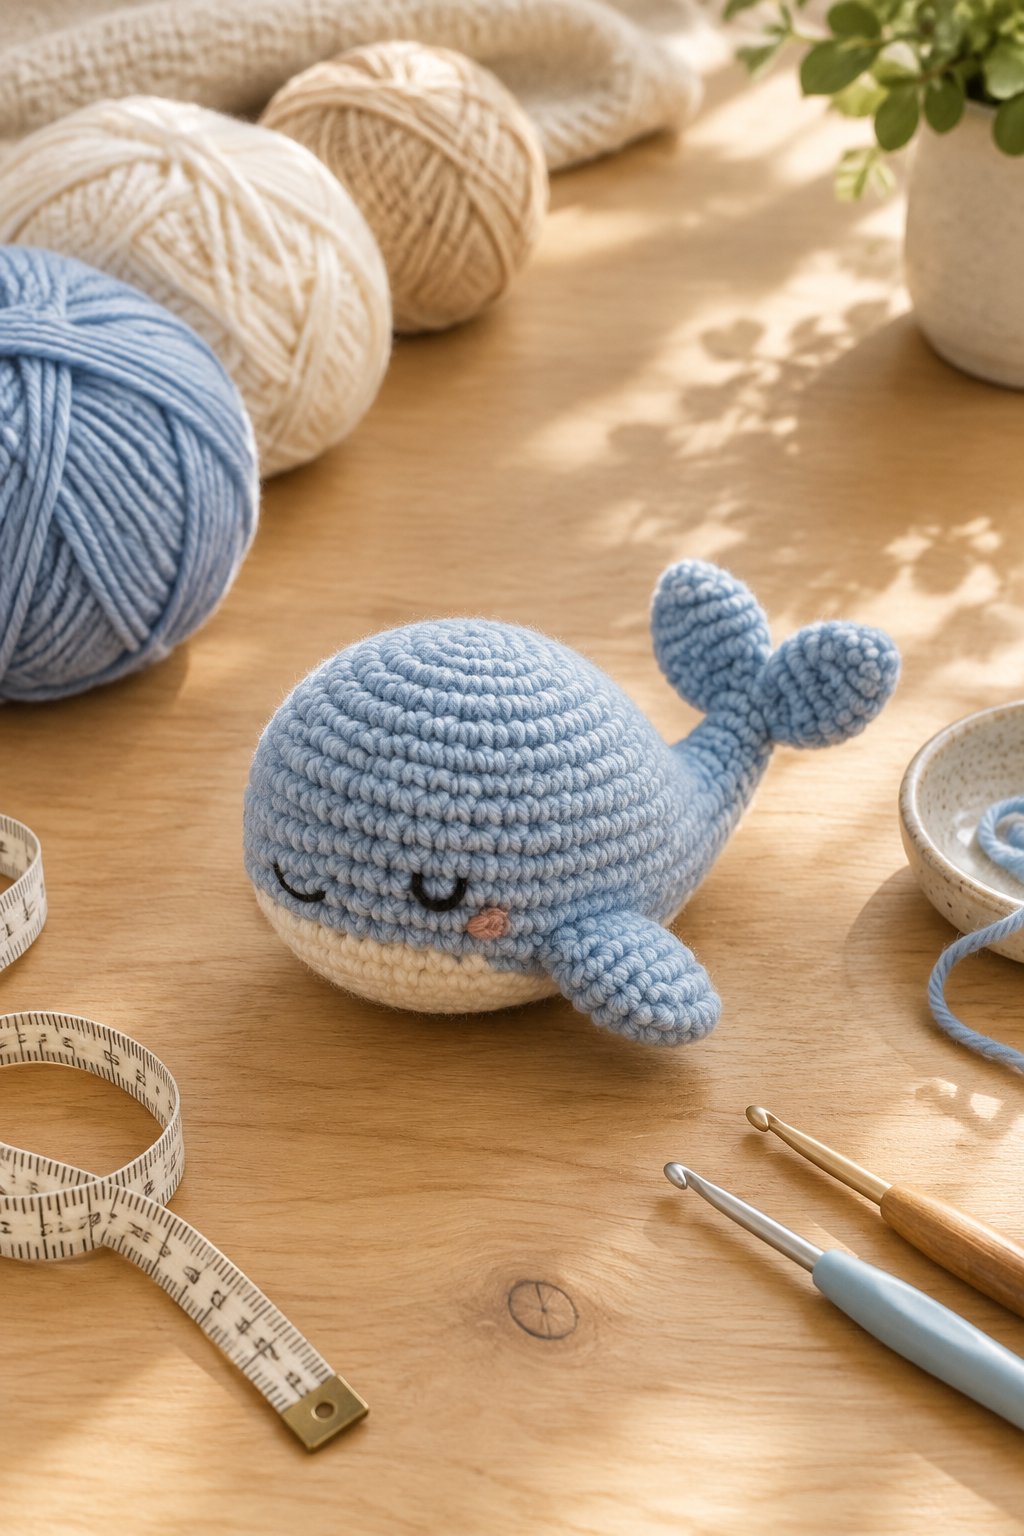
A mini whale introduces you to rounded shaping through a small body with stitched facial details. Pale blue with a cream belly gives your whale a gentle look, while tiny side fins make the silhouette recognizable. Keep your first version small enough to hold comfortably as you work.
Use smooth worsted-weight cotton or acrylic with a 3–3.5 mm hook for close stitches that contain the stuffing. Follow a beginner amigurumi pattern with exact round counts for the body and tail. You’ll use single crochet, increases, and decreases while marking the start of every round.
Embroider the eyes before closing the body so you have access to secure the thread ends inside. Add stuffing gradually to avoid stretching gaps between stitches. Treat your whale as an intermediate beginner project after you feel comfortable counting rounds and sewing small pieces securely.
|
Detail |
Specification |
|---|---|
|
Yarn Weight |
Worsted, #4 |
|
Skill Level |
Intermediate |
|
Estimated Time |
3–6 hours |
How to Choose Your First Crochet Project
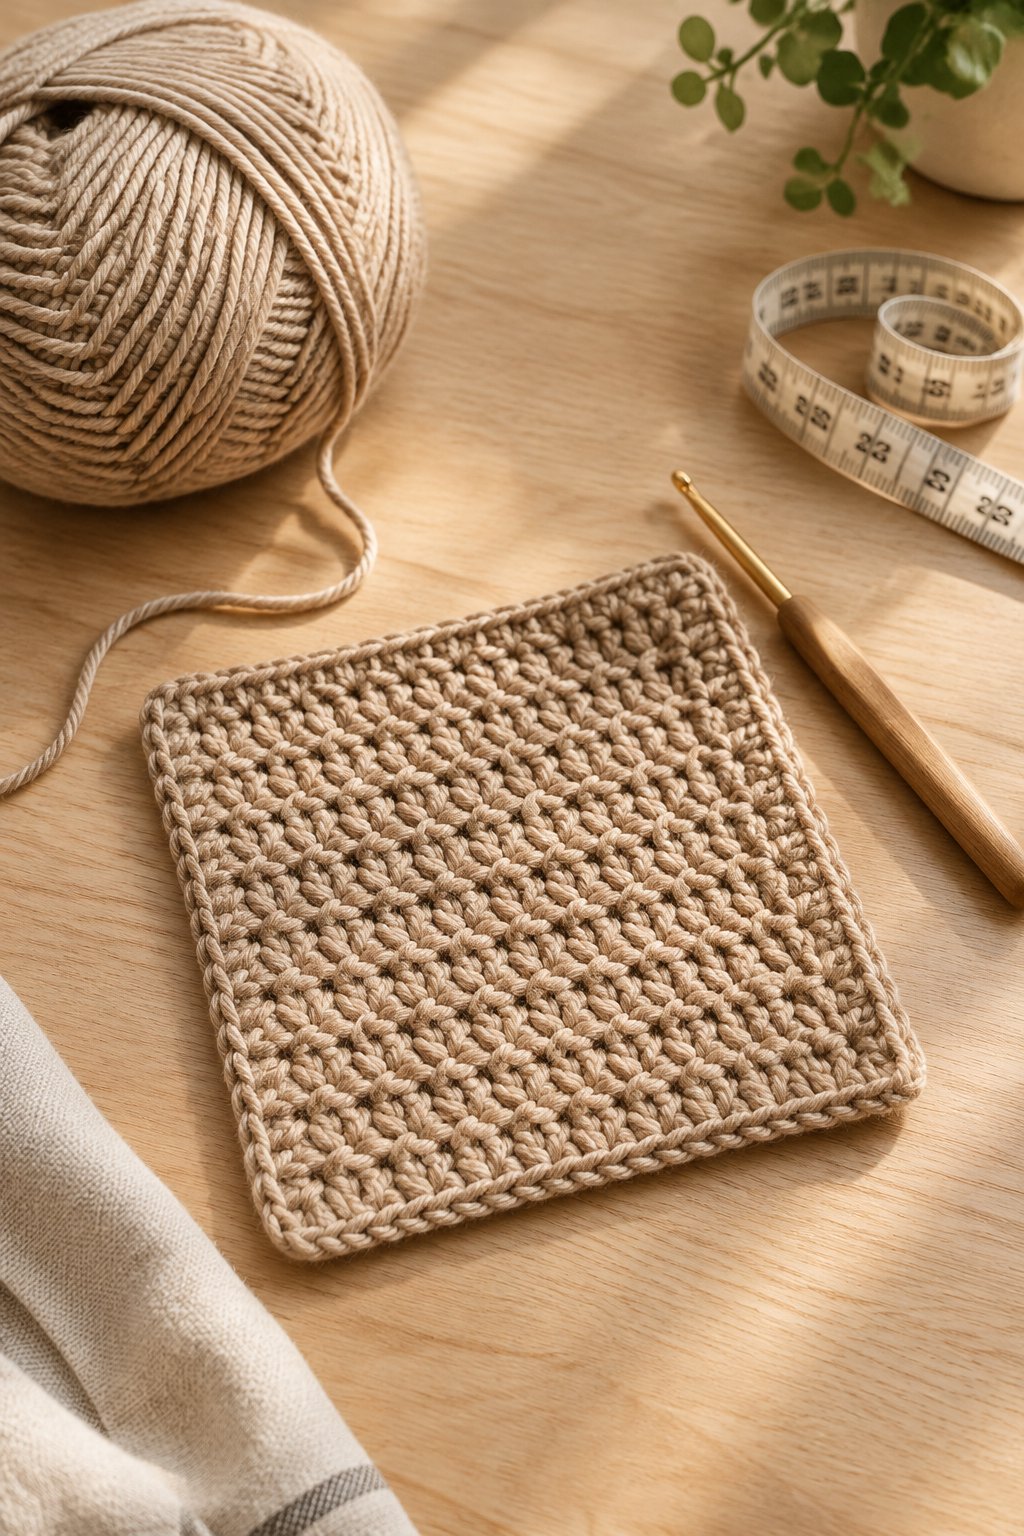
Choose a small, flat project for your first attempt so you have fewer stitches to track. You’ll find mistakes easier to spot and correct before they spread across a large piece.
Which Projects Use Only Chains and Basic Stitches?
Start with the coasters or bookmark for repeated single crochet rows. Choose the scarf when you want longer practice with half double crochet, or the dishcloth when you’re ready to combine basic stitches.
How Much Time and Yarn Should You Allow?
Treat the listed times as planning estimates, and allow extra time for learning. Check your chosen pattern’s yardage, then buy enough yarn in the same dye lot; a small accessory takes far less yarn than a blanket.
When Are You Ready for Shaping and Seaming?
Move toward shaping when you keep a steady stitch count and recognize the top of each stitch. Practice joining two small squares before making a fitted accessory, then try increases and decreases on a sample circle.
Beginner Crochet Supplies and Tutorial Tips
You’ll have an easier start with smooth yarn, a comfortable hook, and a tutorial that states its stitch terms clearly. Keep stitch markers and a yarn needle beside you for counting and finishing.
Which Yarn Fibers and Weights Are Easiest to Handle?
Choose light-colored worsted-weight yarn so you see each stitch clearly. Smooth acrylic suits practice pieces, while cotton works well for household projects; save fuzzy yarn for later.
How Do You Match Hook Size to Yarn and Gauge?
Start with the pattern’s hook recommendation and make its gauge swatch. If you have too many stitches per inch, try a larger hook; if you have too few, try a smaller hook.
How Do US and UK Stitch Terms Differ?
Check the terminology before following any tutorial, since these projects use US terms. US single crochet equals UK double crochet; US half double crochet equals UK half treble; US double crochet equals UK treble.
How Can You Check Stitch Counts and Fix Uneven Edges?
Mark your first and last stitches, and count each completed row. If the count changes, undo stitches back to the error and check whether your pattern counts the turning chain as a stitch.