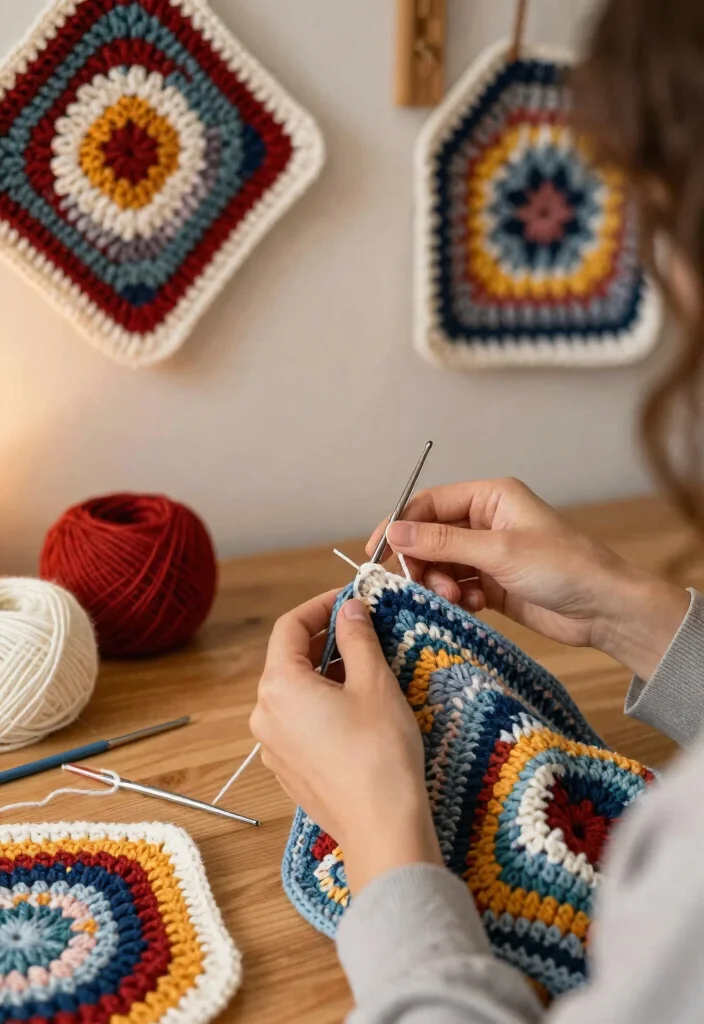
Are you ready to add a burst of creativity to your crochet projects? I put this post together because I couldn’t resist sharing my passion for geometric designs in crochet. These bold patterns not only enhance your crafting skills but also transform your home decor and wardrobe with unique flair.
If you’re a crochet enthusiast who loves exploring new styles, this guide is just for you. Whether you’re a seasoned crocheter or just starting out, you’ll find something intriguing here. Geometric designs are perfect for anyone looking to make a statement while enjoying the soothing rhythm of crochet.
In this free guide, you’ll discover 18 creative layout ideas that will inspire your next project. From triangular textures to bubbles of joy, each design offers a fresh perspective on this timeless craft. You’ll learn how to incorporate these bold shapes into your creations, making them not just beautiful but also fun to make.
Prepare to dive into the world of modern geometric crochet patterns! With easy-to-follow instructions and plenty of ideas, you’ll soon be on your way to stitching up captivating designs that impress everyone. Let’s explore these exciting patterns and unleash your inner artist!
Key Takeaways
– The guide features 18 unique geometric crochet patterns, each designed to inspire creativity.
– Patterns include a variety of shapes like triangles, squares, and hexagons, offering a range of styles.
– Clear instructions make it easy for both beginners and seasoned crocheters to follow along.
– Each layout idea encourages personalization, allowing you to experiment with colors and yarn types.
– This post serves as a fantastic resource for anyone wanting to enhance their DIY & crafts skills with geometric flair.
1. Triangular Textures
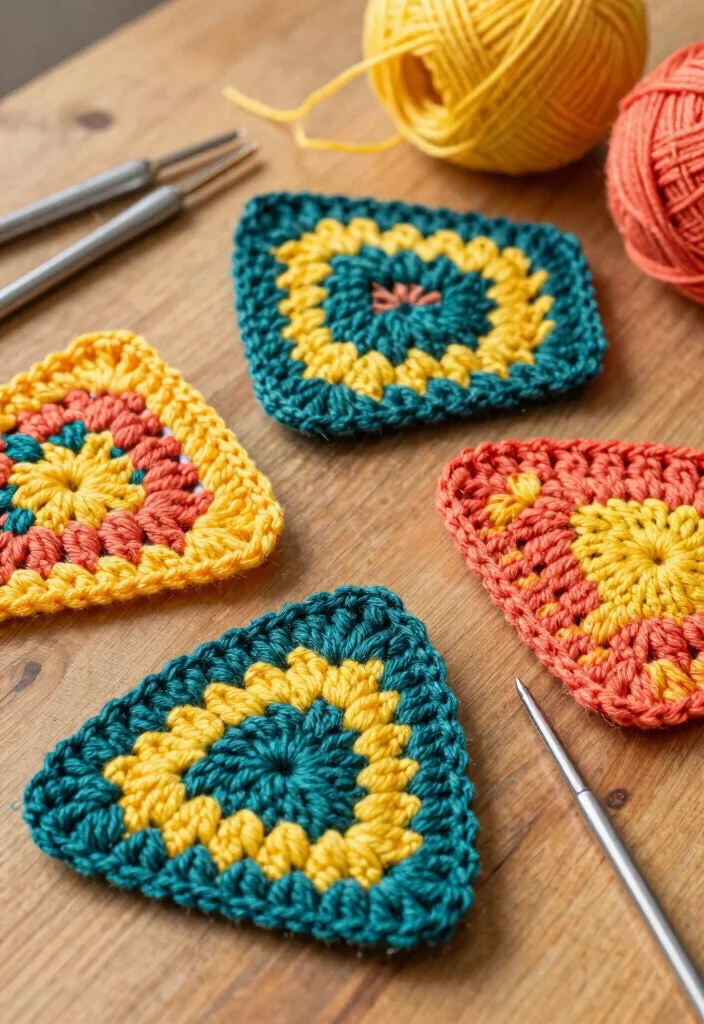
Embark on your geometric crochet adventure with the timeless triangle. These shapes are not only easy to create but can be used in a variety of projects, ranging from cozy blankets to stunning wall art. Their clean lines and angles make triangles a favorite choice for both beginners and seasoned crafters alike. You can mix and match colors to form eye-catching gradients or use bold contrasts for a striking visual impact.
To enhance your triangular designs, consider experimenting with different yarn weights or textures. Pair solid colors with variegated yarn for added depth, and vary the sizes of triangles to create dynamic patterns. This versatility allows you to tailor your project to your unique style.
Key steps to create triangular textures:
– Start with a foundation chain of 4.
– Double crochet into the 4th chain from the hook.
– Chain 3, turn, and double crochet into the first stitch.
– Continue increasing rows as needed for size.
– Finish off and weave in loose ends.
With triangles, your creativity knows no bounds!
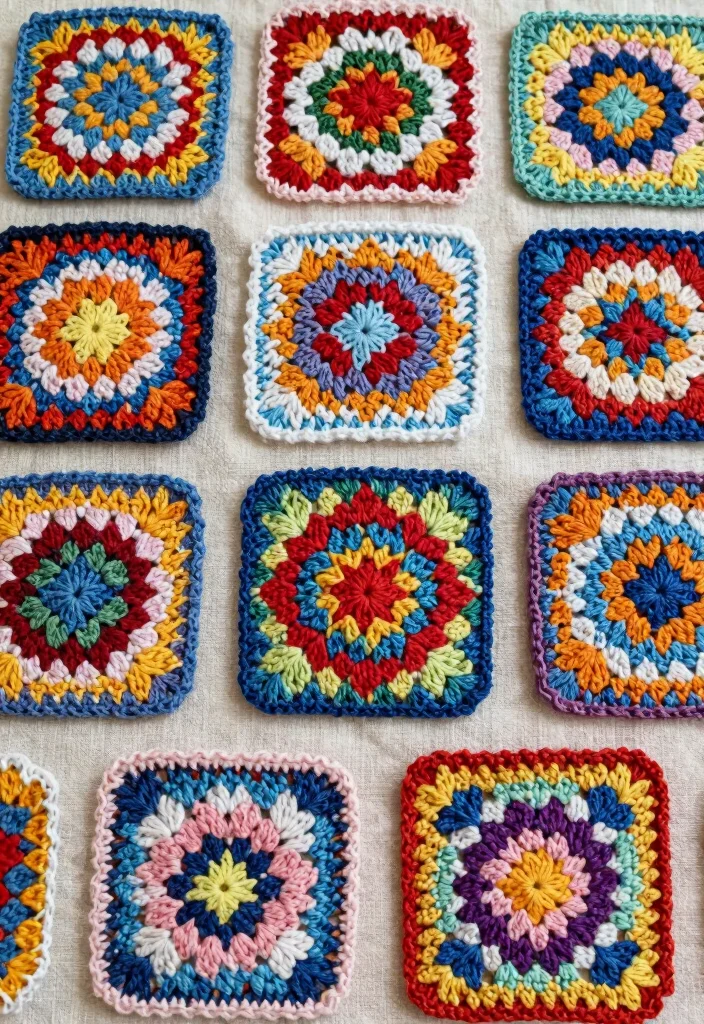
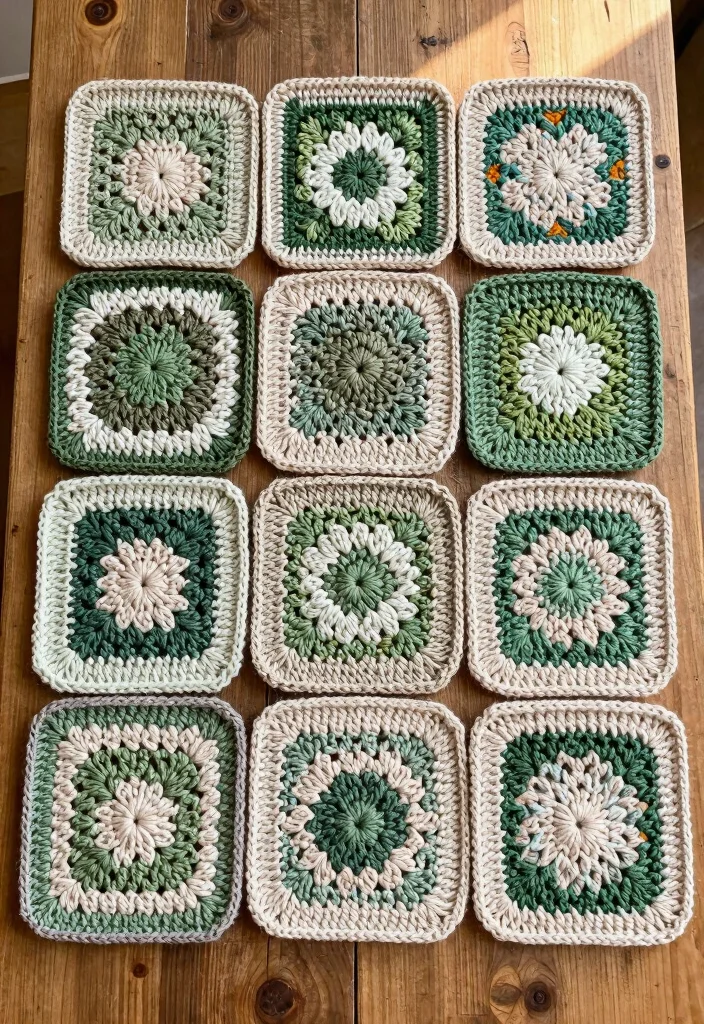
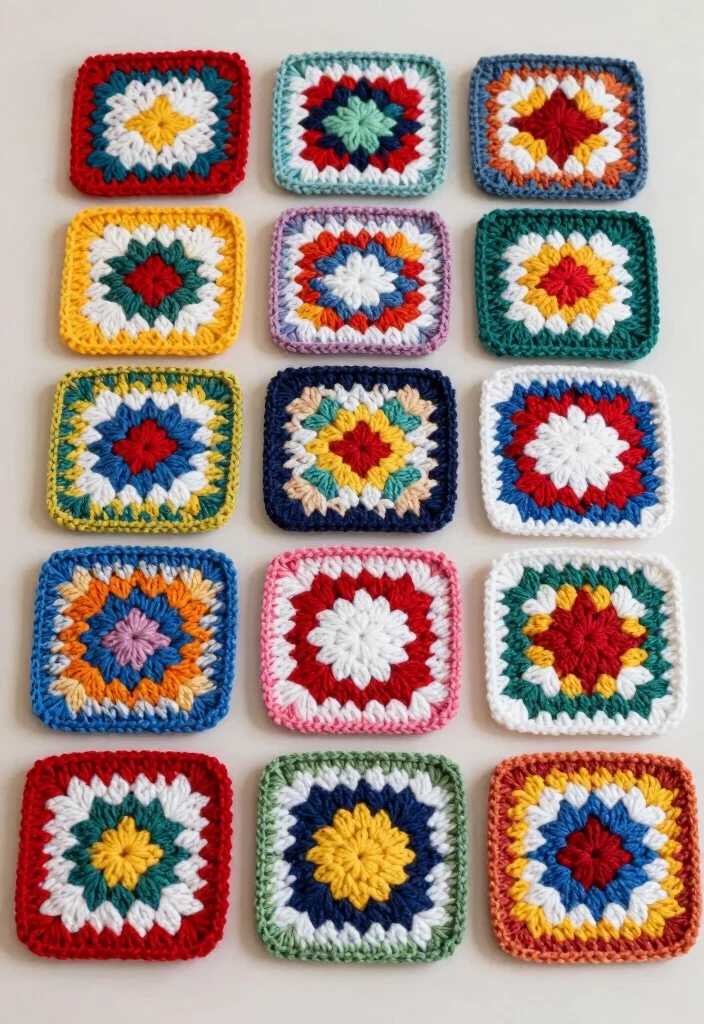
2. Square Patterns
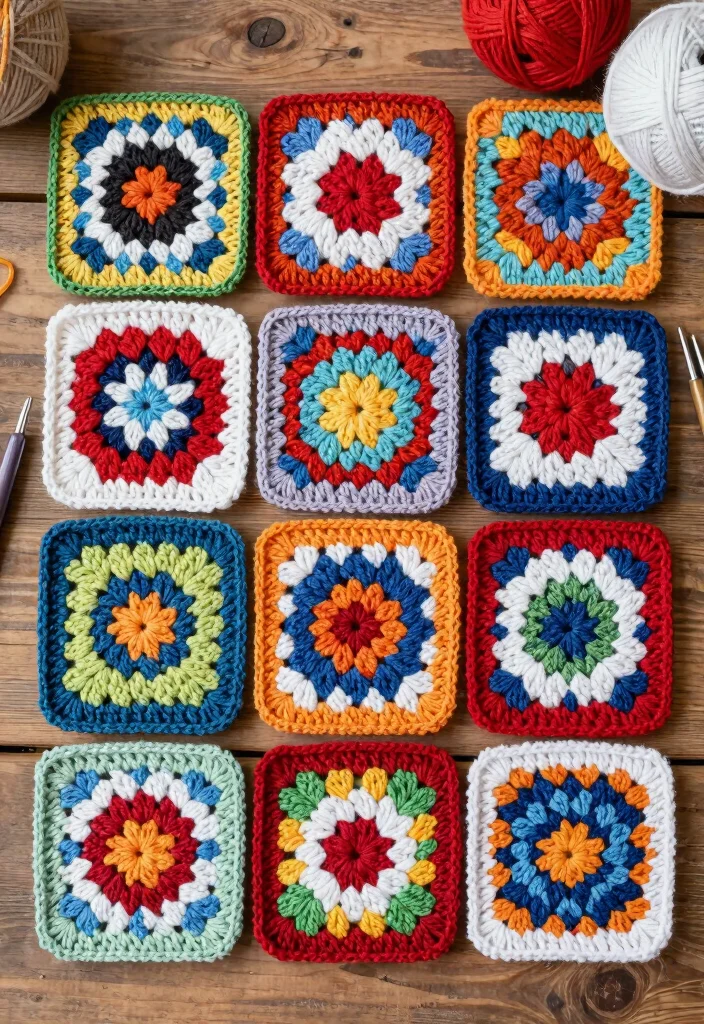
Ah, the square! These geometric wonders lay the groundwork for countless crochet designs. From beautiful quilts to stylish throws, squares can be combined in infinite ways to create stunning results. The C2C technique makes it easy to join your squares seamlessly, while your choice of colors can breathe new life into the finished piece. Whether you opt for soft pastels or vibrant hues, squares can adapt to your aesthetic.
As you work with squares, think about incorporating different stitch patterns within each one for variety. Alternating between larger and smaller squares can add depth and interest, while a thoughtfully chosen color palette can tell a story or evoke a mood.
Steps to create square patterns:
– Begin with a chain of 5.
– Double crochet in the 4th chain from the hook.
– Chain 3, turn, and double crochet in the previous row’s double crochet.
– Repeat until your square reaches the desired size.
– Finish off and weave in ends.
Squares are a classic design that every crochet enthusiast can master!
3. Hexagon Harmony
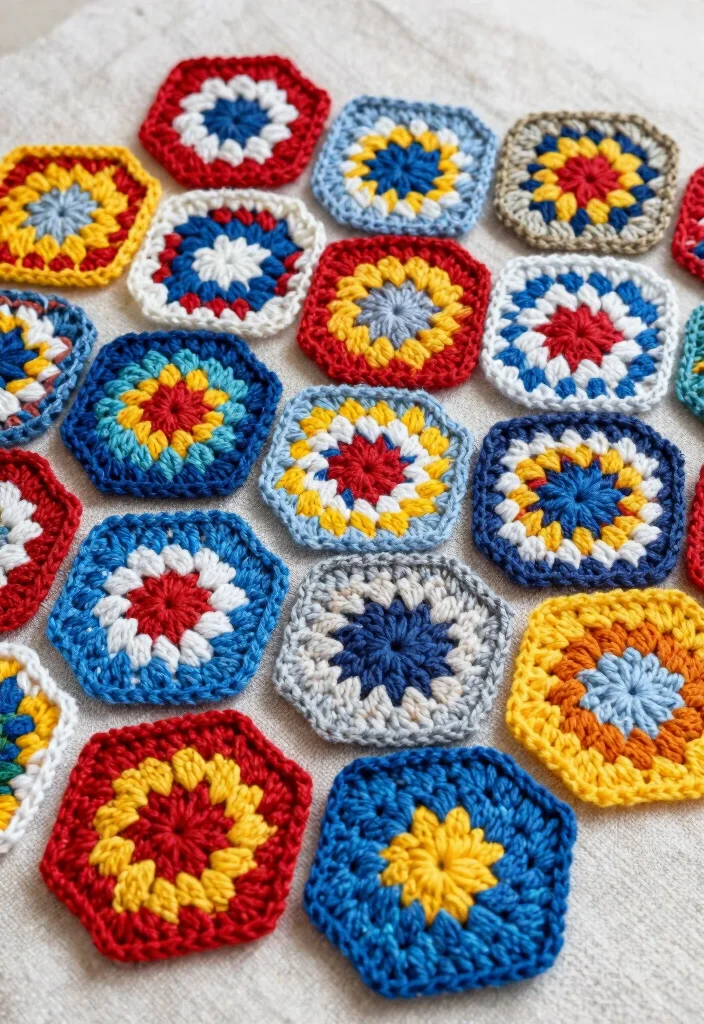
Hexagons are a delightful addition to any crochet collection! They offer a unique structure that can elevate your projects, creating stunning visuals that captivate. With their versatility, hexagons can be arranged in a honeycomb pattern, perfect for modern rugs or cozy blankets. These shapes not only look great but also present a fun challenge that can enhance your crochet skills.
When working with hexagons, don’t hesitate to mix yarn types for varied textures. Sticking to a single color but varying your stitch patterns can create depth, while connecting hexagons with contrasting yarn can make a bold statement.
Here’s how to get started with hexagons:
– Start with a chain of 6, join to form a ring.
– Round 1: Work 12 double crochets into the ring.
– Round 2: Increase with 2 double crochets in each stitch.
– Round 3: Create corners with chains.
– Finish off, leaving a long tail for sewing.
With practice, you’ll be creating beautiful hexagon designs in no time!
4. Diamond Delight
Diamonds in crochet can create stunning patterns that catch the eye! These geometric shapes can form intricate motifs, perfect for home decor or stylish accessories. By working in strips or panels, diamonds can be combined to create breathtaking blankets or cushions that draw attention. You can also experiment with various sizes to achieve an optical illusion effect, guiding the viewer’s gaze throughout your work.
When crafting with diamonds, consider using contrasting colors for a dramatic flair. Varying the size of your diamonds can enhance visual interest, and working with multiple shades of a single color can create a captivating gradient effect.
Steps to create diamond designs:
– Chain 4, join to form a ring.
– Round 1: Work 8 double crochets into the ring.
– Round 2: Increase in each stitch.
– Use chains to form the diamond shape between stitches.
– Finish off and weave in ends.
Diamonds are a chic way to elevate your crochet projects!
5. Circle in a Square
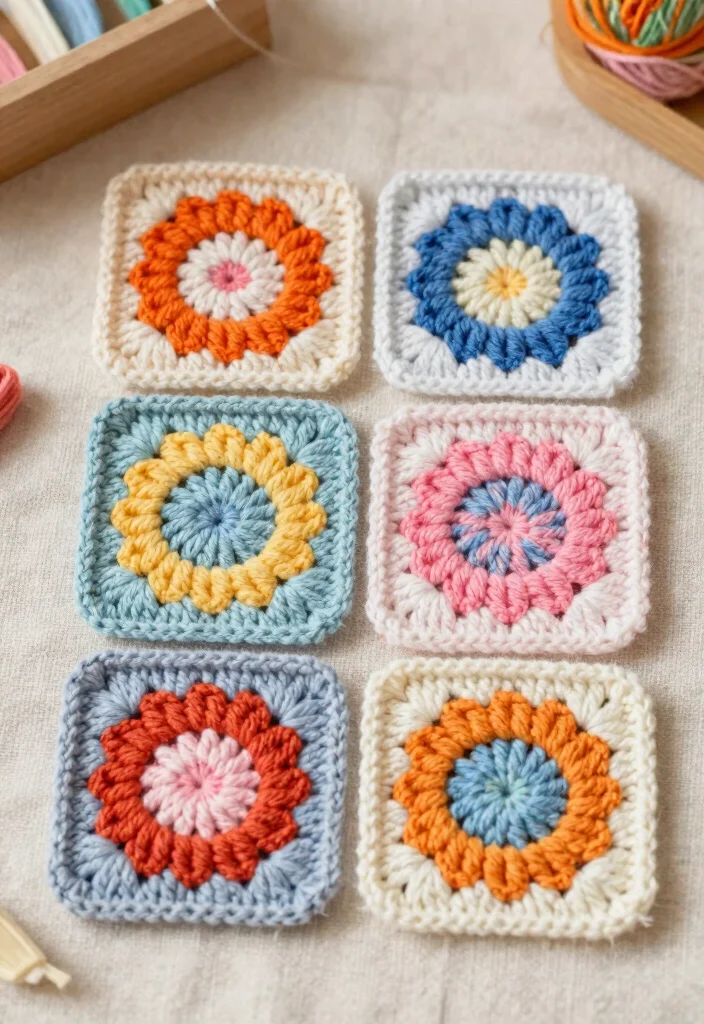
Integrating circles within squares can bring a delightful contrast to your crochet creations. This playful technique marries sharp edges with soft curves, resulting in stunning designs. You can use this method to craft coasters, table runners, or even larger projects like blankets. The design invites creativity, allowing you to personalize your work with unique colors and patterns.
To create captivating circle-in-square patterns, choose a bold color for the circle to make it pop against the square. Experimenting with different yarn weights can create unexpected texture combinations, and varying stitch lengths can lend a whimsical feel to your project.
Key steps to create this design:
– Start with a square base as mentioned in previous patterns.
– In the square’s center, join a circle using double crochets.
– Create rounds for the circle before finishing off.
– Attach the circle to the square using a slip stitch.
– Weave in loose ends and admire your work.
This technique is not just unique but also incredibly eye-catching!
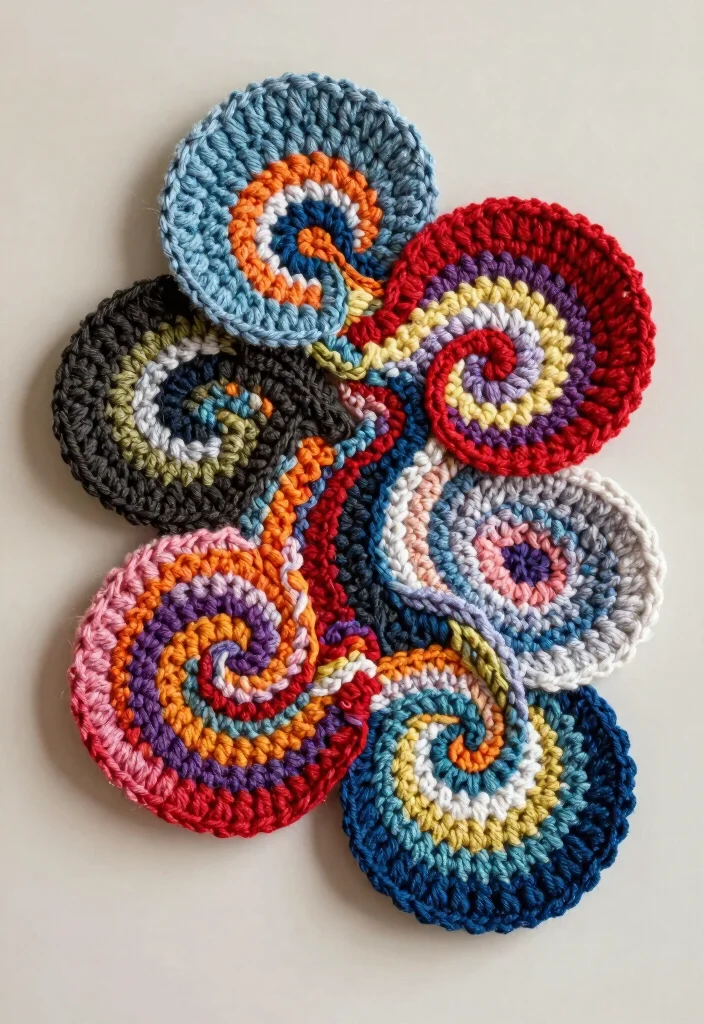
6. Layered Loops
Layering is a fantastic technique that can add depth and dimension to any crochet project. Using loops creatively transforms a simple design into a stunning visual masterpiece. Layered loops can be utilized in various proportions and colors, making striking focal points on blankets, scarves, or bags. This technique showcases your skills while providing ample opportunities for creative expression.
To master layered loops, vary the loop length for dynamic textures. Mixing different colors can create depth and contrast, while experimenting with stitch combinations adds even more interest to your piece.
Steps to create layered loops:
– Start with a foundation chain for your project.
– Create loops by wrapping yarn around your hook and pulling through.
– Build layers by repeating the loop stitch in different lengths.
– Finish off, ensuring all loops are secure.
– Weave in ends and admire your layered masterpiece!
Get creative with loops and watch your crochet designs flourish!
7. Zigzag Patterns

Zigzag patterns can infuse a fun and dynamic look into your crochet projects! These playful shapes are perfect for blankets, scarves, or home accessories. Creating zigzag designs often involves frequent color changes, which keeps the process exciting. The angles and lines formed by zigzags encourage you to explore new color combinations and yarn choices.
To enhance your zigzag motifs, use bright contrasting colors for a lively look. Alternatively, restricting your color palette can lend a more sophisticated appearance. Experimenting with the width of your zigzags can also add variation and intrigue to your design.
Here’s how to create zigzag patterns:
– Start with a foundation chain in the desired width.
– Row 1: Work your first row in double crochets.
– Row 2: Alternate between decreases and increases to shape the zigzags.
– Continue the pattern with your chosen colors.
– Finish off when you reach the desired length.
Zigzags will bring a playful twist to your crochet creations!
8. Wavy Wonders
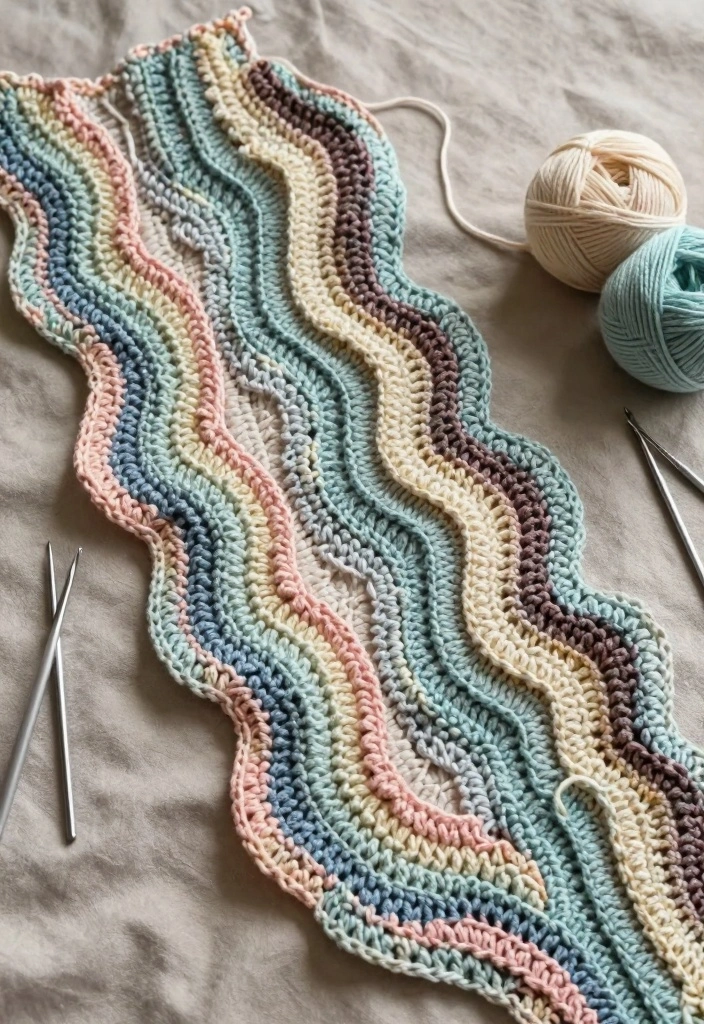
Wavy patterns introduce a sense of movement and fluidity to your crochet projects. This design mimics natural waves, adding an organic touch to your creations. Wavy patterns work beautifully for blankets, shawls, or even clothing items, providing texture while remaining visually appealing. The rhythm of the waves can also create a meditative experience during crocheting.
As you dive into waves, consider using soft, flowing yarn for a more natural effect. Combining wavy stitches with solid stitches creates contrast, while experimenting with hook sizes can enhance the wave’s flow.
Steps to create wavy designs:
– Begin with a chain for your project.
– Create the first row using a mix of double and triple crochets.
– Continue with alternating stitches for the waviness.
– Finish off and weave in loose ends.
– Admire your wavy creation!
Waves can turn any project into a soothing masterpiece!
9. Starburst Style
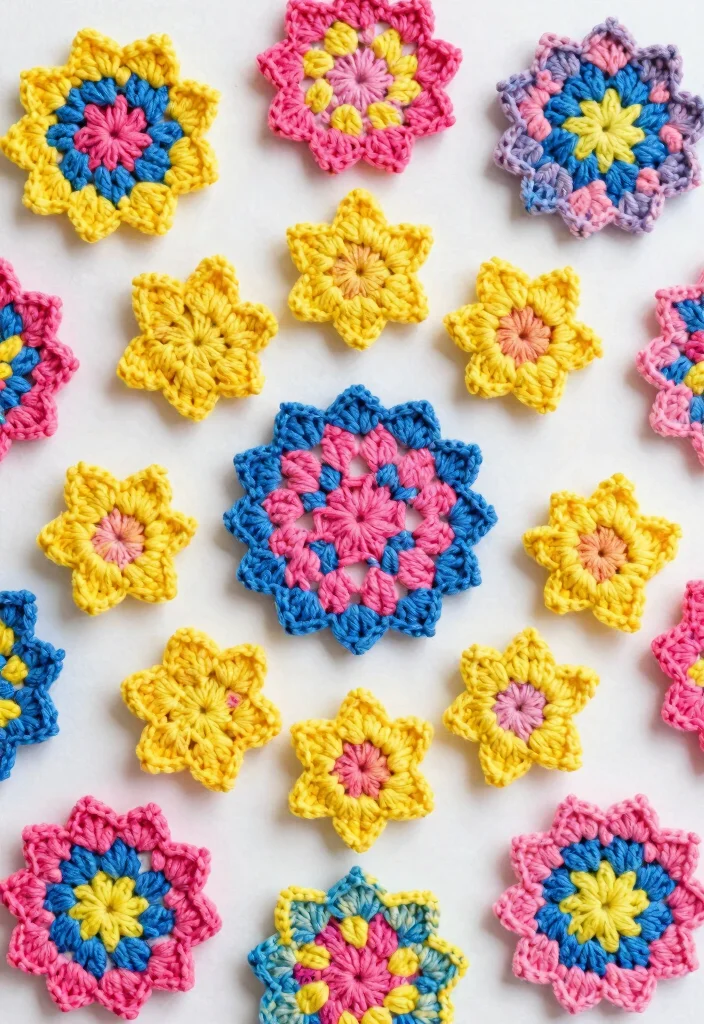
Starburst designs can inject a burst of energy into your crochet projects! This vibrant pattern is perfect for crafting eye-catching blankets, pillows, or festive decorations. The burst shape forms through a combination of stitches, allowing for a wide range of color combinations, from bold to subtle. Starburst patterns truly shine when used in larger projects, creating dramatic statement pieces.
When working with starbursts, consider using bright colors for a cheerful effect. Combining contrasting yarns can add depth and dimension, while varying the size of your starbursts creates visual interest.
Steps to create starburst designs:
– Start with a center ring using slip knots.
– Work double crochets around the ring, increasing as needed.
– Create additional layers for the burst effect.
– Finish up and weave in the tails.
– Admire your vibrant starburst!
Starbursts will surely energize your crochet repertoire!
10. Mosaic Magic
Mosaic crochet combines colors and stitches in ways that yield stunning designs. This technique allows you to create eye-catching patterns resembling beautiful artwork. Mosaics invite creativity and experimentation, making them a fun challenge for crochet enthusiasts. You can craft intricate designs that are sure to impress!
A few tips for working with mosaic crochet: choose a color palette that complements your design. Utilizing contrasting yarns helps your patterns pop, and experimenting with different stitch techniques adds depth and interest.
Here’s how to get started with mosaics:
– Begin with a chain for your base.
– Work rows using double crochet and change colors as needed.
– Follow your pattern closely to achieve the design.
– Finish and weave in your ends!
– Admire your mosaic masterpiece.
Mosaic crochet is a beautiful way to express your creativity!
11. Chevron Chic
Chevron patterns are both timeless and trendy, offering a bold design option that stands out. This zigzag pattern has a modern appeal that fits seamlessly into various crochet projects. You can play with color schemes to make your chevron design unique, whether you choose vibrant contrasts or soothing pastels. The versatility of chevron makes it suitable for anything from baby blankets to fashionable bags.
Keep these tips in mind while creating chevron designs: utilize a mix of yarns for texture variation, experiment with the width of the chevrons for visual interest, and use color blocking for a contemporary look.
Steps to create chevron patterns:
– Start with a foundation chain in your desired width.
– Row 1: Double crochet into each stitch.
– Row 2: Begin the chevron pattern by alternating decreases and increases.
– Continue until your project reaches the desired length.
– Finish off and weave in any ends.
Chevron will bring a modern flair to your crochet creations!
12. Griddy Designs
Grid patterns add structure and balance to your crochet creations. These designs are perfect for blankets, bags, or any piece requiring a clean aesthetic. Grids allow you to play with different colors and yarn types while maintaining a cohesive look. They can also serve as a foundation for more intricate patterns, making them incredibly versatile.
When working with grid patterns, consider choosing a clear color palette for a unified appearance. Varying stitch lengths can create depth, and alternating grid sizes adds a dynamic element to your work.
Steps to create grid designs:
– Begin with a chain to form your base.
– Create a series of double crochet stitches to build the grid.
– Maintain even spacing for uniform grids.
– Finish off and weave in any loose threads.
– Enjoy your structured design!
Grids are a wonderful way to explore new design possibilities!
13. Painting with Yarn
This innovative technique allows you to create stunning textures and designs using various yarn colors, much like an artist uses a brush. With ‘painting with yarn,’ you can create abstract shapes or representational images, showcasing your creativity and artistic talent in crochet.
Here are some tips for painting with yarn: use a variety of yarn types for unique textures, experiment with blending colors seamlessly, and plan your design ahead to outline your color choices.
Steps to get started with this technique:
– Start with a foundation chain in a base color.
– Layer colors on top in various shapes.
– Use different stitches to add texture and dimension.
– Finish your piece and weave in any loose ends.
– Admire your painted yarn masterpiece!
Painting with yarn is an exhilarating experience that brings your crochet projects to life!
14. Block Party
This playful technique enables modular crochet, where you create individual blocks that can be arranged in myriad ways. These blocks can form blankets, pillows, or even wall art! Each block can feature unique patterns, allowing you to join them later for a personalized touch. This method is excellent for utilizing scrap yarn or experimenting with new patterns without the commitment of a full project.
When creating blocks, use a consistent color palette for a cohesive look. Varying block sizes enhances visual appeal, and mixing stitches keeps the process interesting.
Steps to create blocks:
– Create a block by chaining the desired number of stitches.
– Work rows of your chosen stitch pattern.
– Finish each block and weave in ends as you go.
– Join blocks using slip stitches or whip stitch.
– Admire your modular creation!
Block parties are a fun way to craft and connect!
15. Pom-Pom Couture

Pom-poms add a whimsical touch to any crochet project, transforming ordinary pieces into delightful creations! Incorporating pom-poms into your designs is a fun way to add texture and interest. They can trim blankets, hats, or bags, making your work stand out.
When making pom-poms, keep these tips in mind: use contrasting colors for maximum impact, vary the size of your pom-poms for visual intrigue, and experiment with their placement throughout your project.
Steps to create pom-poms:
– Wrap yarn around your fingers or a pom-pom maker.
– Cut the yarn and tie tightly in the center.
– Trim and shape to your desired size.
– Attach securely to your project with a needle or yarn.
– Enjoy the playful addition!
Pom-poms are charming details that can elevate any piece!
16. Fringe Benefits

Fringe can serve as the ultimate finishing touch for any crochet project! Adding fringe not only embellishes but also infuses a playful flair. This technique can enhance shawls, bags, or home decor, giving life to your designs. The movement created by fringe brings your project to life!
When adding fringe, keep these tips in mind: use varying lengths for texture, experiment with multiple colors for added interest, and ensure the fringe is securely fastened for durability.
Steps to add fringe:
– Cut lengths of yarn for your fringe.
– Attach to the edge using a slip knot.
– Repeat evenly along the edge.
– Trim to your desired length.
– Admire the playful touch!
Fringe adds fun and character to your crochet pieces!
17. Color Blocking
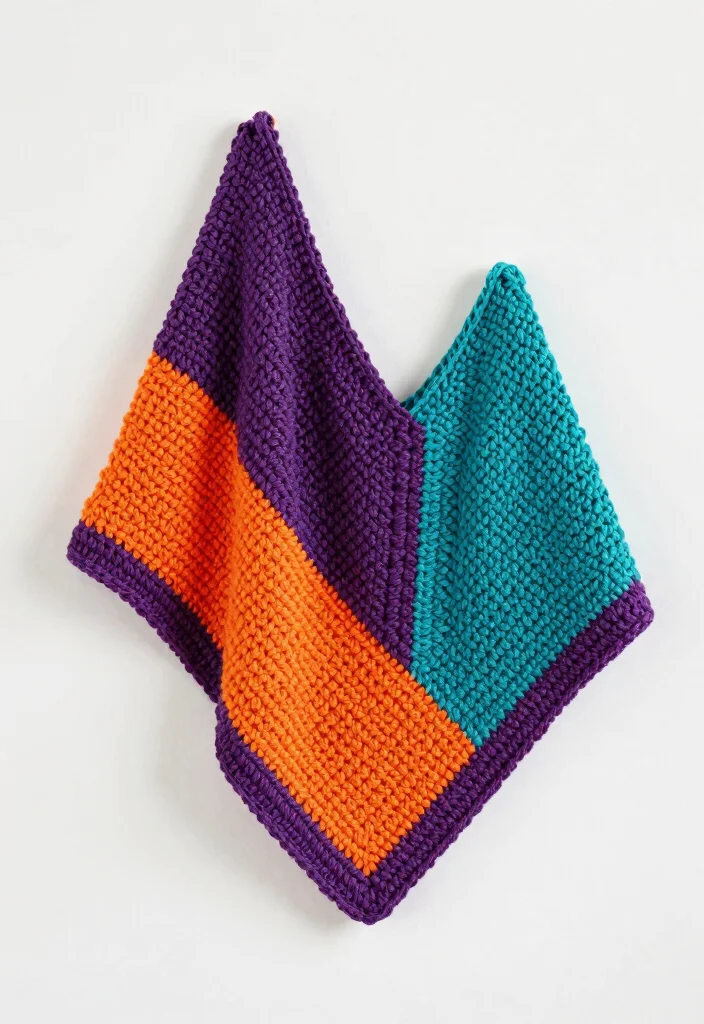
Color blocking is a modern technique that creates bold and visually striking designs through contrasting colors. This method makes your crochet projects pop and stand out, providing a fresh look. Whether you’re crafting a blanket, sweater, or bag, color blocking can elevate ordinary designs into extraordinary pieces. This approach works well with both solid and variegated yarns, allowing for creative freedom!
Consider these tips for effective color blocking: choose a harmonious palette that flows well together, experiment with different block sizes for interest, and utilize solid colors for a more contemporary look.
Steps to create color-blocked designs:
– Start with a chain in your first color.
– Work in sections, switching colors as needed.
– Maintain even tension during color changes for a clean finish.
– Finish off and weave in any loose ends.
– Enjoy your colorful creation!
Color blocking makes a bold statement that can elevate your crochet to new heights!
18. Bubbles of Joy
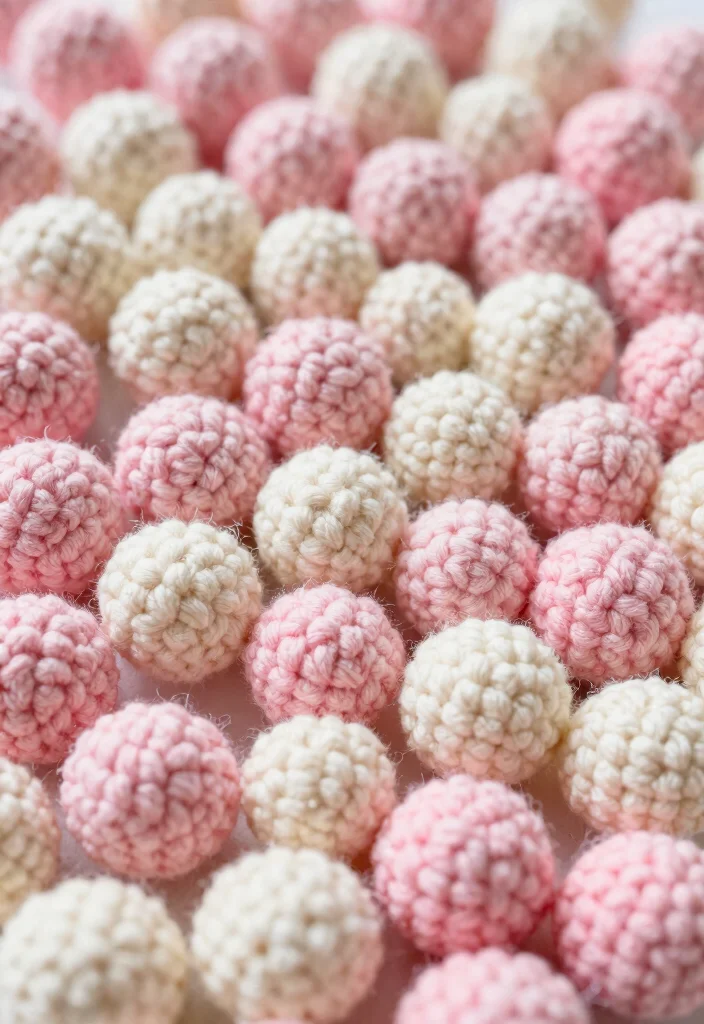
Bubble stitch adds delightful texture to your crochet projects! These playful stitches create a 3D effect, making your work vibrant and dynamic. Bubbly stitches can be incorporated into various designs, adding charm and whimsy to everything from blankets to plush toys. The unique look of bubble stitches is sure to captivate anyone who sees your work.
Here are some tips for working with bubble stitches: use contrasting yarn to highlight the bubbles, experiment with different bubble sizes for varying effects, and incorporate them into existing designs for added texture.
Steps to create bubbly designs:
– Start with a chain for your project.
– Work multiple double crochets into the same stitch to form a bubble.
– Alternate rows with traditional stitches for balance.
– Finish off and admire your textures!
– Enjoy the bubbly charm!
Bubbles are a joyful addition that can elevate any crochet piece!
Conclusion
As you wrap up your journey through the world of bold geometric crochet designs, remember that the only limit is your imagination.
With these 18 creative layout ideas, you can explore a multitude of patterns and techniques, transforming simple yarn into stunning works of art. Whether you’re crafting for yourself or gift-giving, let your unique style shine through every stitch. Happy crocheting!
Frequently Asked Questions
Question: What exactly is C2c crochet and how can I apply the 18 layout ideas to create bold geometric designs?
C2c crochet builds images diagonally from square tiles, growing toward the corner. In this approach you crochet tiles that form bold geometric designs, making it easy to spot shapes as you work. The 18 layout ideas act as plan templates you can overlay onto your grid to shape the final piece. Here’s how to apply them:
1) pick a project type, like a blanket or wall hanging.
2) choose yarn weight and hook size that gives the fabric you want.
3) work a basic C2c tile and keep track of your rows for alignment.
4) map your chosen layout on graph paper or with a planning tool.
5) translate the layout into tiles and join them to form the final design.
6) block and finish for crisp lines.
Tip: use high-contrast colors to highlight geometry or keep a monochrome palette for a modern look. This free guide provides the 18 creative layouts you can try in your DIY projects.
Question: Are there free resources for beginners to start with bold geometric layouts in C2c crochet?
Yes—this article provides a free crochet guide focused on bold geometric designs and creative layouts you can try in your DIY projects. It’s designed to be approachable for beginners: start with a small C2c tile, learn the basic corner-to-corner stitches, practice color changes, and then test one of the 18 layouts on a mini sampler. Simple plan:
1) pick a two- to four-color palette,
2) crochet a few tiles,
3) try one layout on graph paper,
4) gradually scale up to a larger project like a blanket or wall art.
Question: How should I choose yarn and color schemes for geometric C2c patterns?
Choose a yarn weight that matches your project and comfort level. For crisp, bold lines, opt for a solid-color worsted or aran weight; for a softer drape, try a DK or light worsted. In C2c, color changes happen at tile boundaries, so plan your palette on a grid: keep one dominant color and add 1–2 accent colors for high-contrast shapes, or design a smooth gradient with 3–4 shades. Test palettes on a small sampler using one of the 18 layouts before committing to a full project to avoid surprises in your final piece.
Question: What are the best tips to arrange the 18 creative layouts to make a cohesive project?
First map each layout on graph paper and decide overall dimensions. Then choose an orientation and plan seam placement so edges align cleanly. Create a quick mockup by laying out tiles on a flat surface or using a digital grid to see how shapes interact. Consider starting from a central motif or from a corner and building outward. Keep tension even and use blocking to crisp lines once joined. Finally, document color placement as you go so you can reproduce the look across multiple modules in your DIY project.
Question: Can these bold geometric C2c patterns be used for home decor and DIY projects, and what are some project ideas?
Absolutely. Bold geometric C2c patterns shine in home decor and DIY projects like blankets, cushions, wall art, rugs, and tote bags. Start by choosing a size, pick a layout, and plan a clean edge finish. Tips: back cushions with a fabric liner for structure, use blocking to keep lines straight, and add a simple border for polish. Project ideas to try: a geometric throw blanket, modular wall art assembled from several tiles, cushion covers with a bold motif on each side, or a small rug using dense yarn. The guide’s 18 creative layouts give you plenty of starting points for DIY projects.